

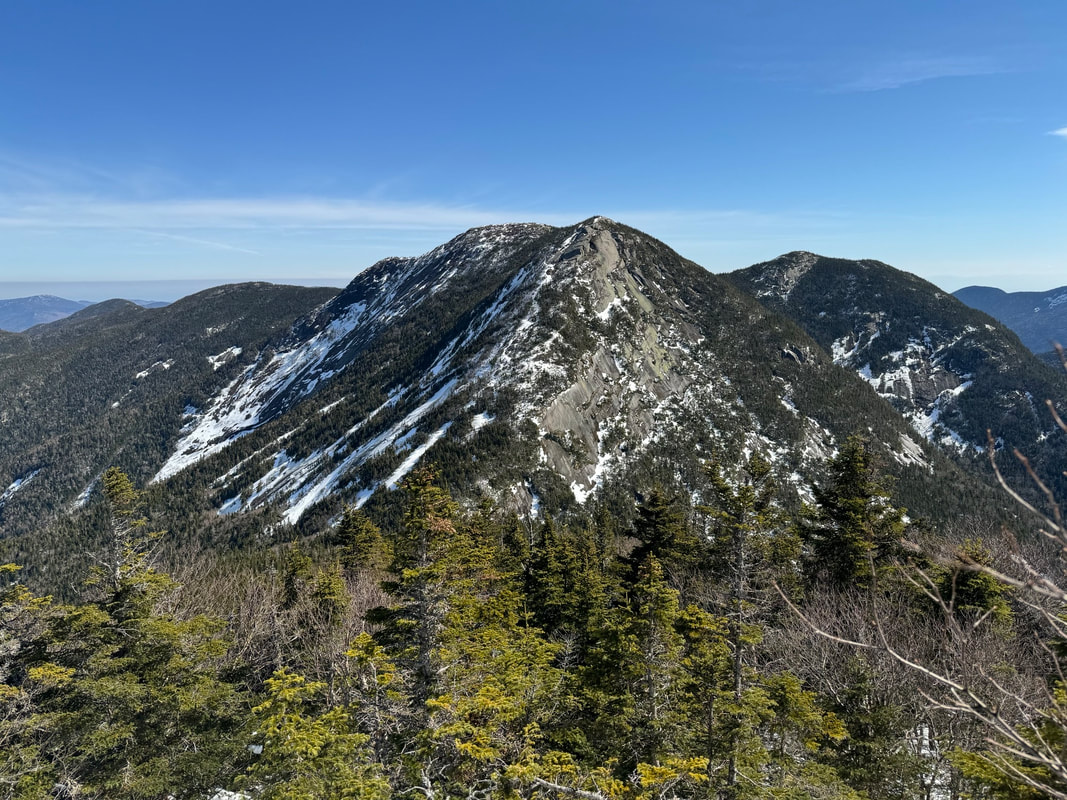
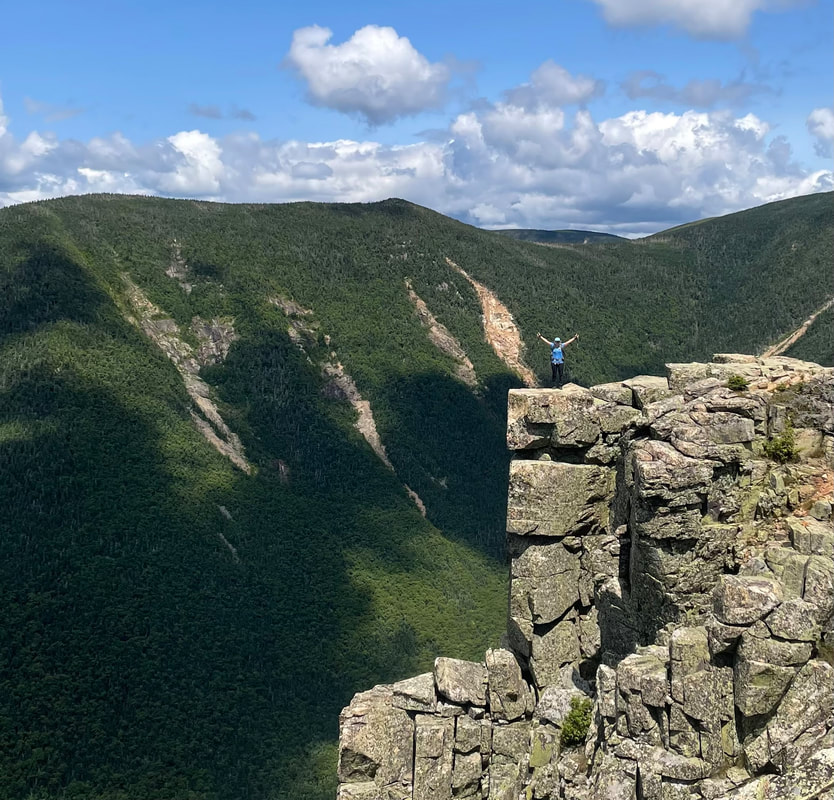
Top of the North Tripyramid Slide
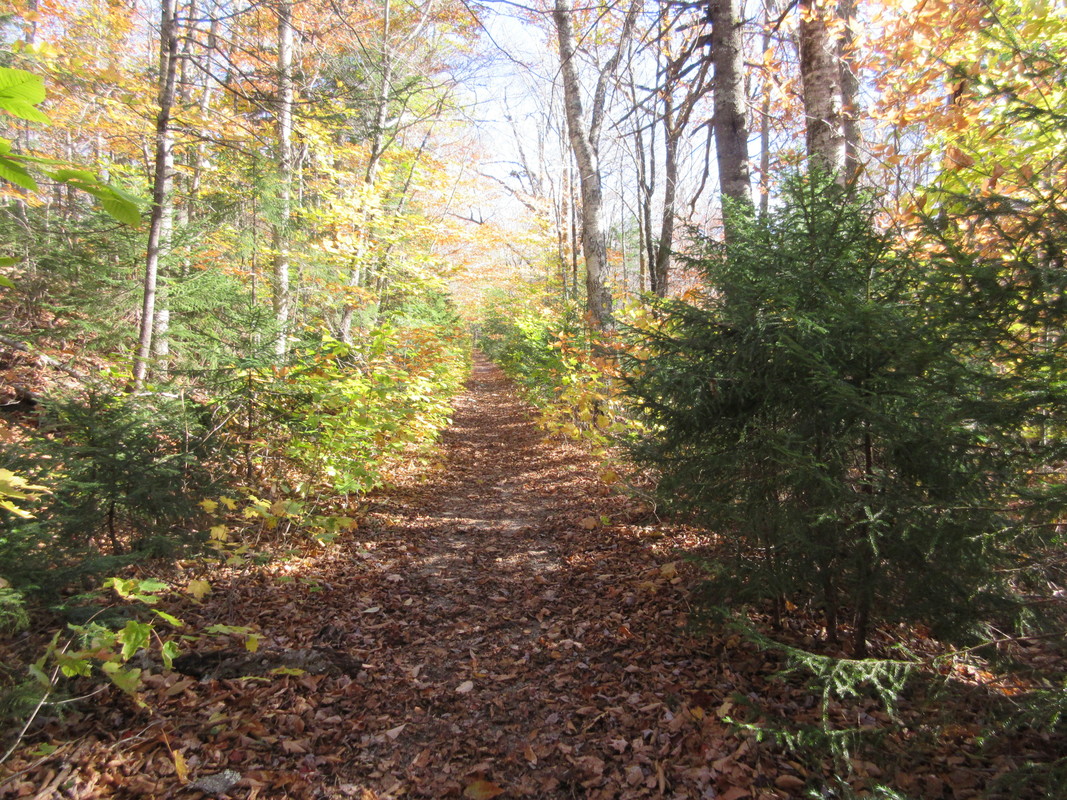
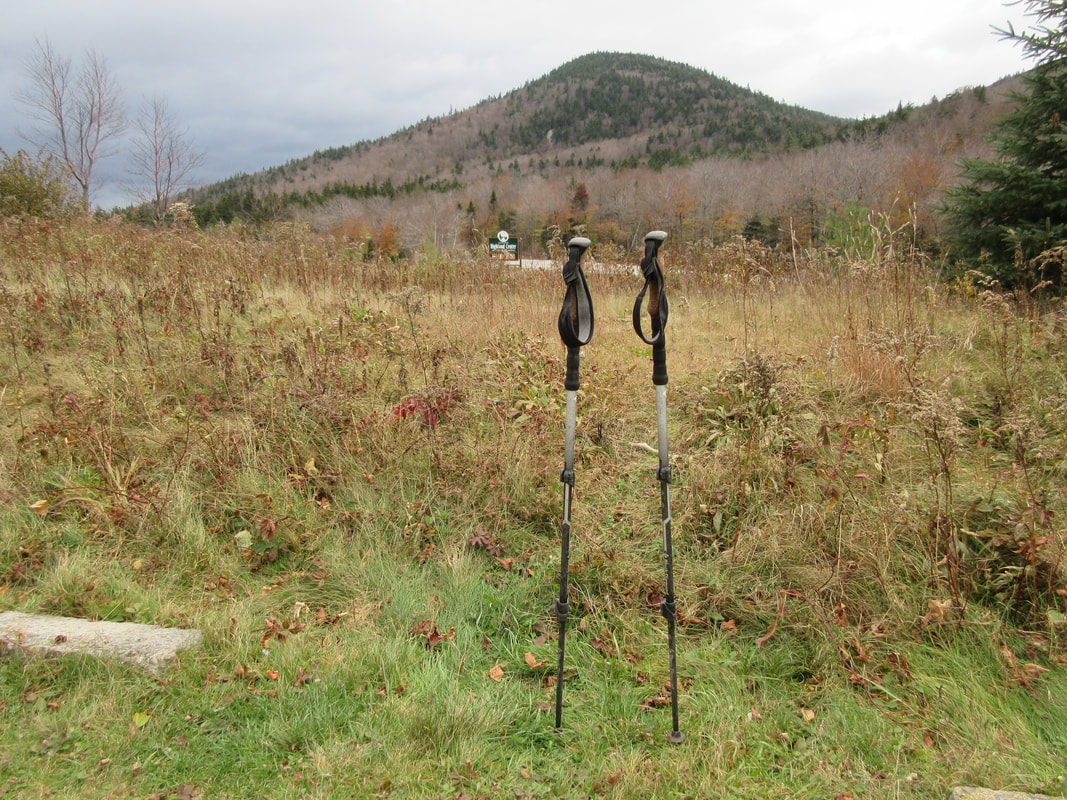
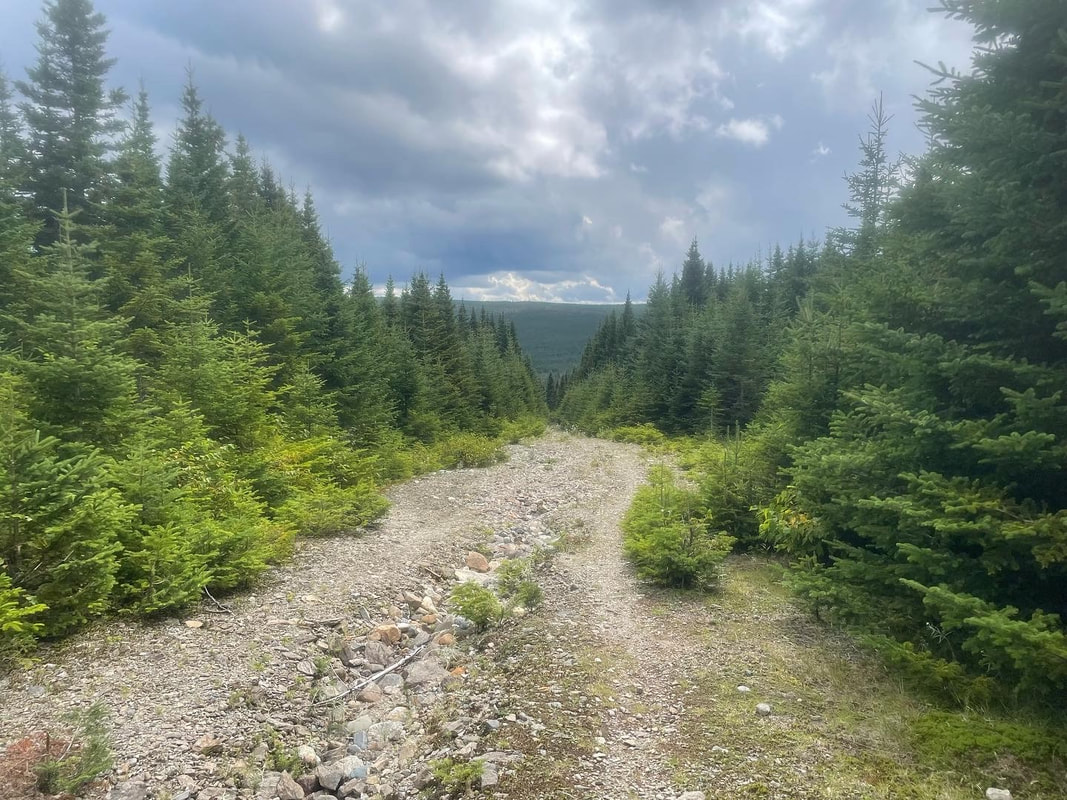
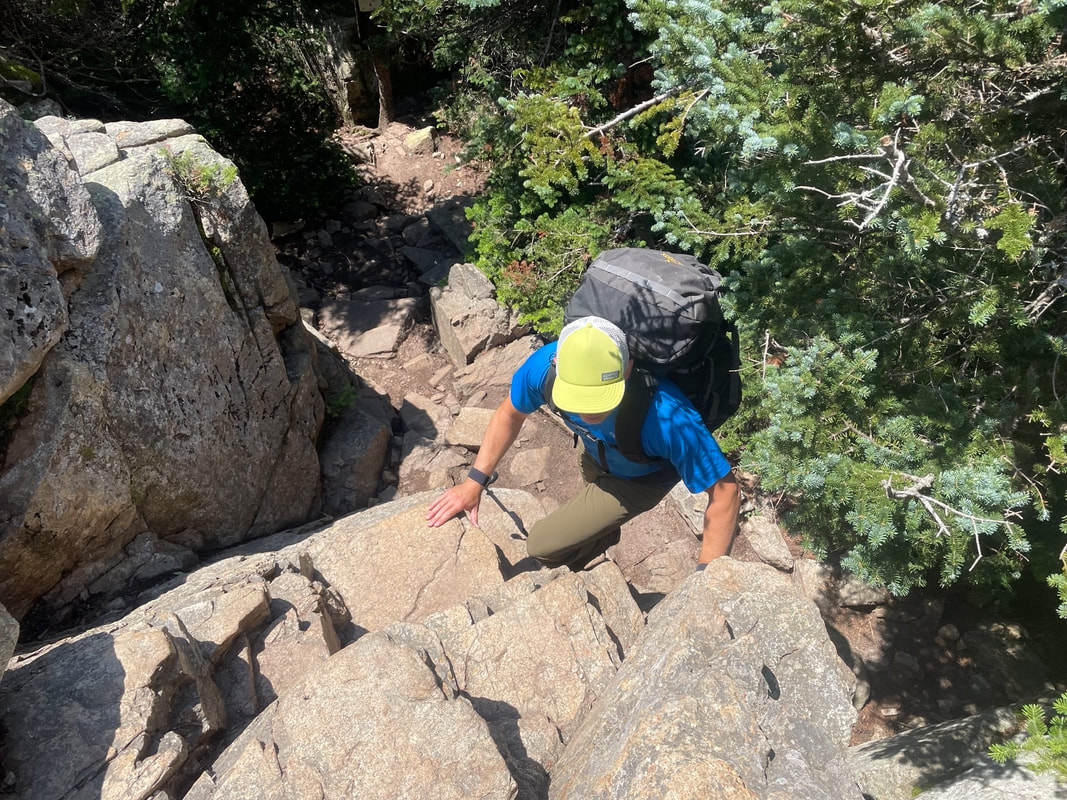
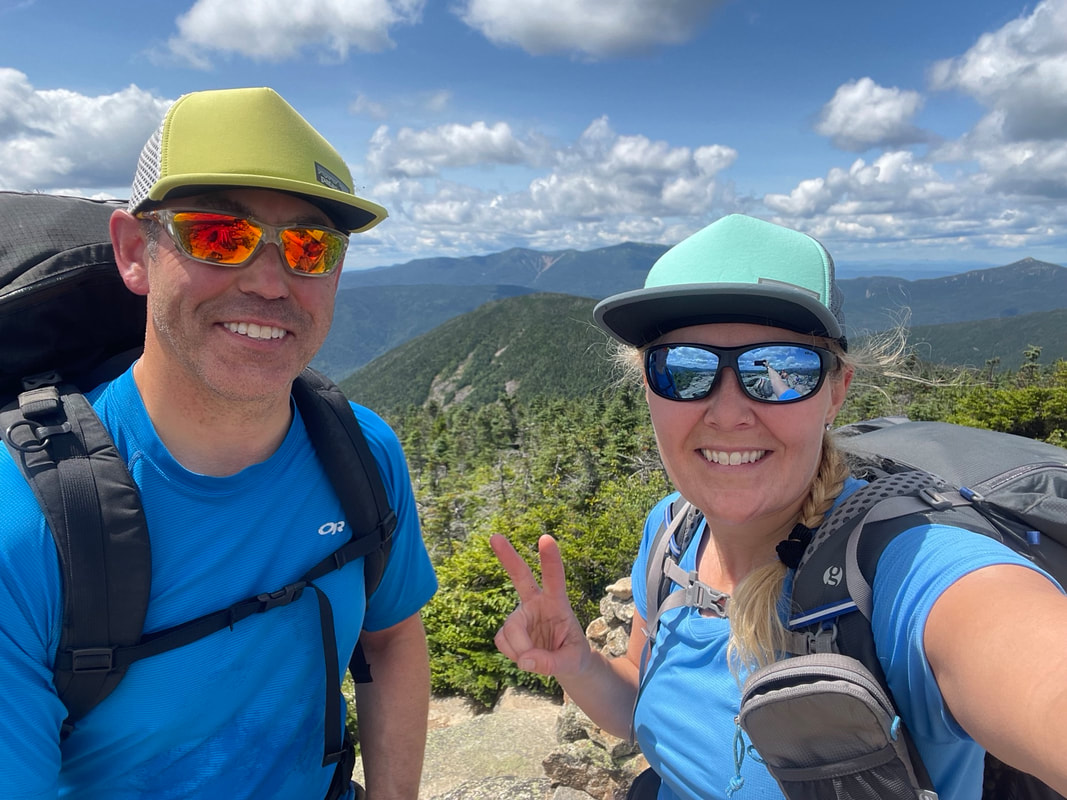
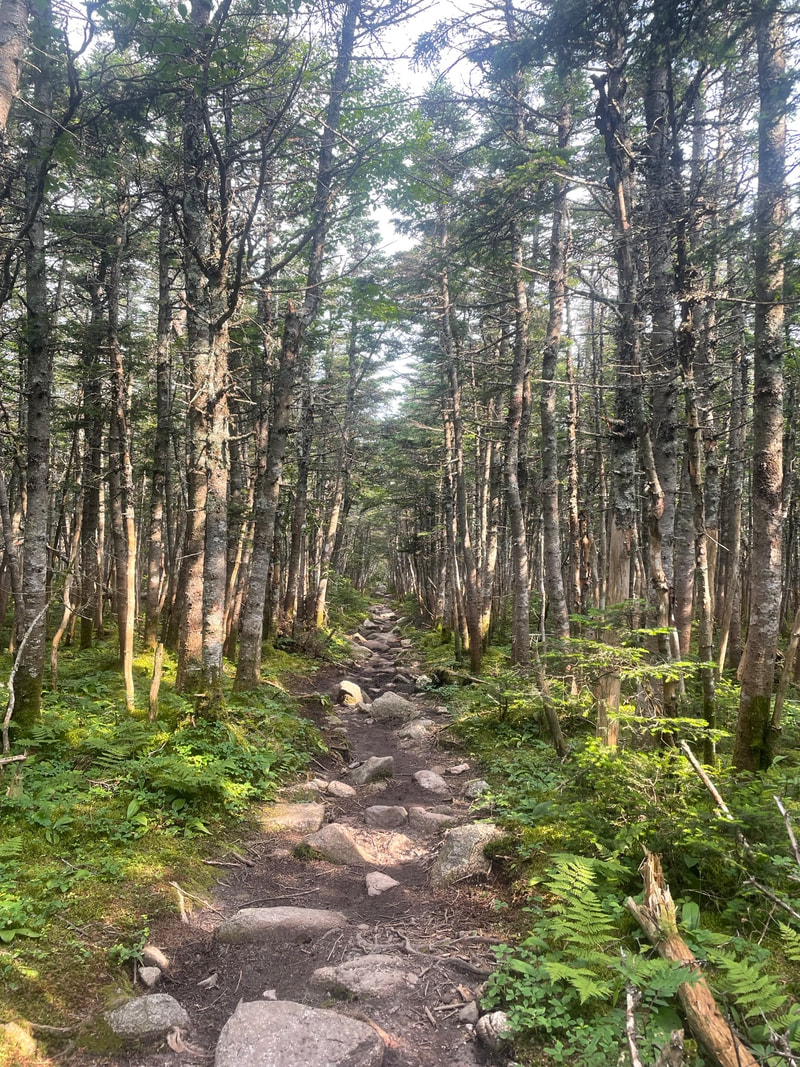
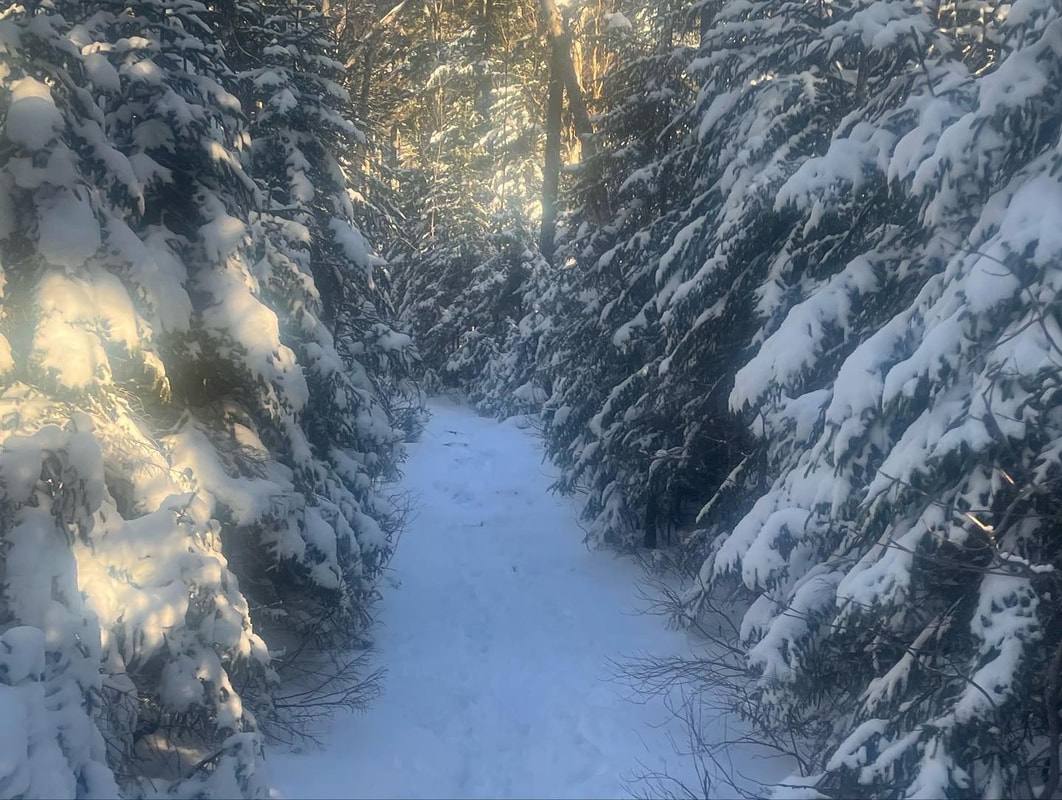
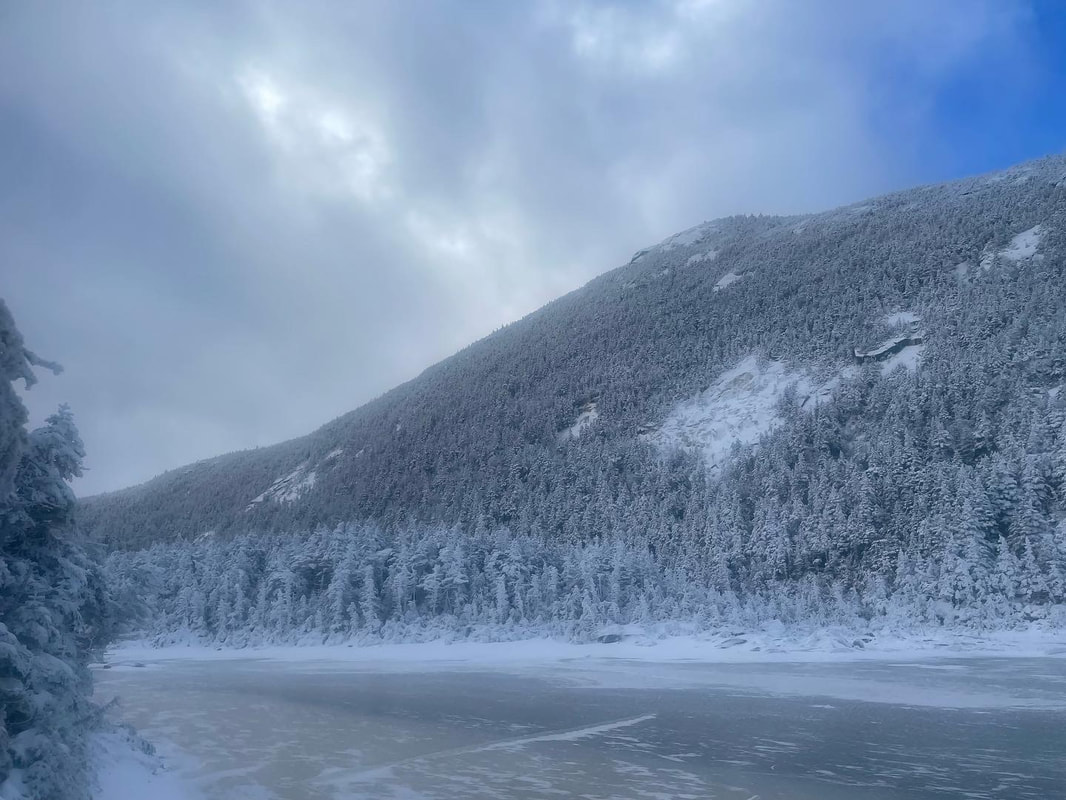
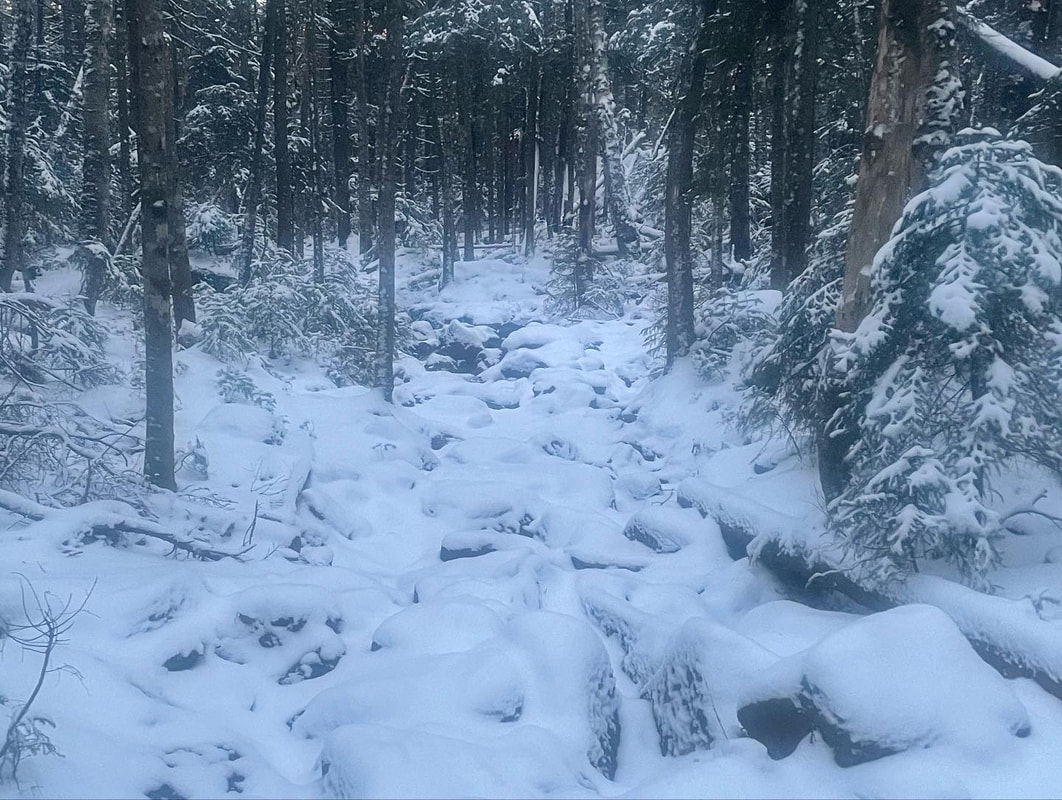
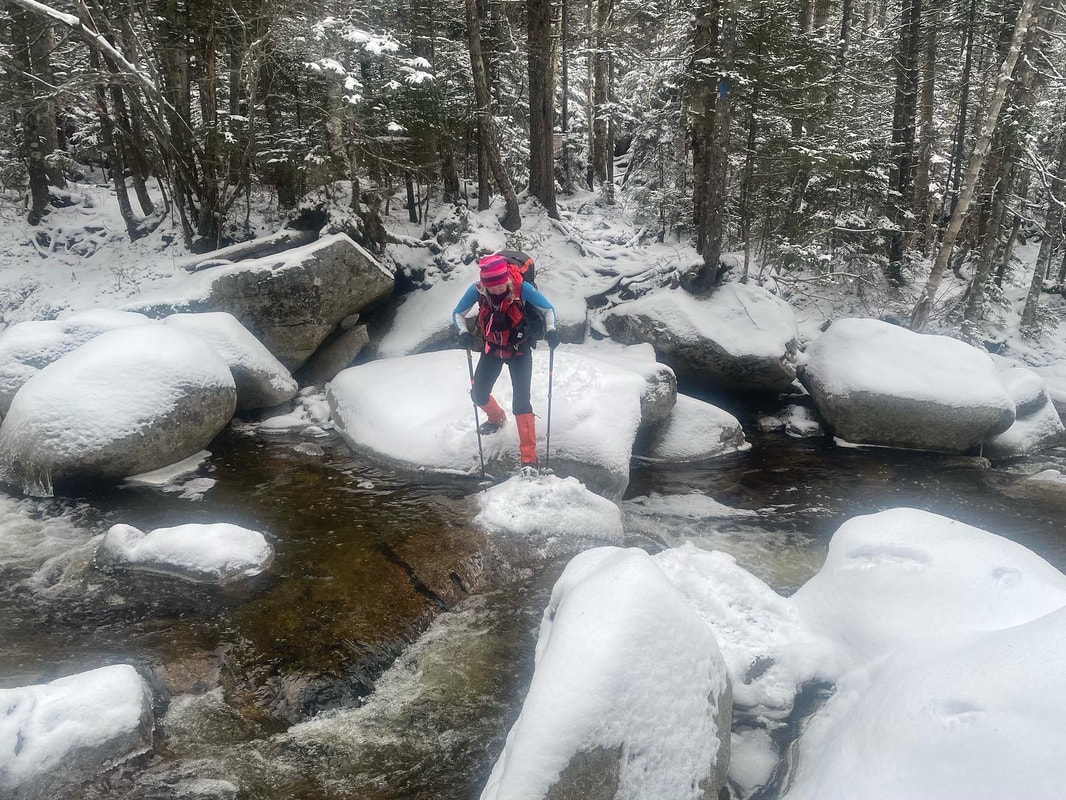
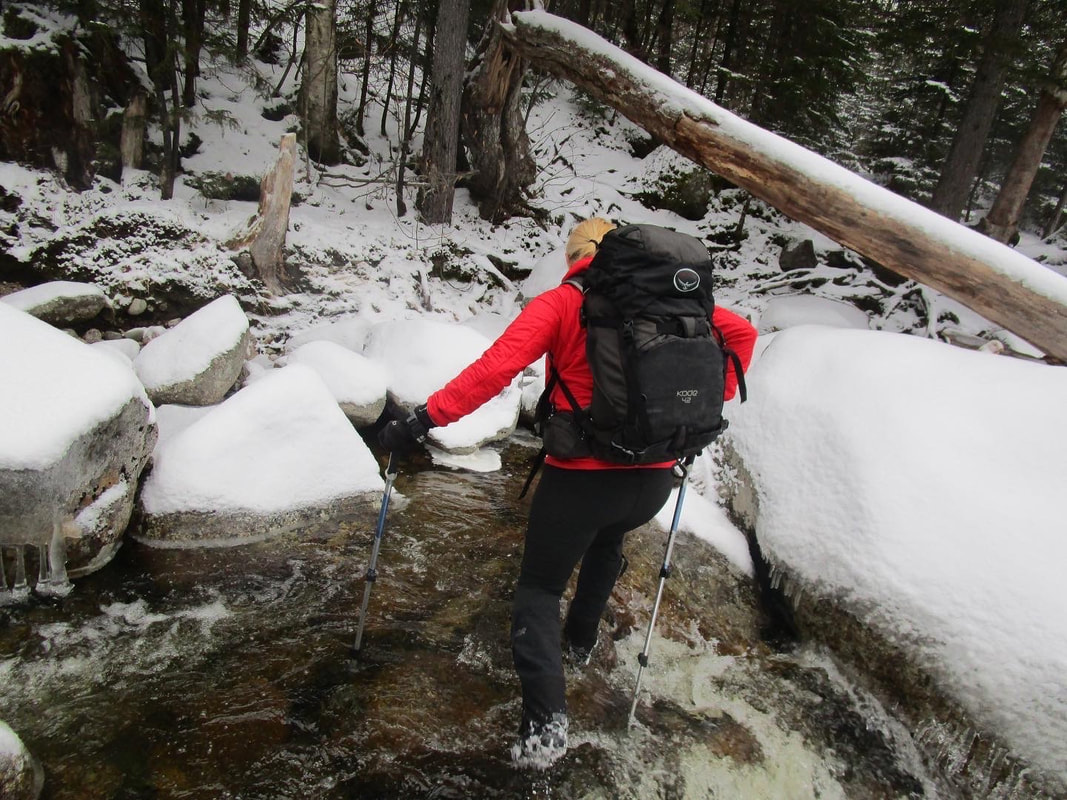
Deb and I got dropped off at the Livermore Road Trailhead and headed down the trail around 7:30AM. For the first 5.7km or so, the trail is a double track road that connects the local xc ski trail network but in the summertime is used by hikers, mountain bikers and trail running events like the Jigger Johnson 100 mile Ultra. The Livermore road hike is easy making some gradual ascent in shaded forest bliss. The temperature was still cool so we kept our pace high on this section. Finally getting to the trail, we followed a forested path for a short distance before started to ascend the slide slab and rock drainage up North Tripyramid. This slide is well known, and I was excited to tackle it as scrambles are up my alley. It didn't take long to catch up to another group of 4 climbing the slide on this sunny day. We passed them at the crux of the route, on a section that required some foot jamming and looking around for hand holds. It was apparent that Deb and I were more comfortable with these rock moves than the party we passed. Instead of rushing them, we overtook them - something I was happy about as I didn't want loose rock pummelling down towards me on this slide if they were above us. I wasn't wearing a helmet or any other rock gear so we were happy to be higher up. The slide is a mix of slab and at the upper section very loose rock including the ball bearing scree that can cause you to slip quite easily. We took our time and paid attention to our foot placements. The vistas of the ski hill and Osceolas were outstanding on this day and we soaked them up anytime we could. I realized I had forgot my phone in the car so we only had one camera to capture our hike memories.
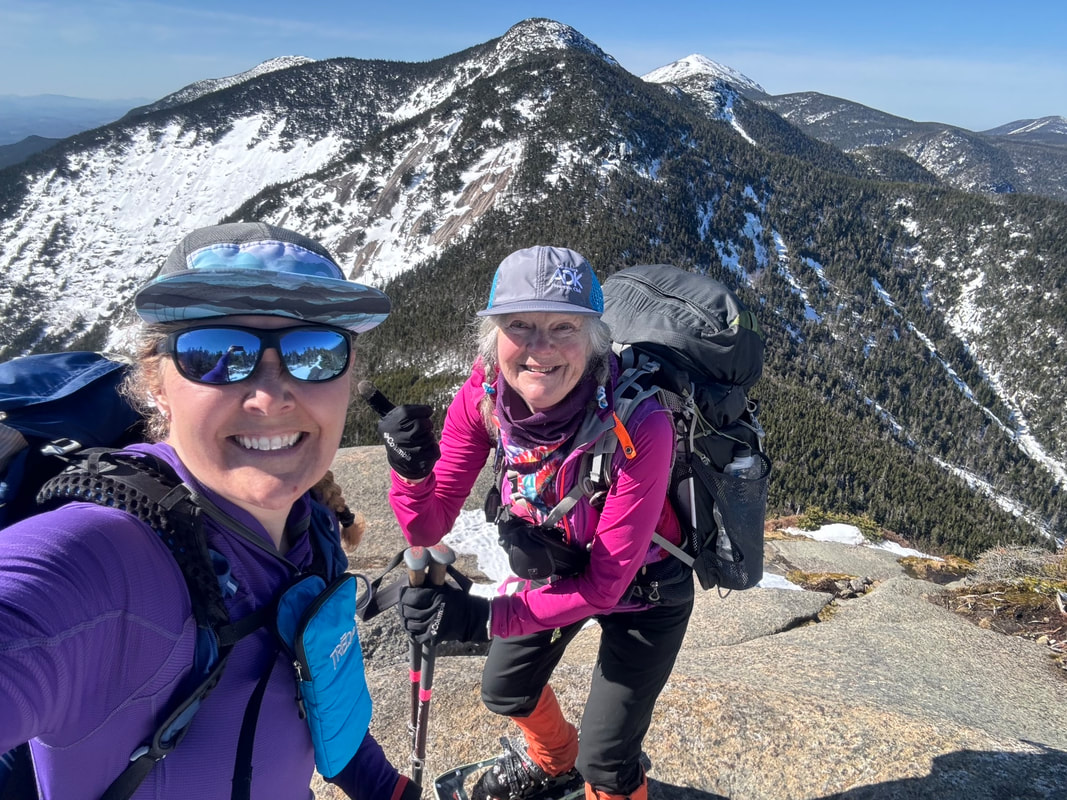
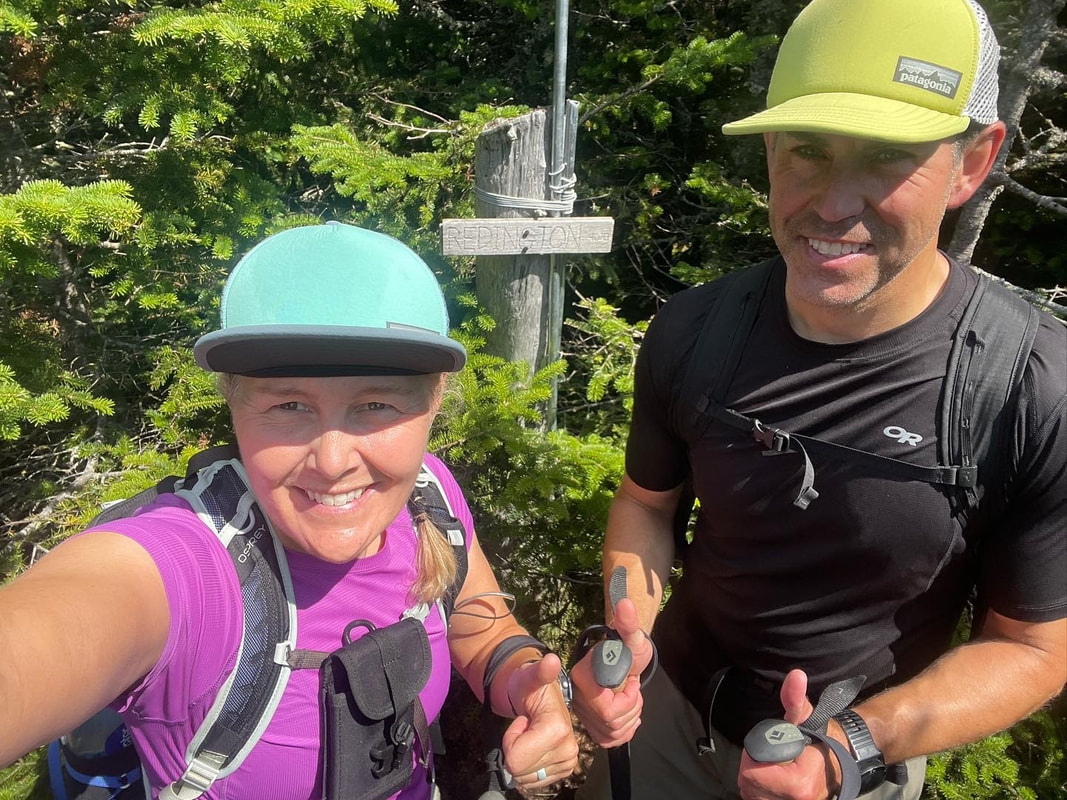
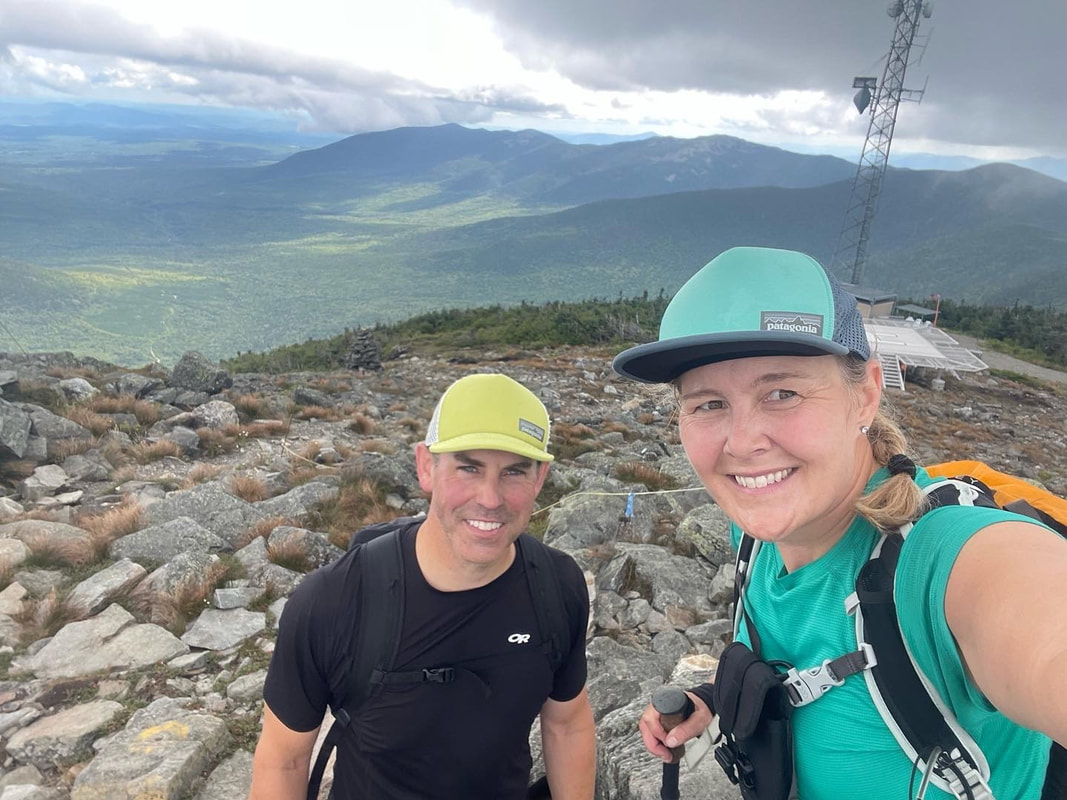
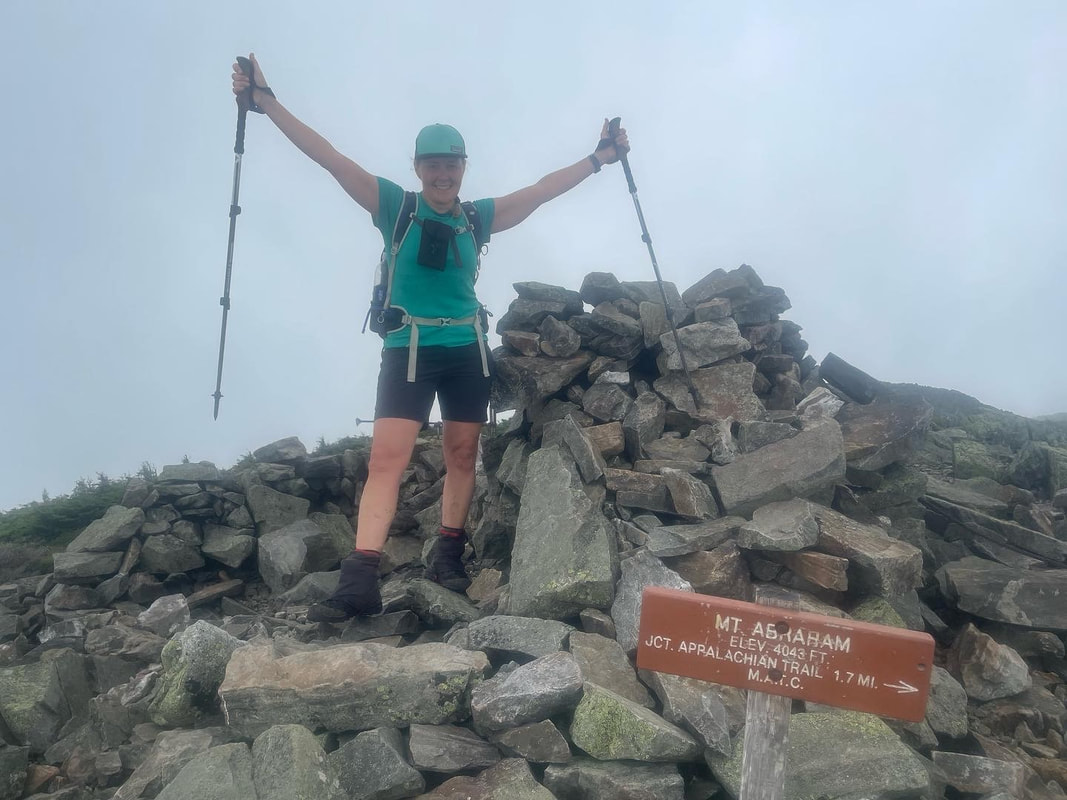
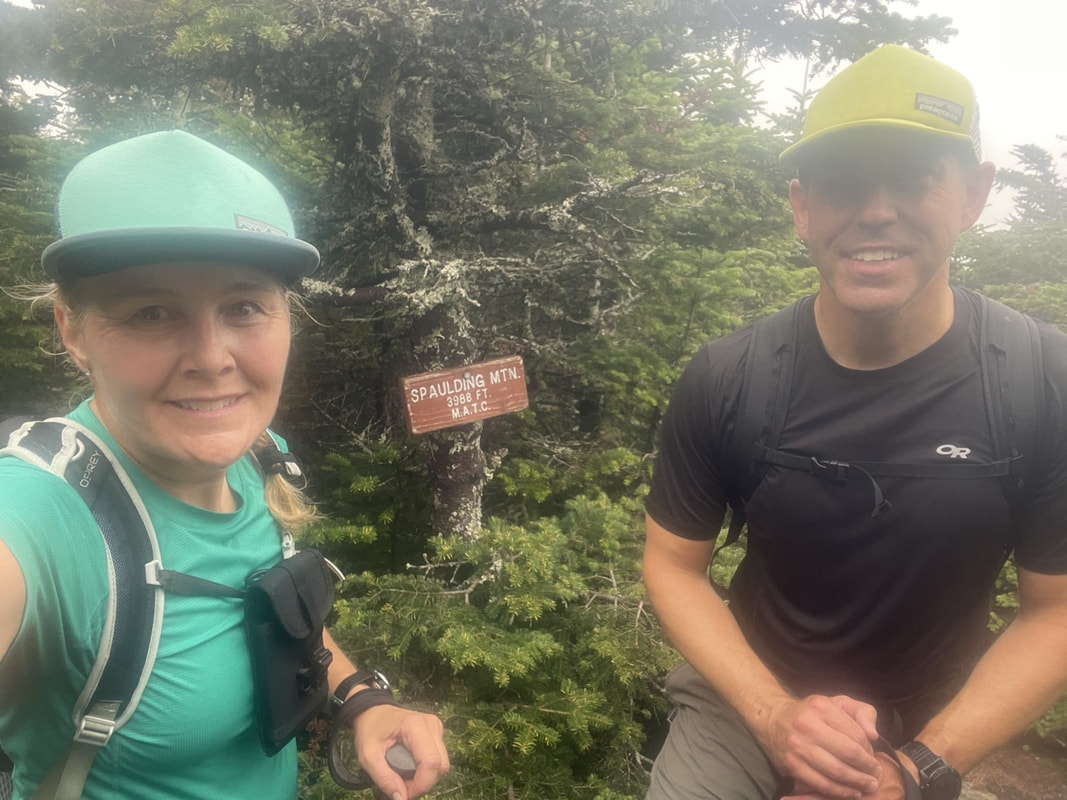
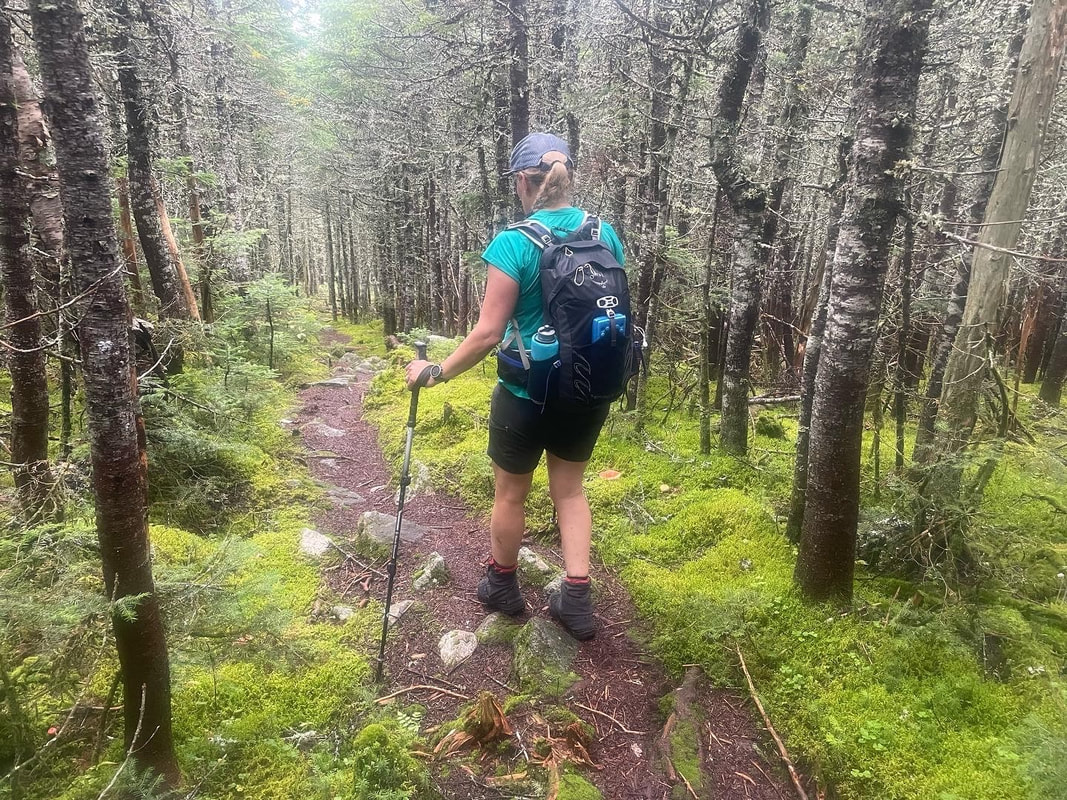
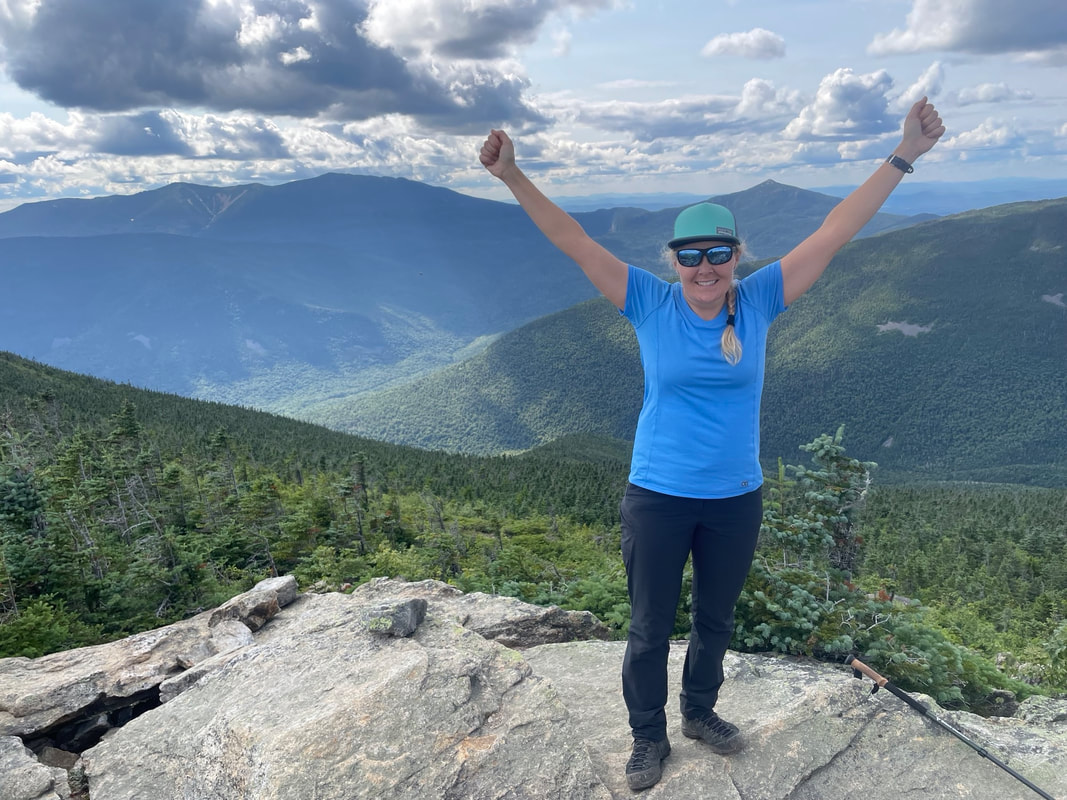
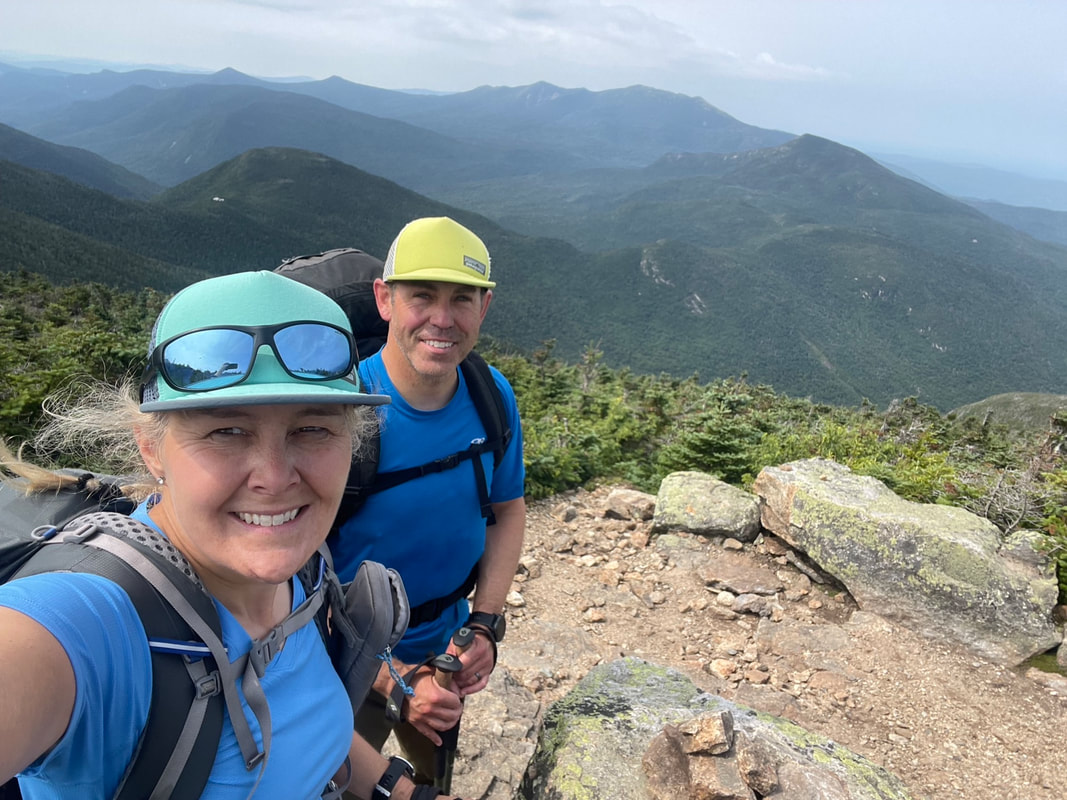
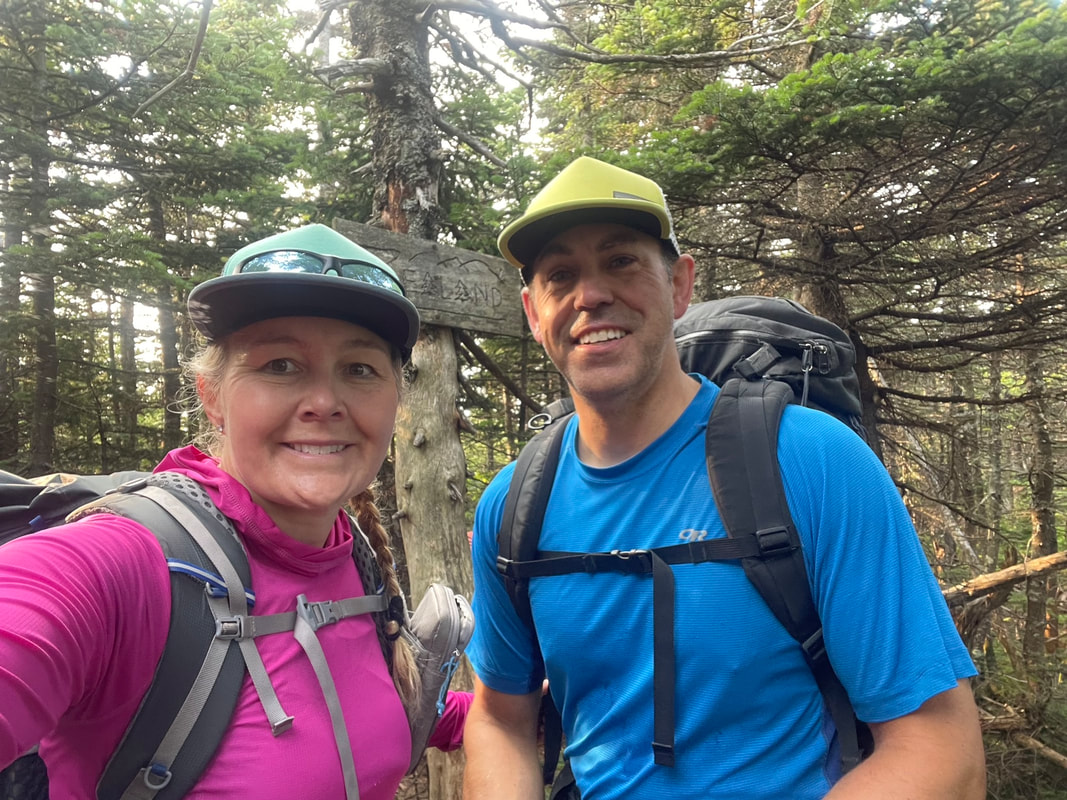
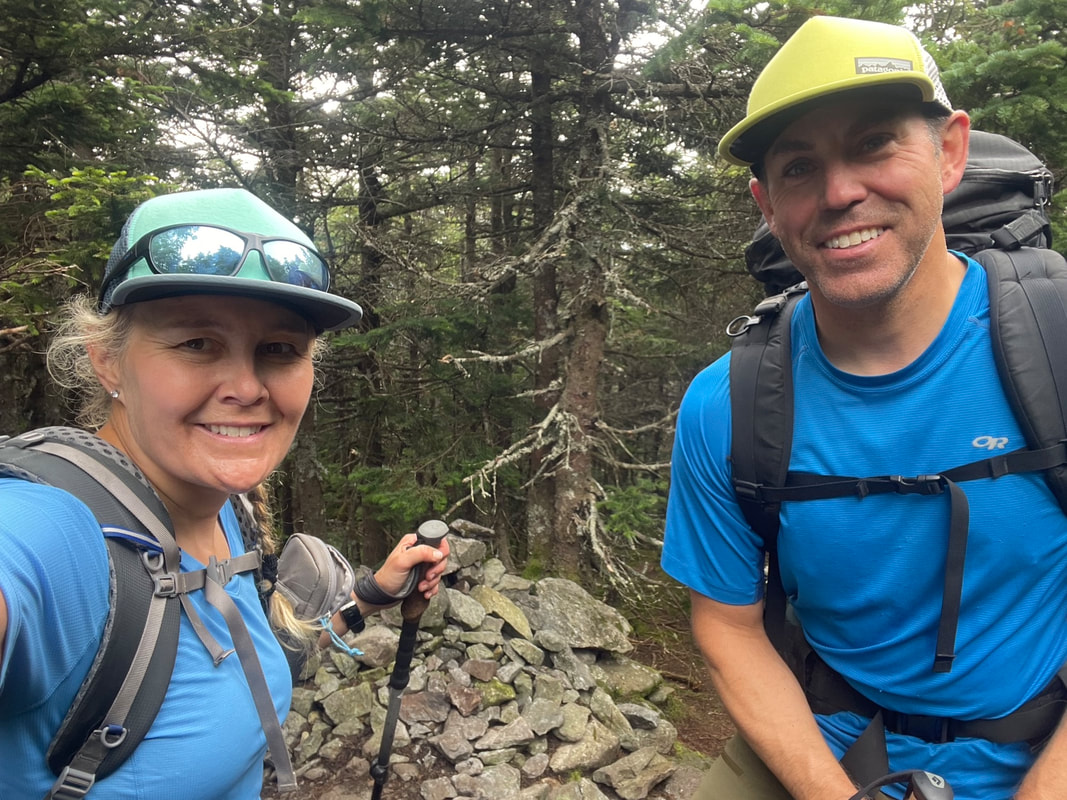
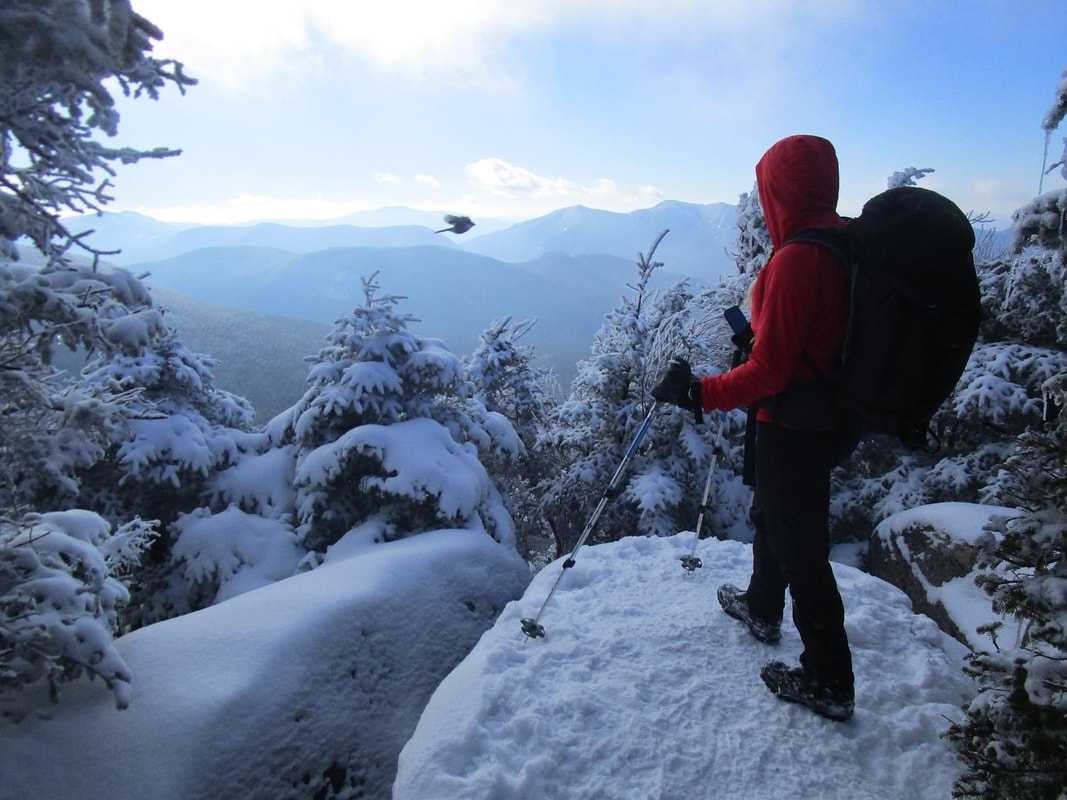
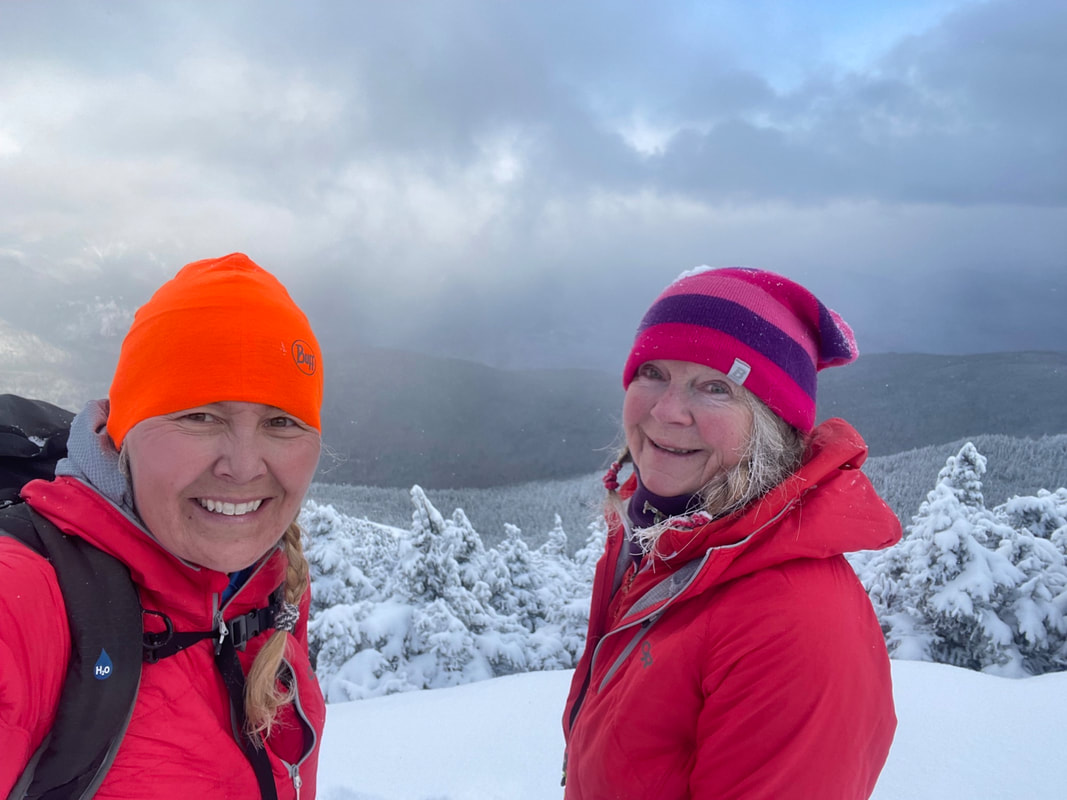
At the top of the slide, the trail exits on the left into the forest again where in a matter of a minutes you hit the summit proper - a rocky outcropping. We drank some water here (drinking on the slide was almost impossible) and met up with a female hiker who had come up from another trail and wanted to hike down to the slide to see the view. There are no real views or lookouts off the actual summit. We took off on the ridge trail towards Middle Tripyramid and descended a few hundred feet before climbing back up. Just before the Middle Summit, we met up with a local male hiker who was on his way down. On the summit proper, we spoke to a hiker from Boston who also called us crazy for ascending the slide!
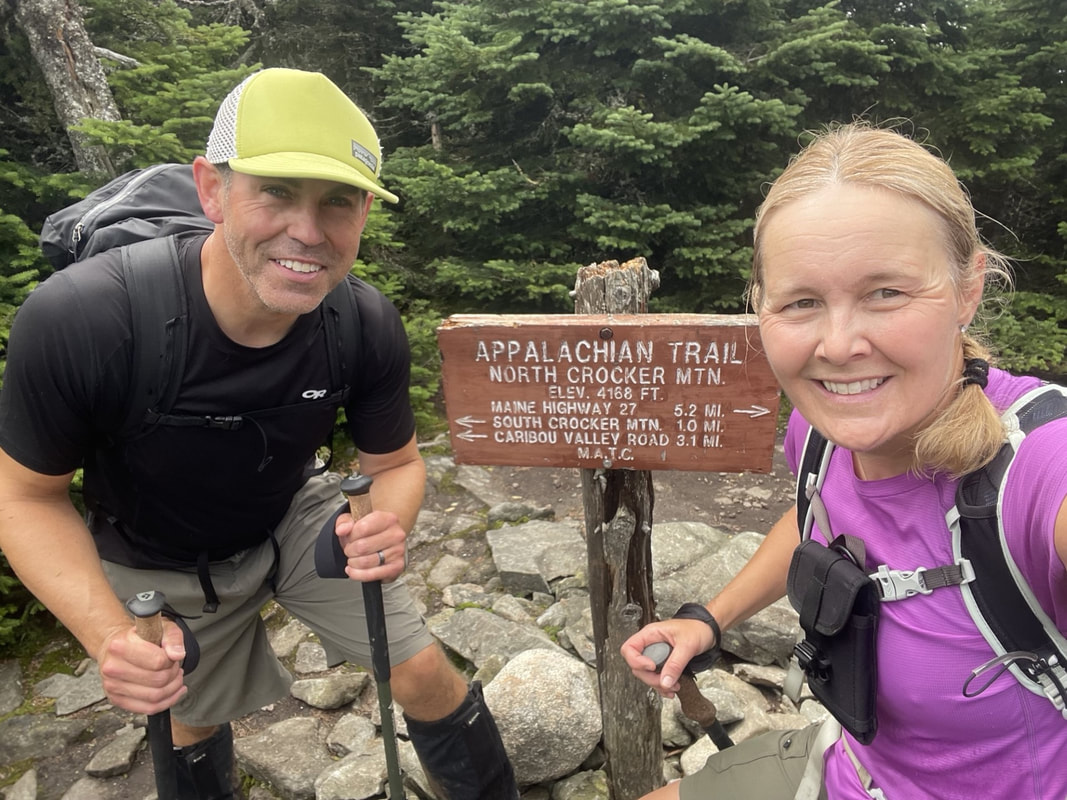
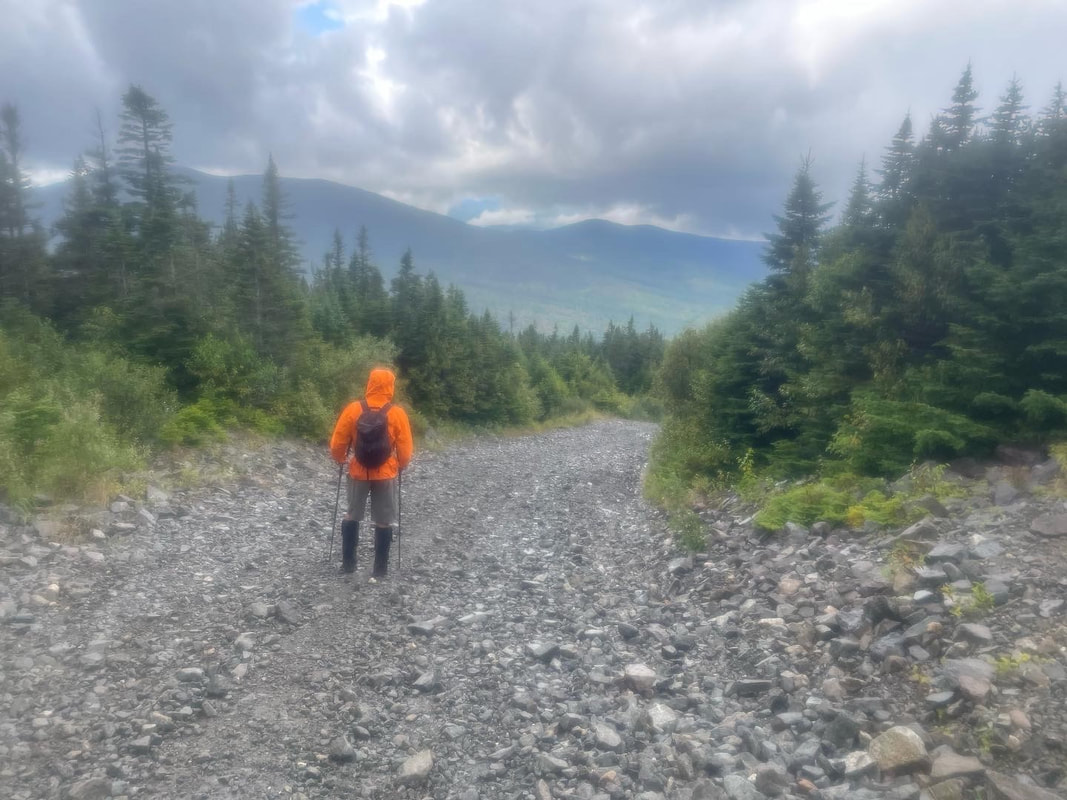
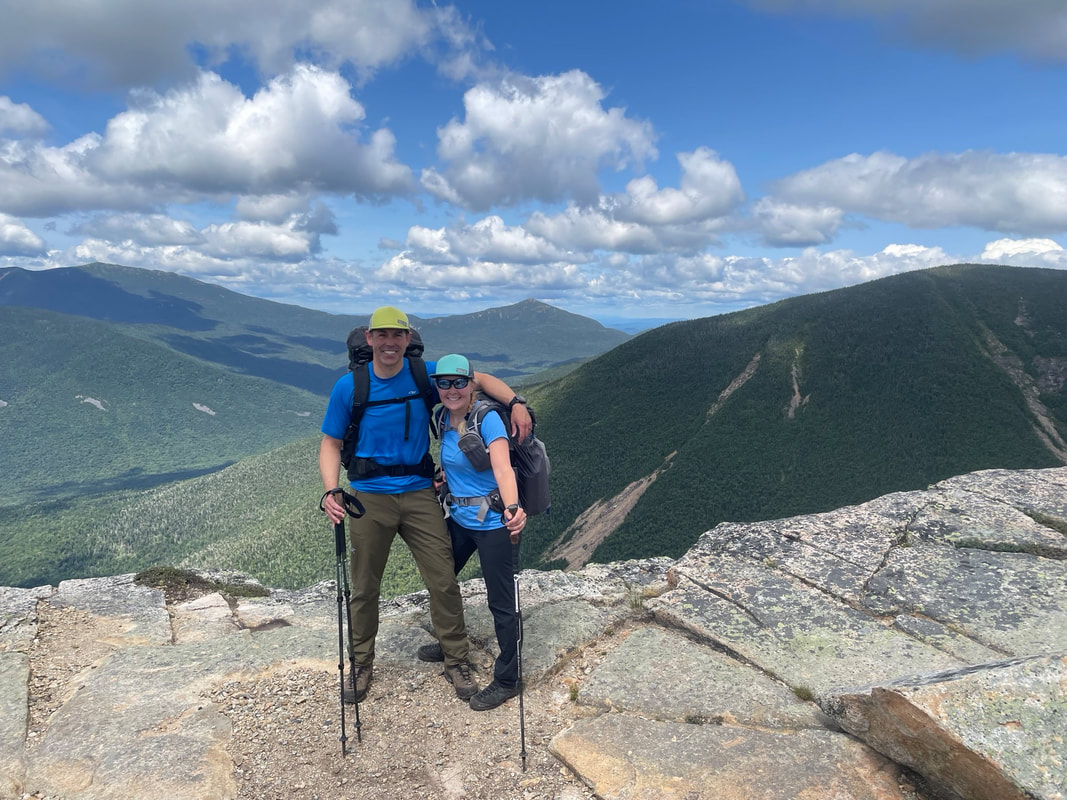
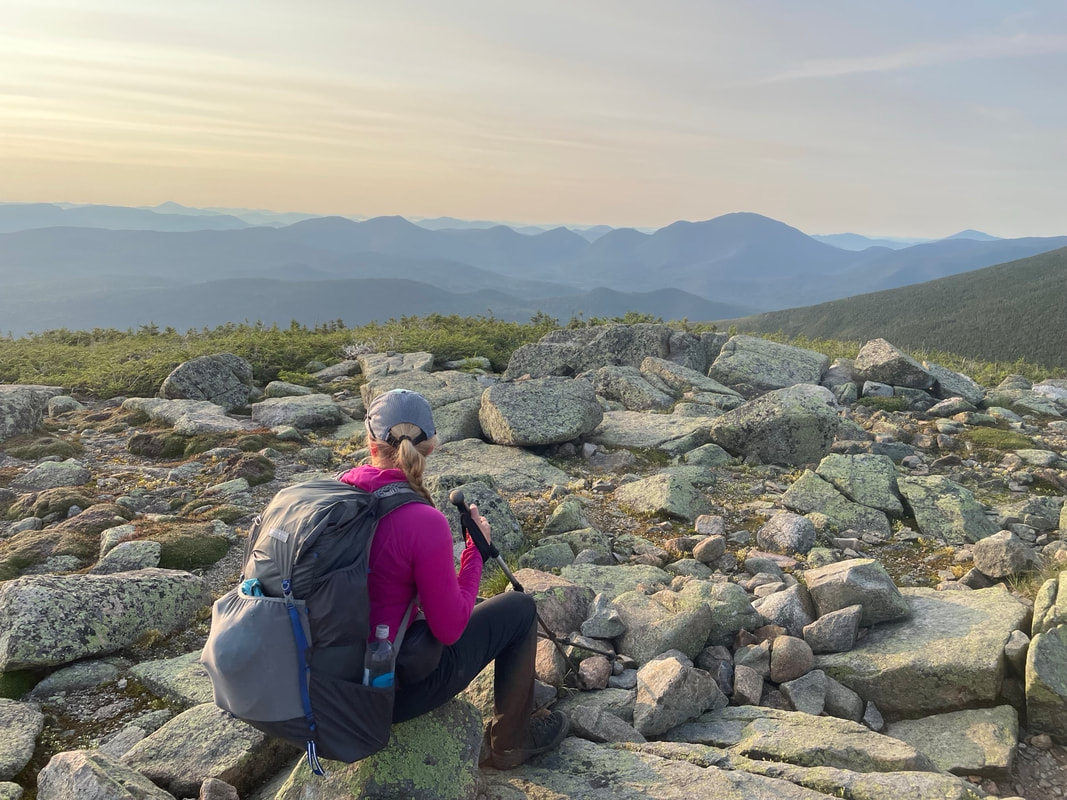
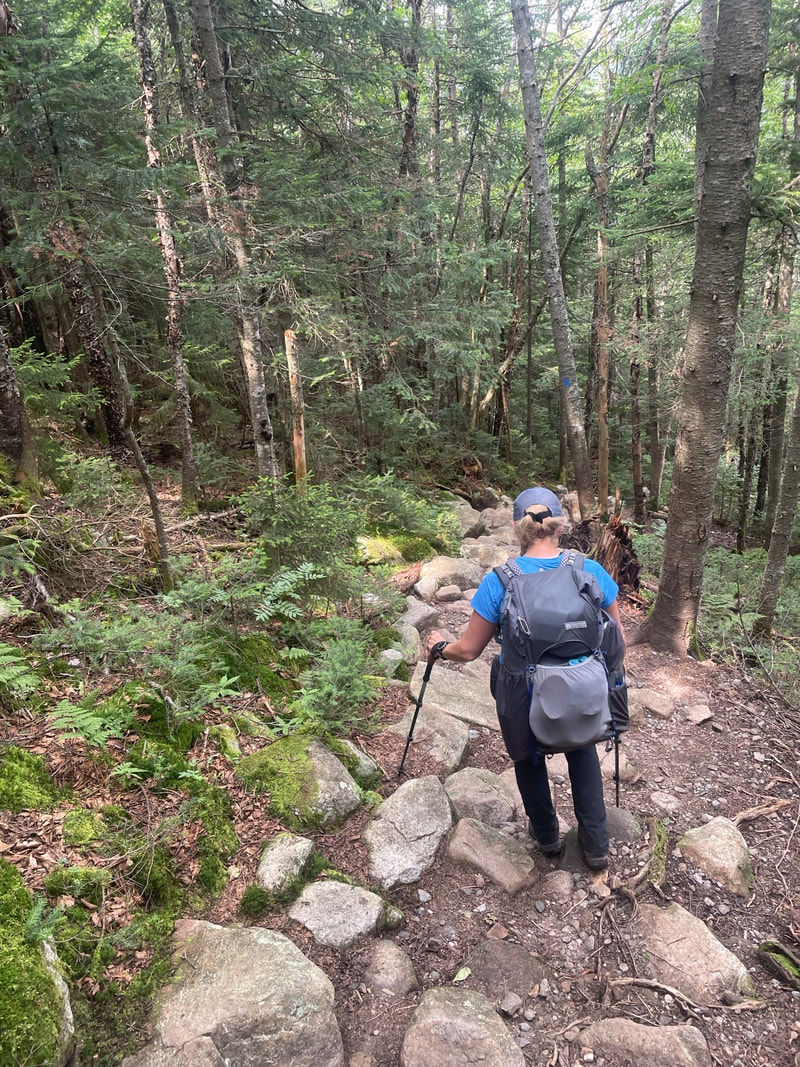
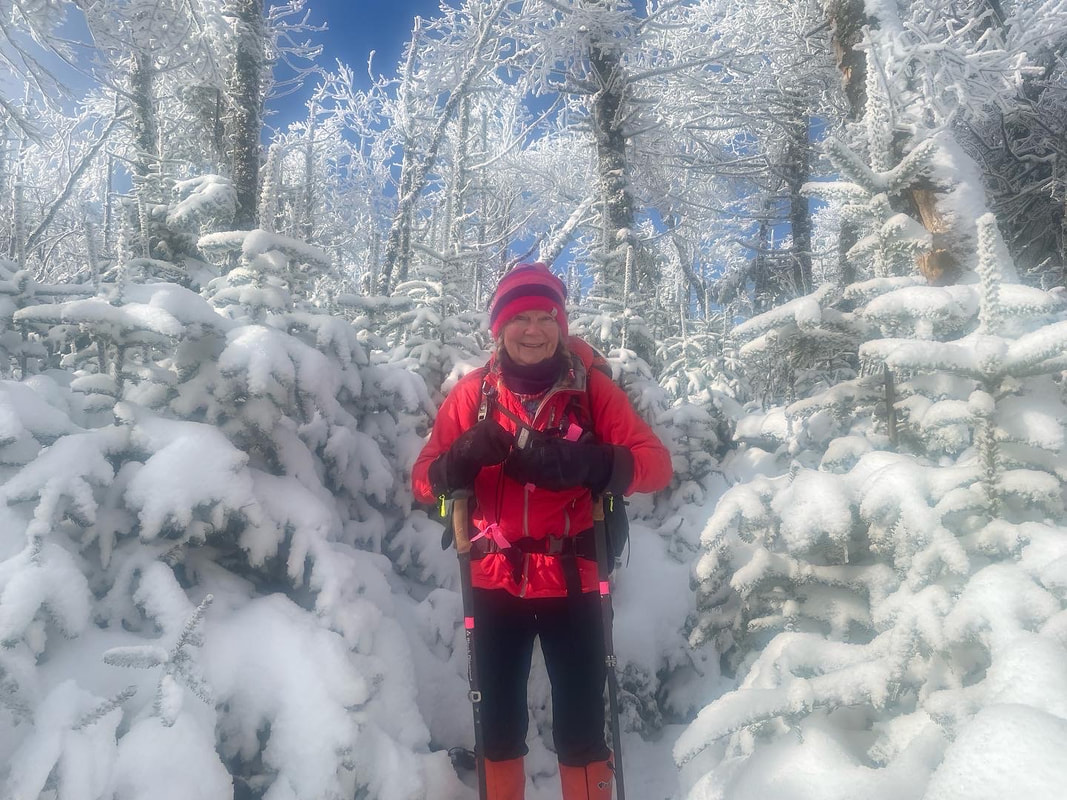
We took a quick summit shot and headed over to South Tripyramid. Here we sat down on the summit to have lunch and to send a Garmin inReach message to my husband to coordinate a pick up time after forgetting my phone in the car. Sidebar: I got a U.S. cell phone plan and love it! Not too far of the South Tripyramind summit a rocky slide with lots of loose rock descends steeply for 1000ft. We intently paid attention to every footstep. Today I was using my husband's hiking poles which I needed for balance and jumping down off big rocks. On the slide, we got hammered by UV rays from the sun. Finally at the bottom, we entered the shaded forest and marched out the lovely dirt ramp all the way back to the Livermore Road. As we walked out, we were passed by several mountain biking parties. Deb and I were chatting and not paying attention to our footing on this easy terrain where she tripped and fell forward scraped a few body parts but wasn't injured seriously. We met up with Glenn who walked in to meet us.
I thoroughly enjoyed this hike - the slides were so much fun! I wouldn't want to to it on a icy day but today (Friday July 19th, 2024) was perfect!
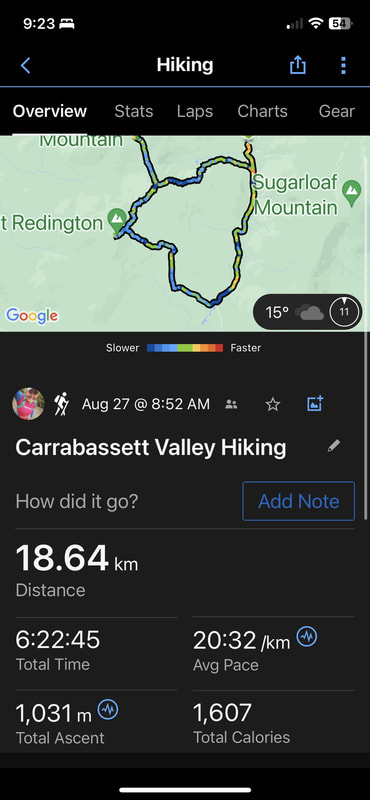
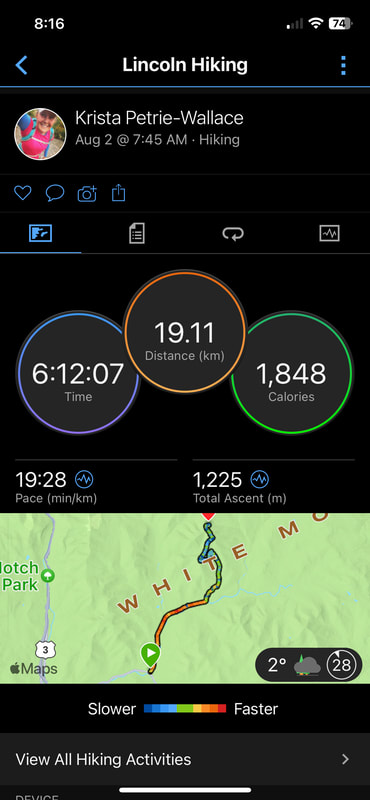
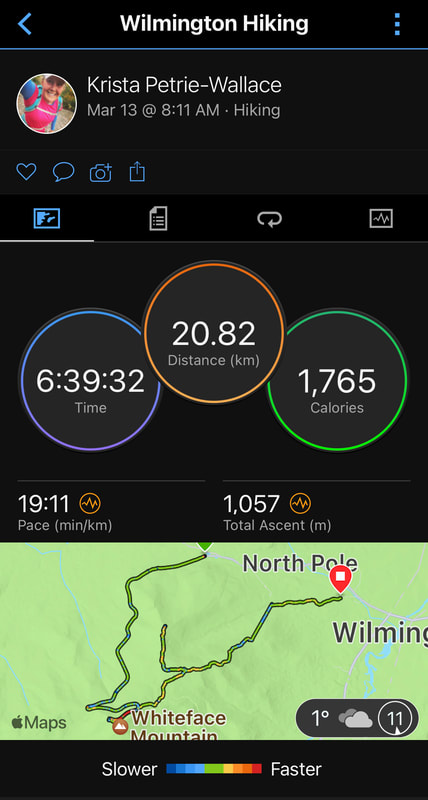
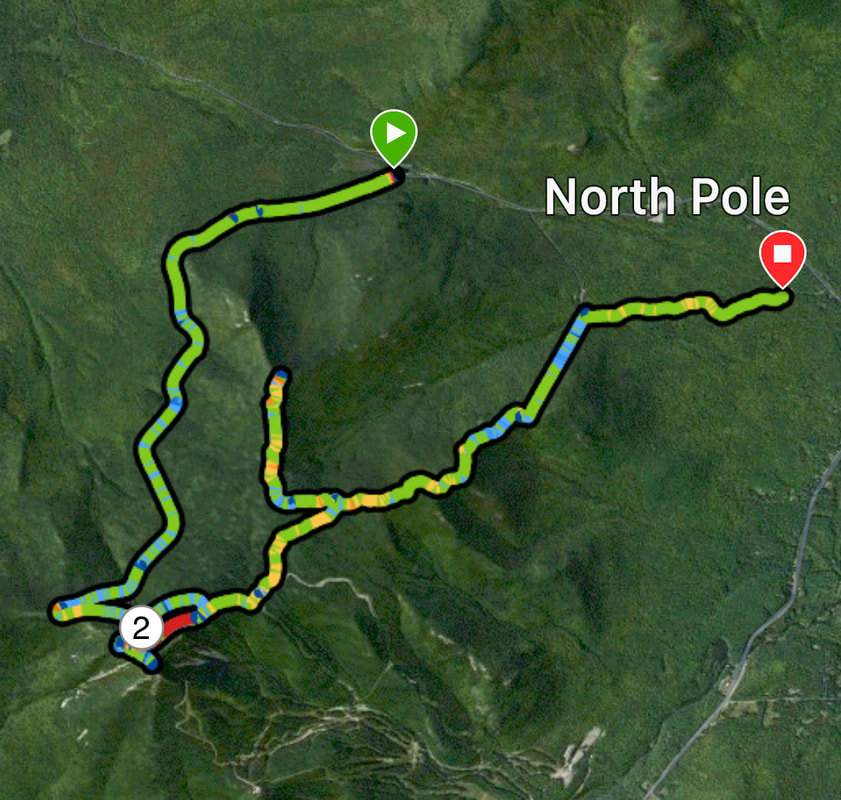
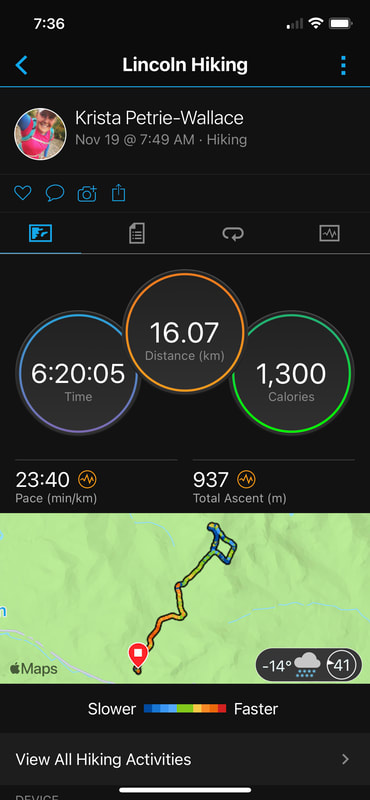
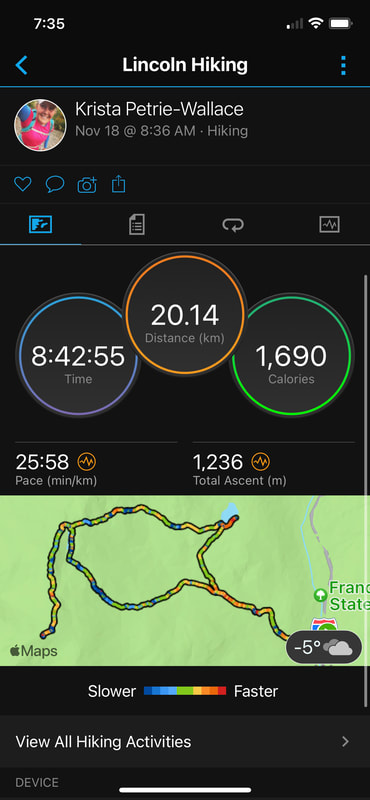
Hike Stats:
Distance: 17.75km
Elevation: 930m
Time: 6hrs, 13mins
NE115er list: Peak #93 and #94
At the top of the slide, the trail exits on the left into the forest again where in a matter of a minutes you hit the summit proper - a rocky outcropping. We drank some water here (drinking on the slide was almost impossible) and met up with a female hiker who had come up from another trail and wanted to hike down to the slide to see the view. There are no real views or lookouts off the actual summit. We took off on the ridge trail towards Middle Tripyramid and descended a few hundred feet before climbing back up. Just before the Middle Summit, we met up with a local male hiker who was on his way down. On the summit proper, we spoke to a hiker from Boston who also called us crazy for ascending the slide!
We took a quick summit shot and headed over to South Tripyramid. Here we sat down on the summit to have lunch and to send a Garmin inReach message to my husband to coordinate a pick up time after forgetting my phone in the car. Sidebar: I got a U.S. cell phone plan and love it! Not too far of the South Tripyramind summit a rocky slide with lots of loose rock descends steeply for 1000ft. We intently paid attention to every footstep. Today I was using my husband's hiking poles which I needed for balance and jumping down off big rocks. On the slide, we got hammered by UV rays from the sun. Finally at the bottom, we entered the shaded forest and marched out the lovely dirt ramp all the way back to the Livermore Road. As we walked out, we were passed by several mountain biking parties. Deb and I were chatting and not paying attention to our footing on this easy terrain where she tripped and fell forward scraped a few body parts but wasn't injured seriously. We met up with Glenn who walked in to meet us.
I thoroughly enjoyed this hike - the slides were so much fun! I wouldn't want to to it on a icy day but today (Friday July 19th, 2024) was perfect!
Hike Stats:
Distance: 17.75km
Elevation: 930m
Time: 6hrs, 13mins
NE115er list: Peak #93 and #94


 RSS Feed