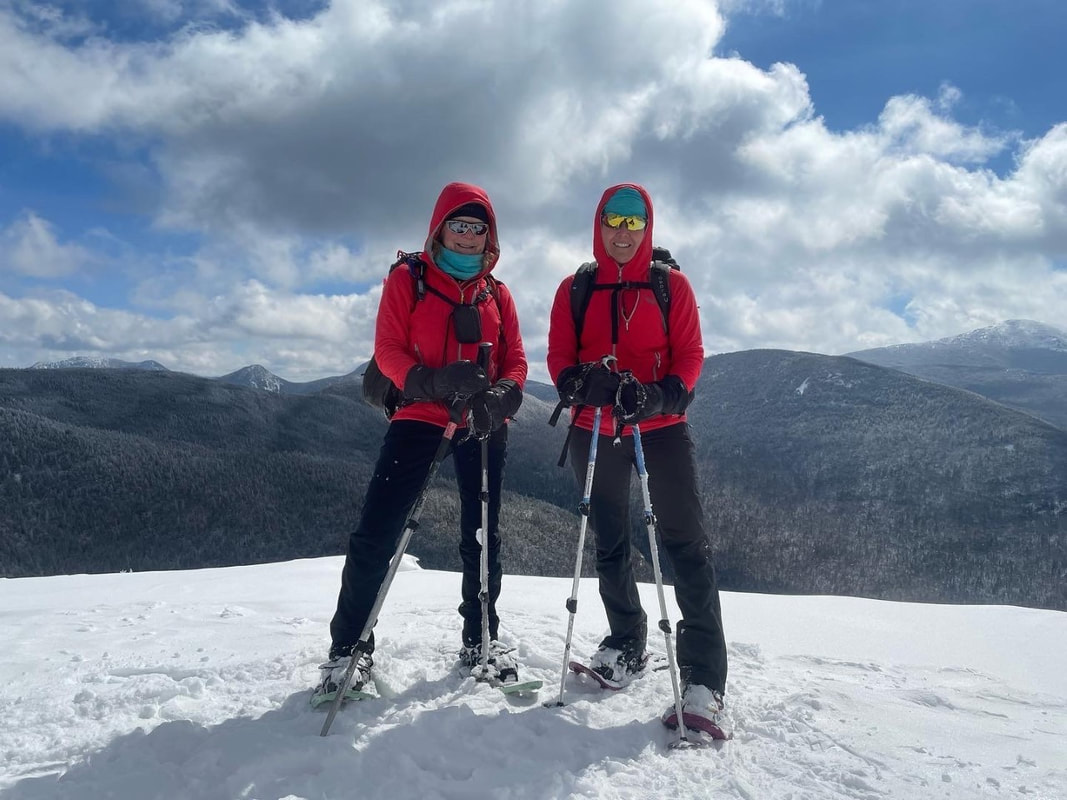
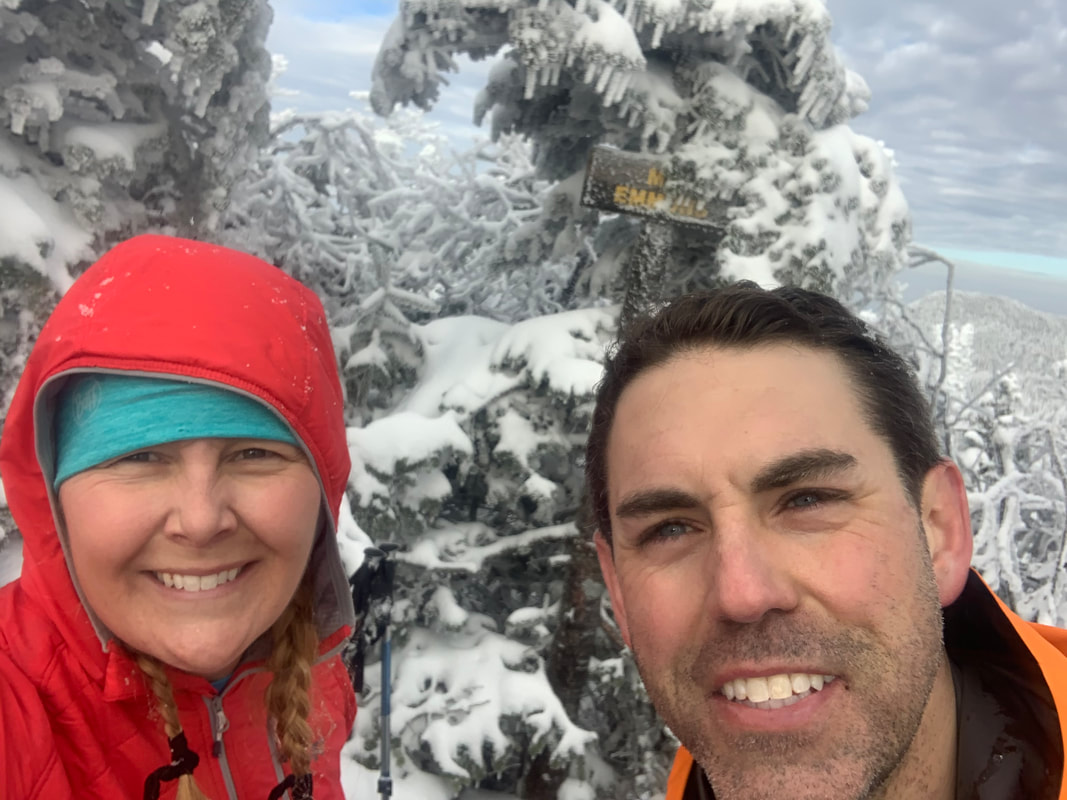
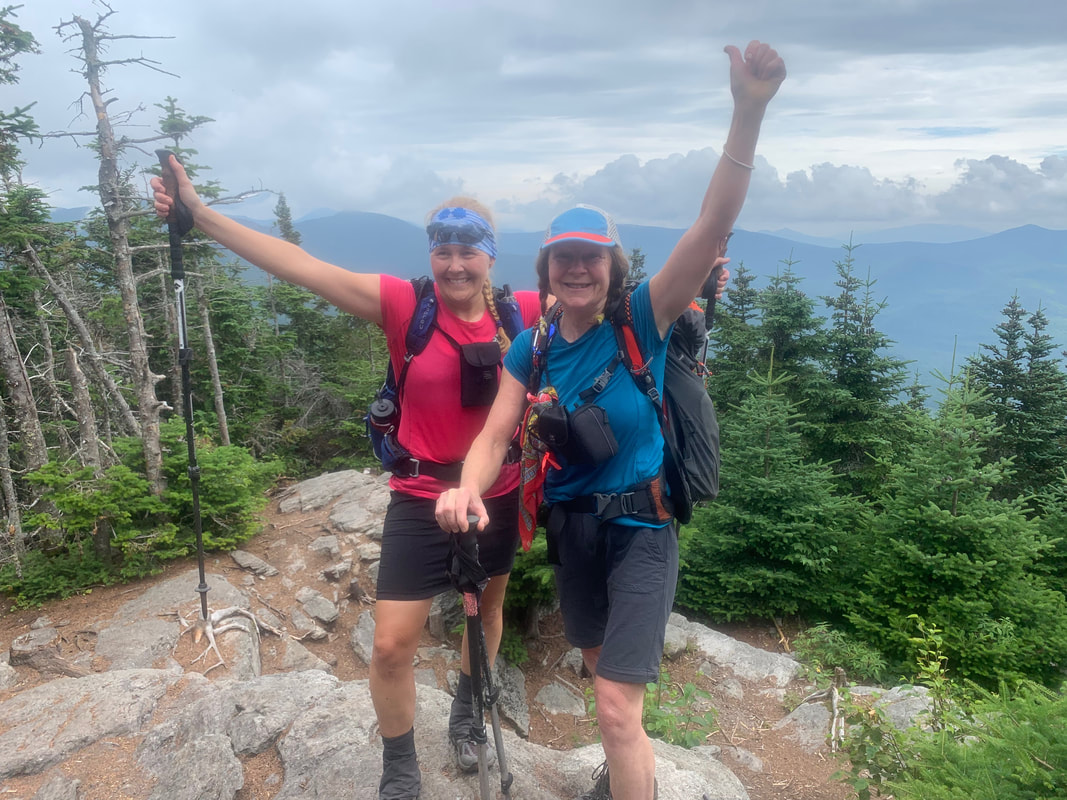
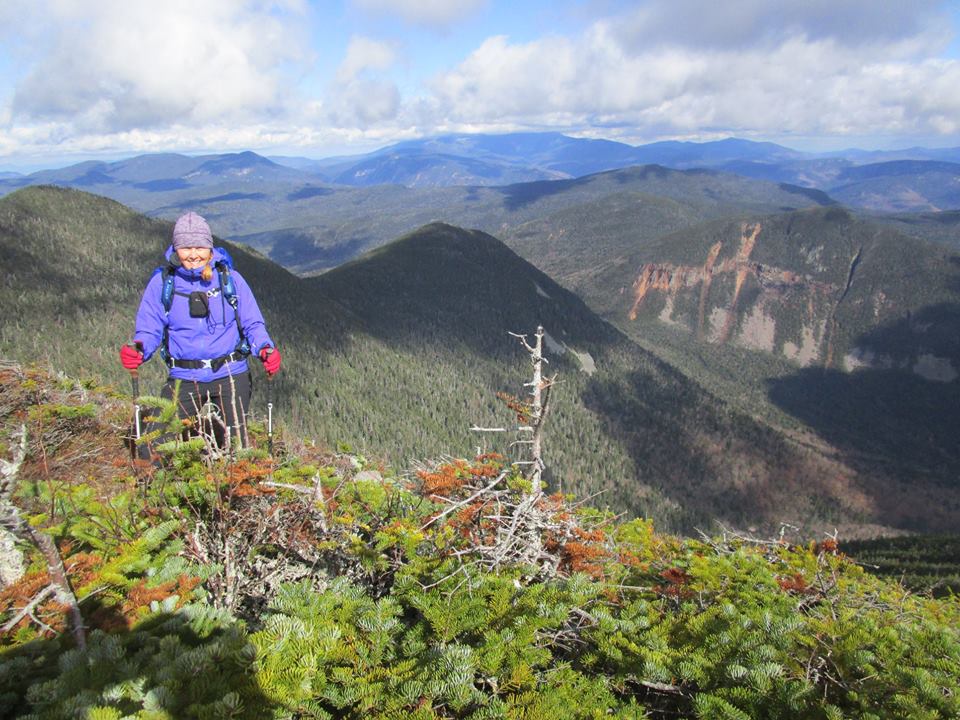
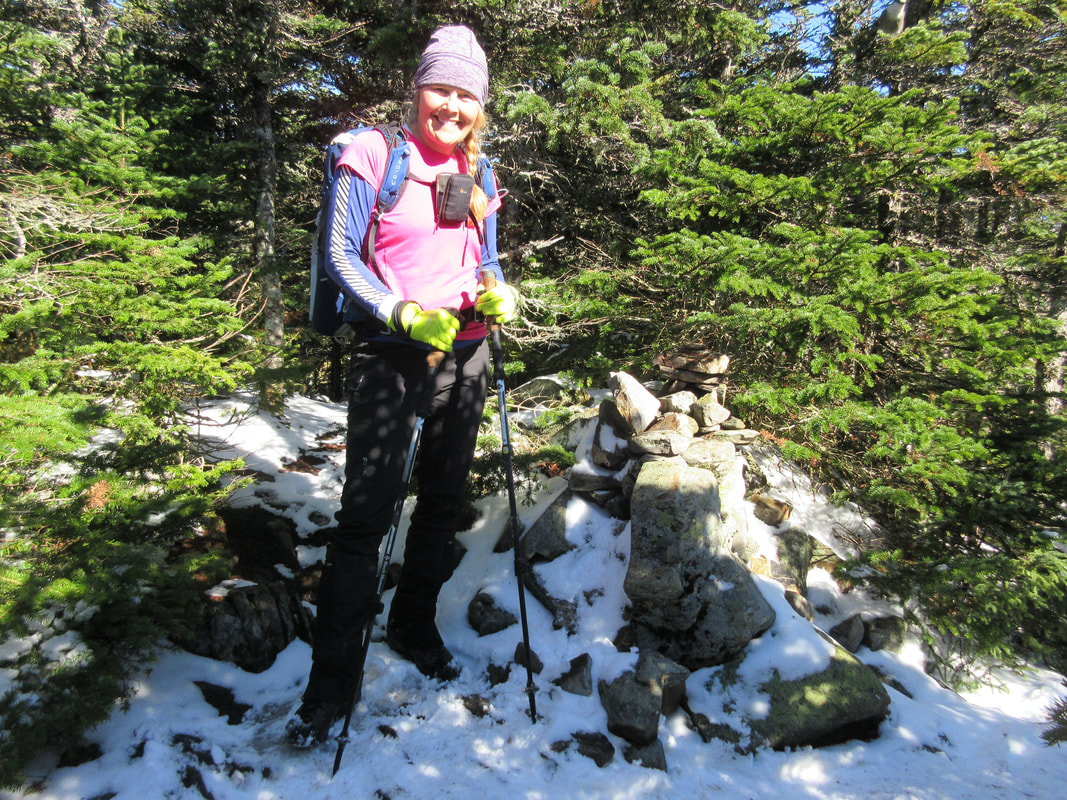
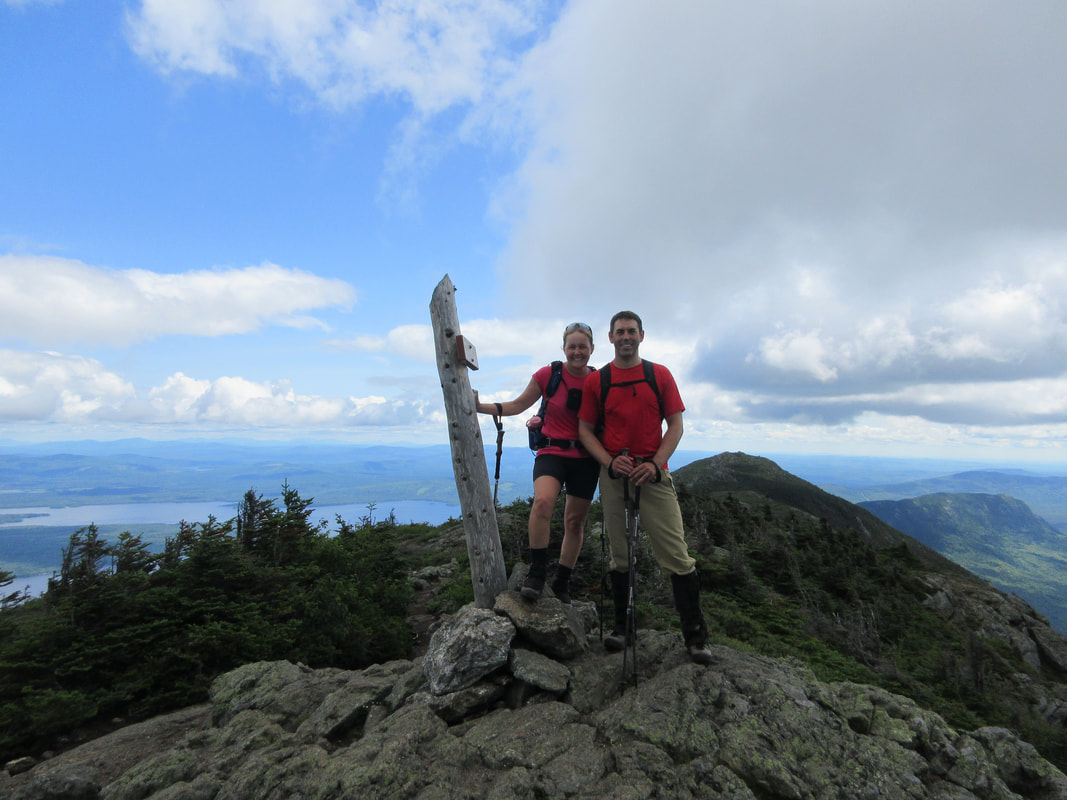
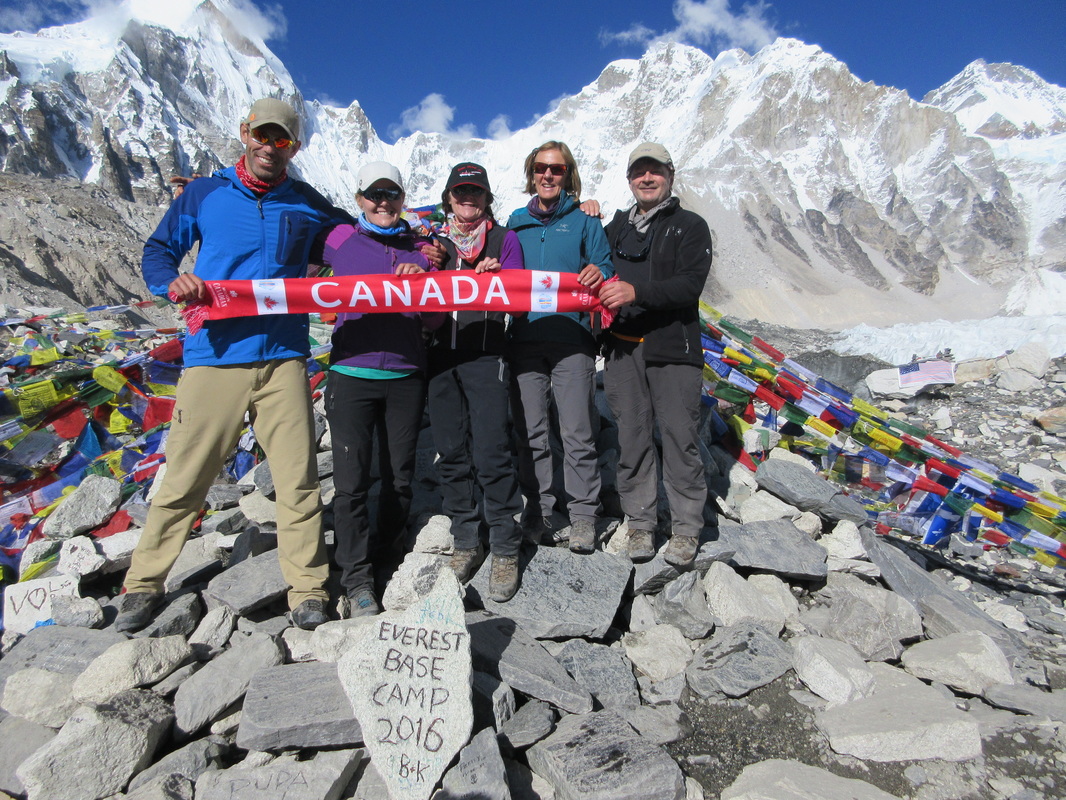
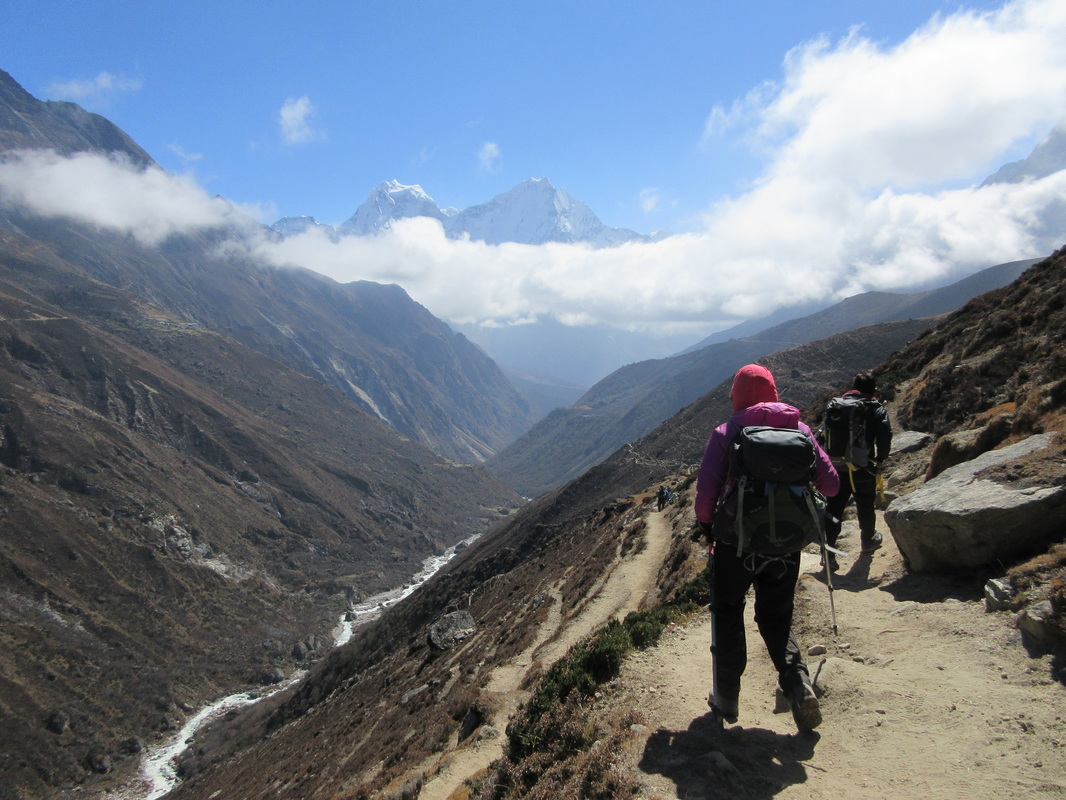
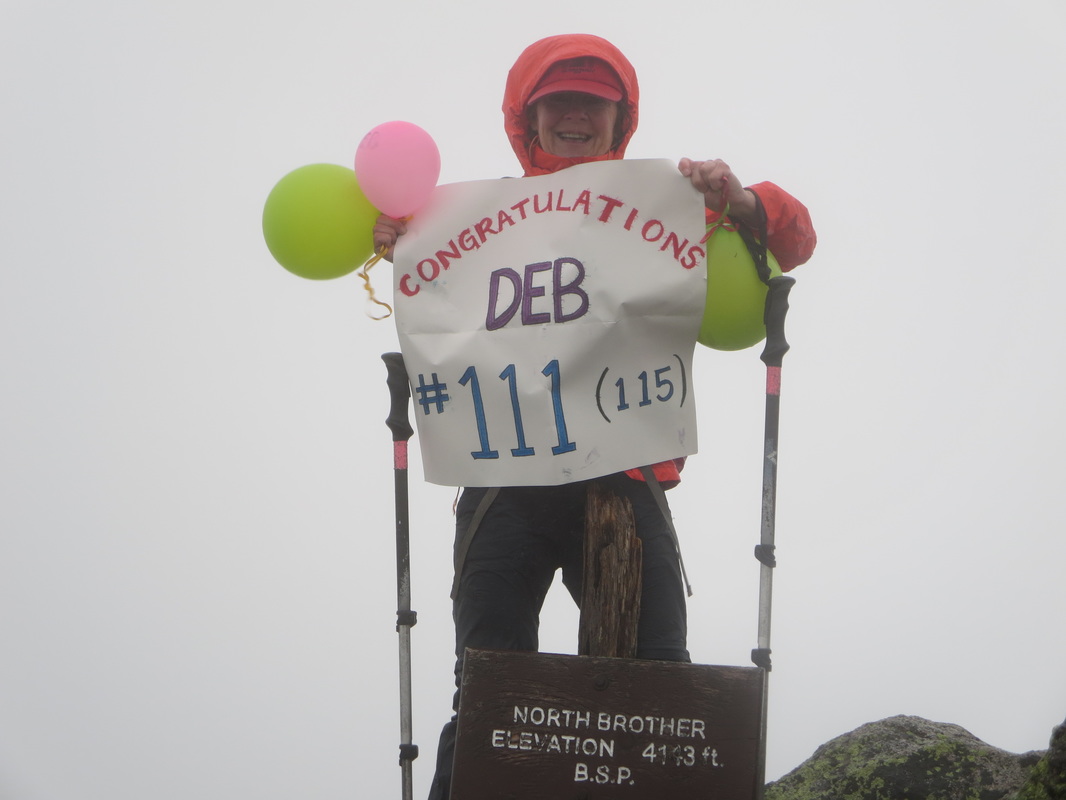
Deb and Krista on the summit of Phelps!
March 14th, 2022
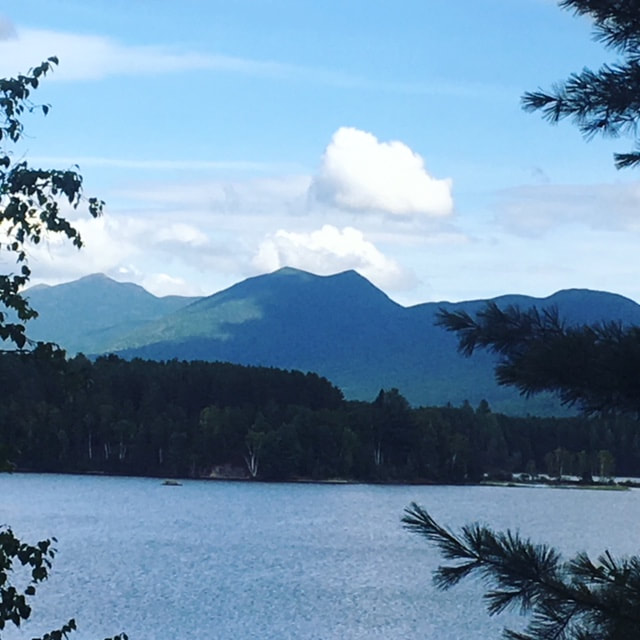
Finally!! After a long two year hiatus, I finally crossed the border and headed straight to the Adirondacks! We crossed over on Sunday March 13th, a day later than planned but a large snowstorm was warning us that blizzard conditions were going to be imminent and driving would be 'impossible'. When we finally arrived in Lake Placid and then in Keene in felt like being back to our home away from home. I have spent loads of time in the Adirondacks over the past 15 years and it definitely felt good to be back.
One hoop us Canadians had to jump through in March of 2022 was to have a negative Covid test before re-entering Canada. So we found a free one you could get done at Walgreens in Lake Placid and had our appointments booked in advance for the earliest slots on Monday morning around 9:30AM. The drive-thru test was a breeze - they did Deb and I together. Our two other trip mates had to wait a whole extra hour so we went ahead and started our day off on South Meadow road.
I needed Phelps and Tabletop for my Winter 46er list. We thought those two would fit the bill nicely as a re-introduction to the Adirondacks after our 2 year hiatus. We had tried our best to keep our legs in mountain shape by strength training, walking up and down our local ski hill and doing numerous hikes and backpacking trips in Ontario. The hills just aren't as long, so nothing would fully prepare us for our return trip to the 'dacks.
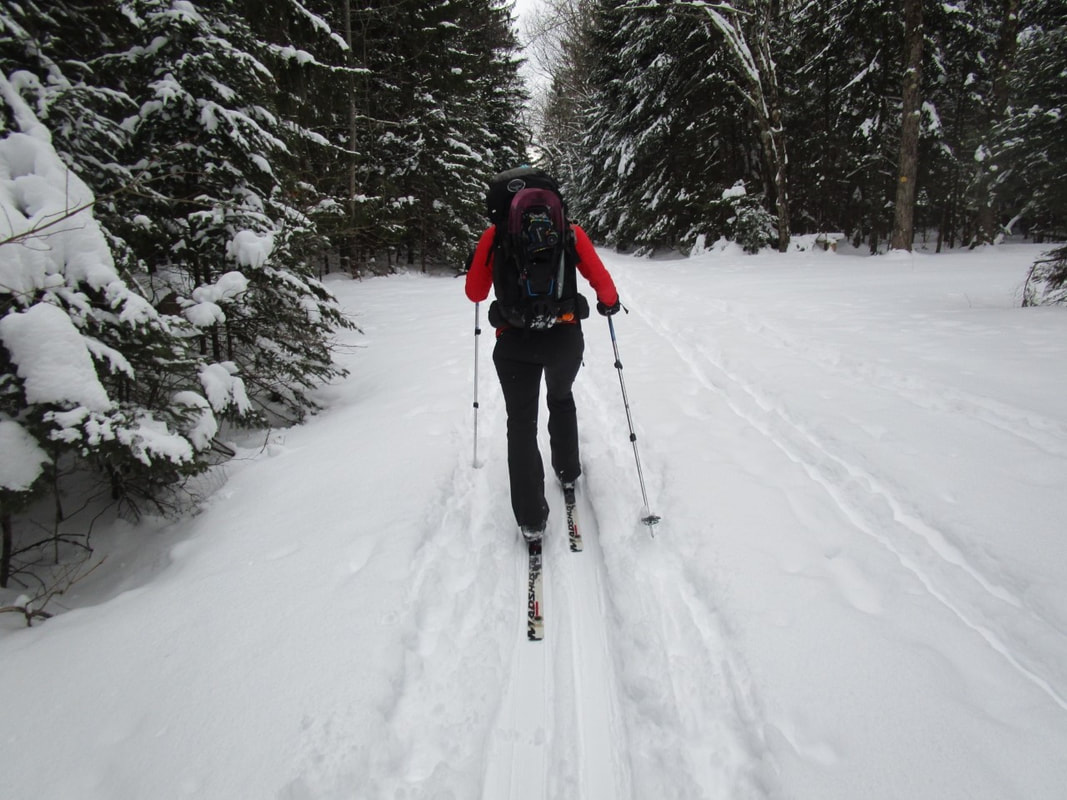
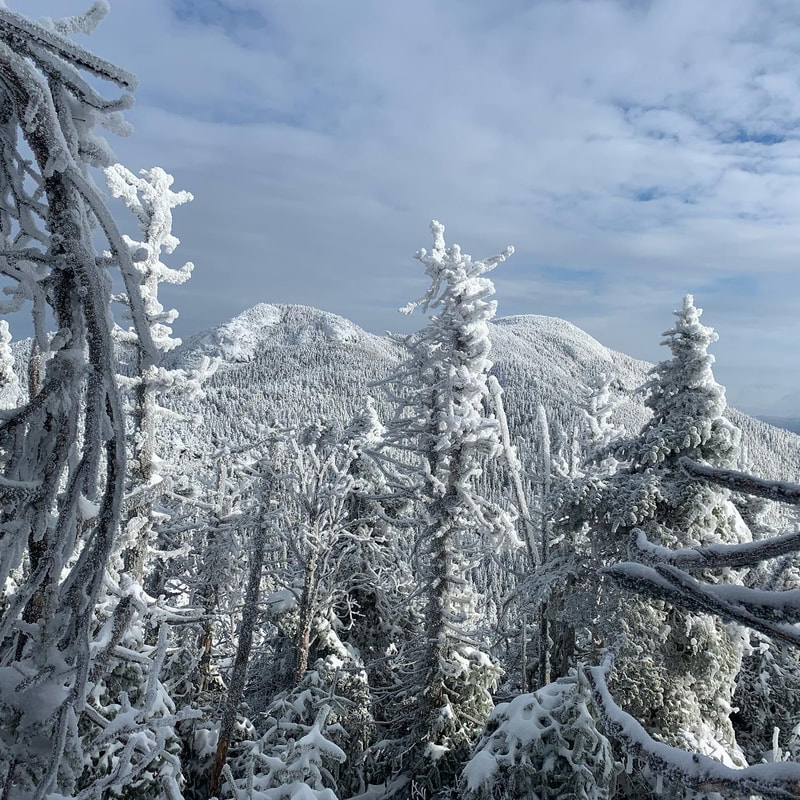
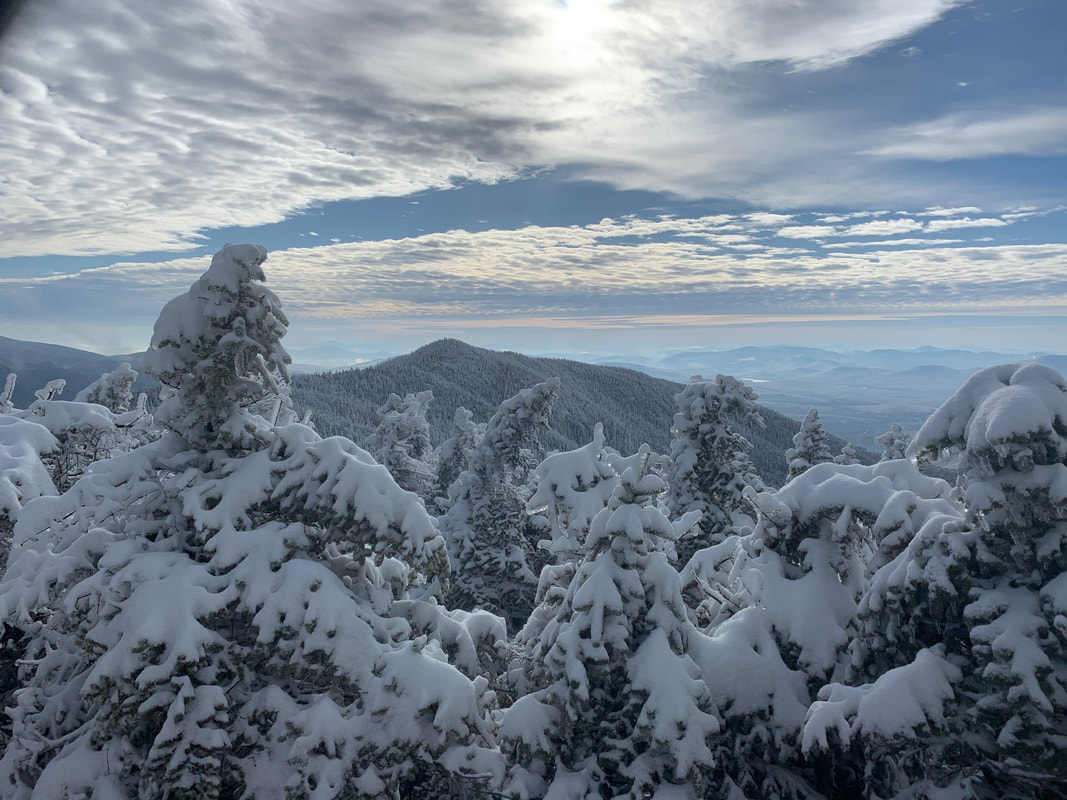
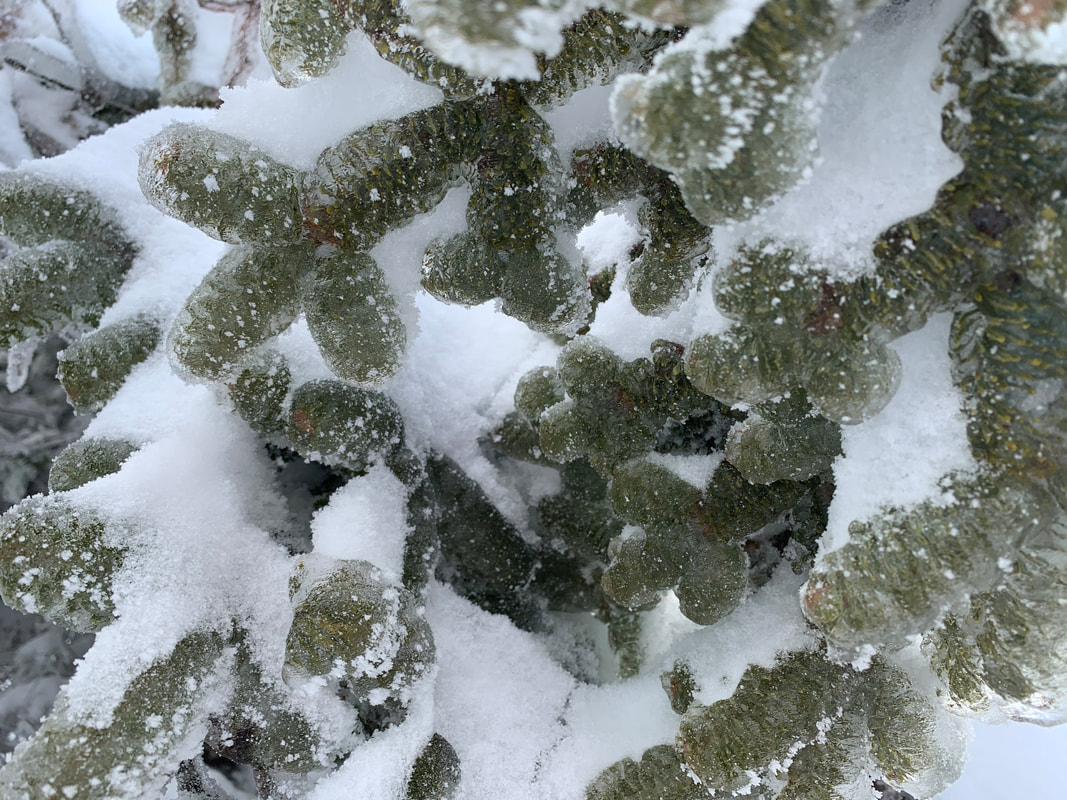
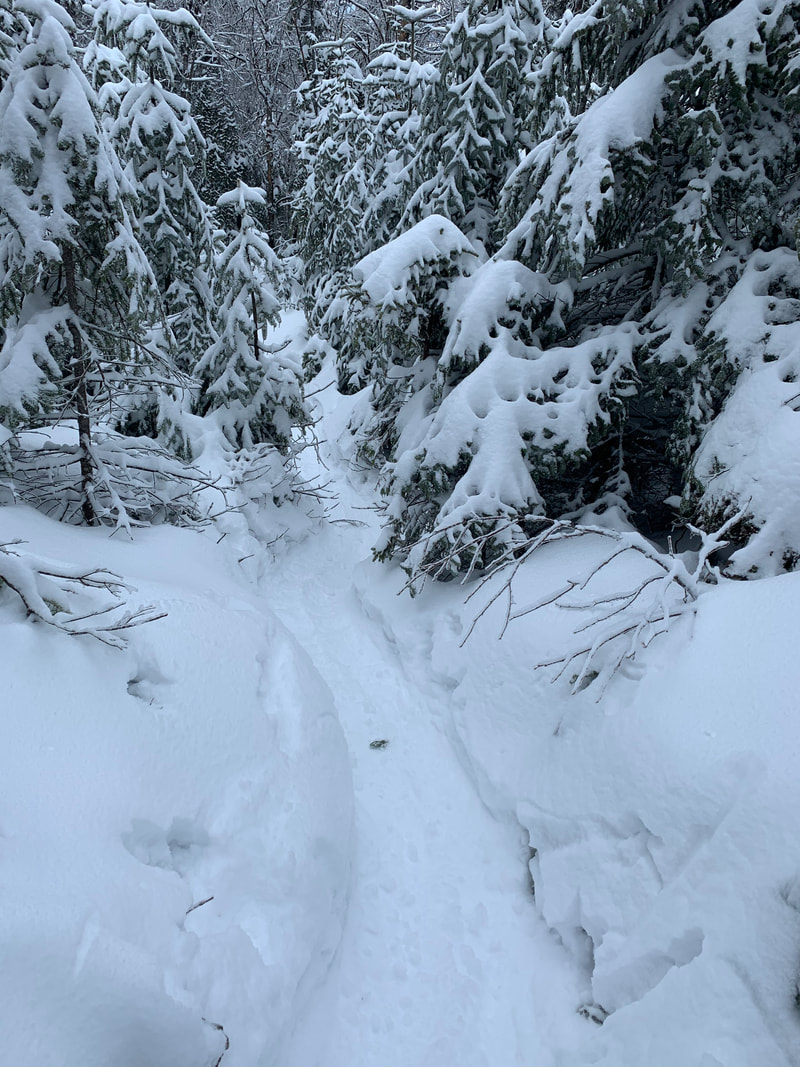
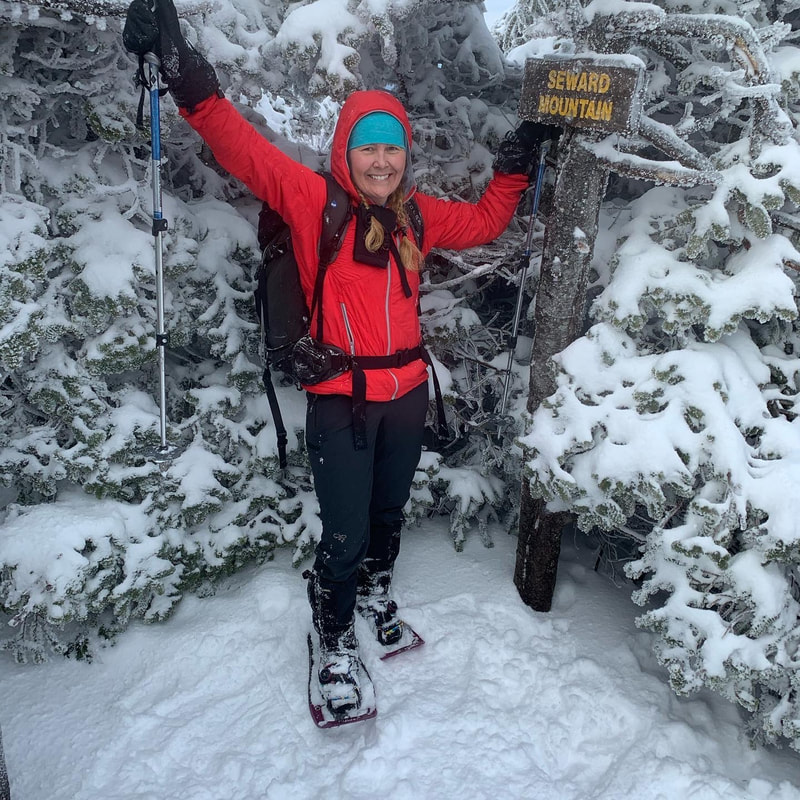
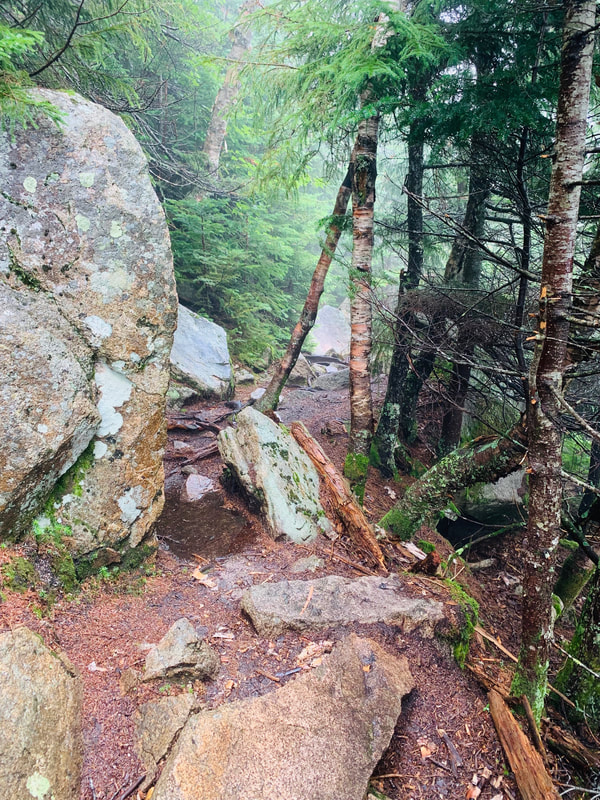
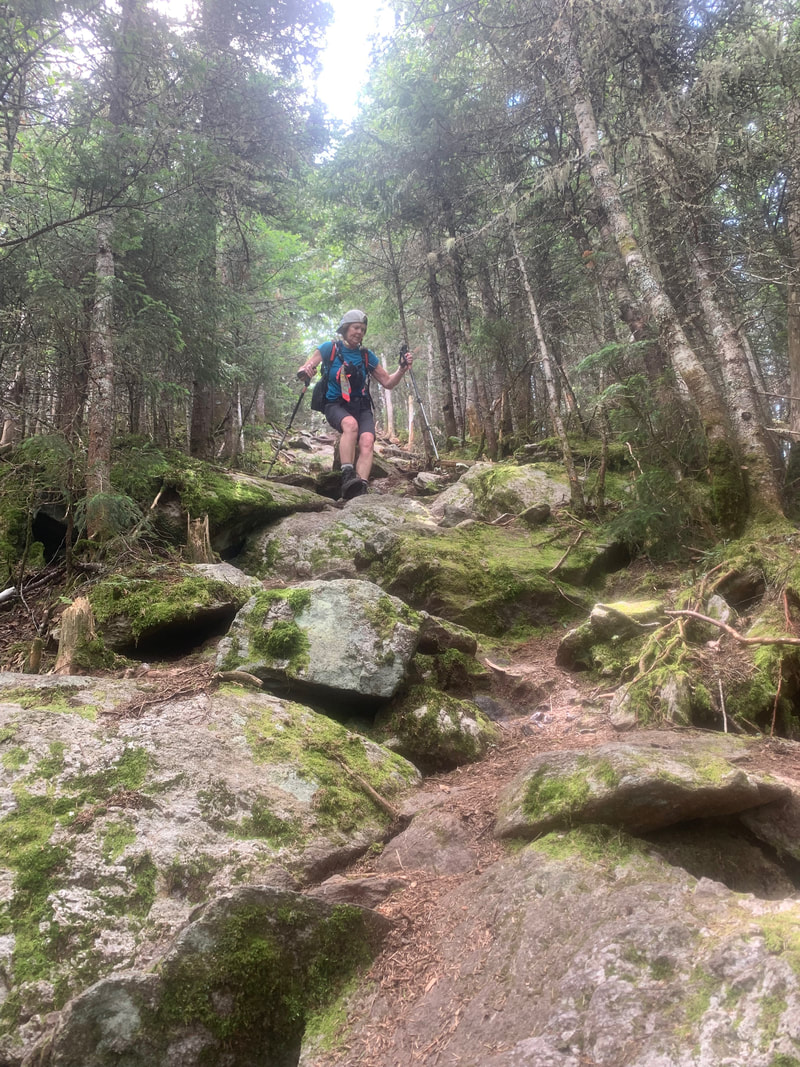
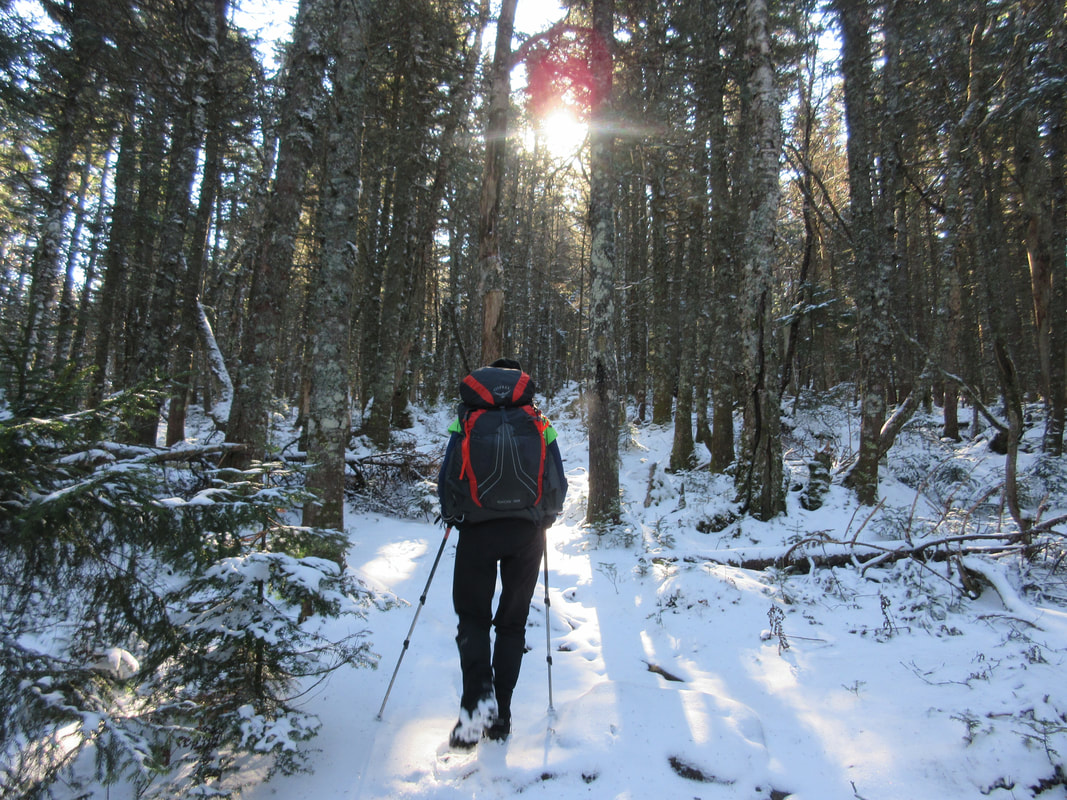
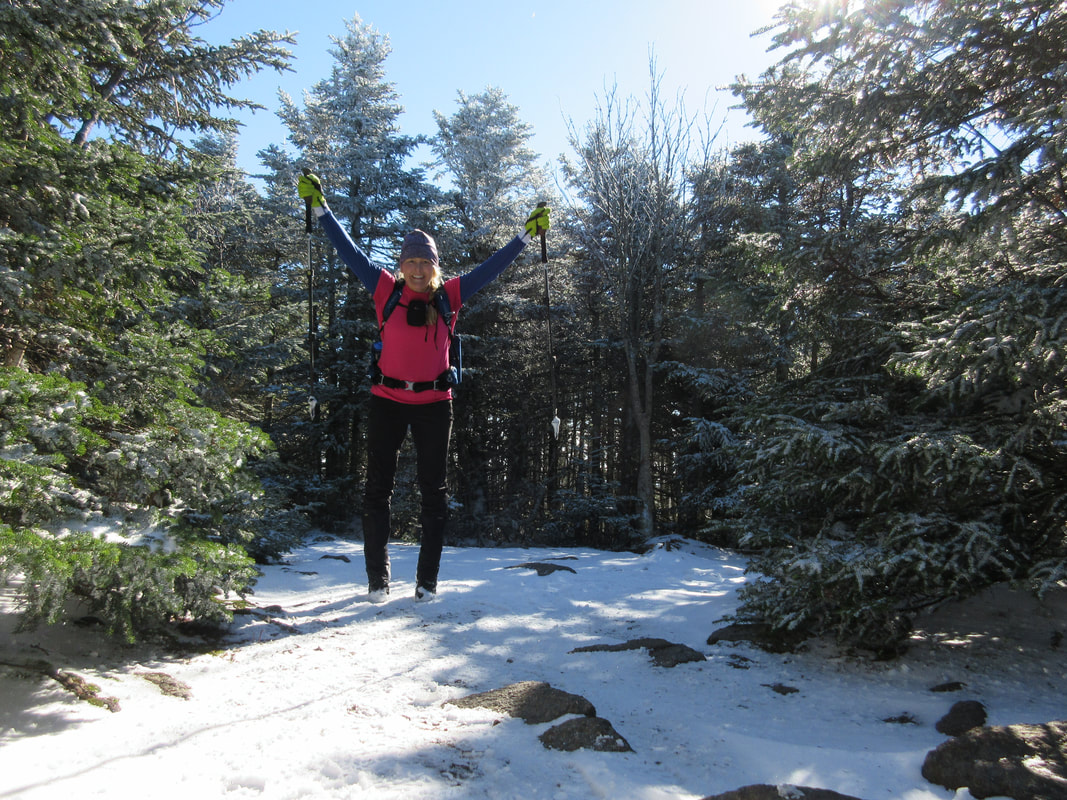
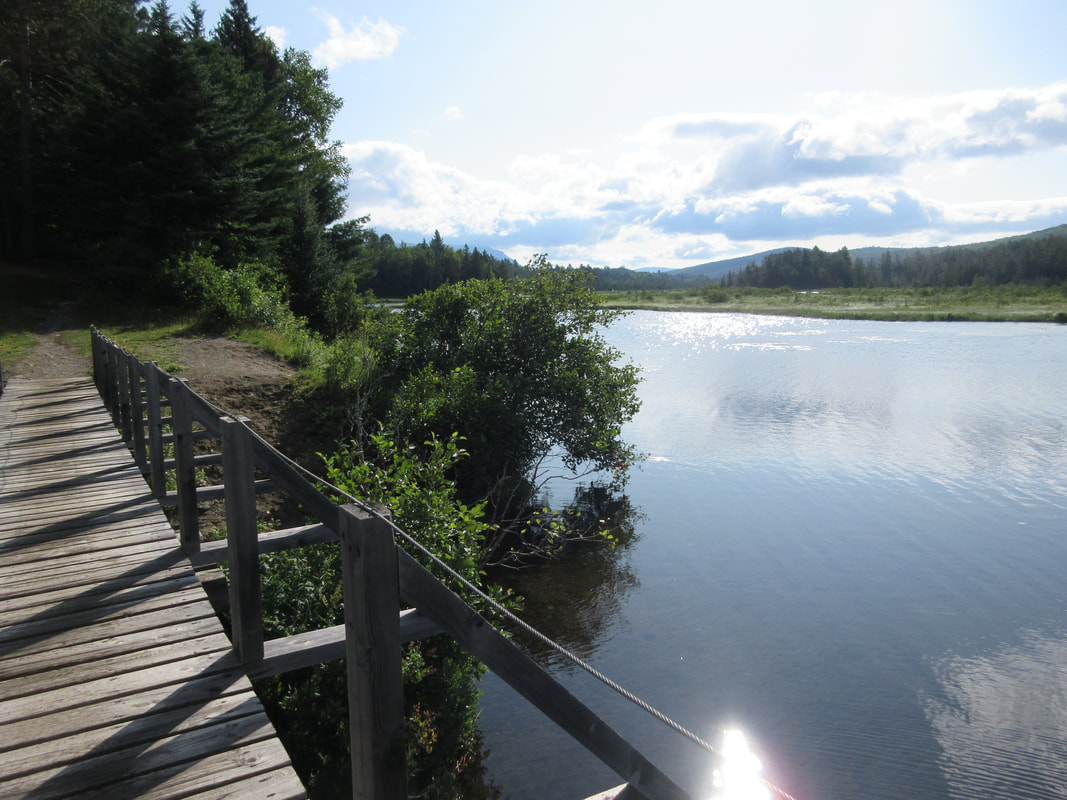
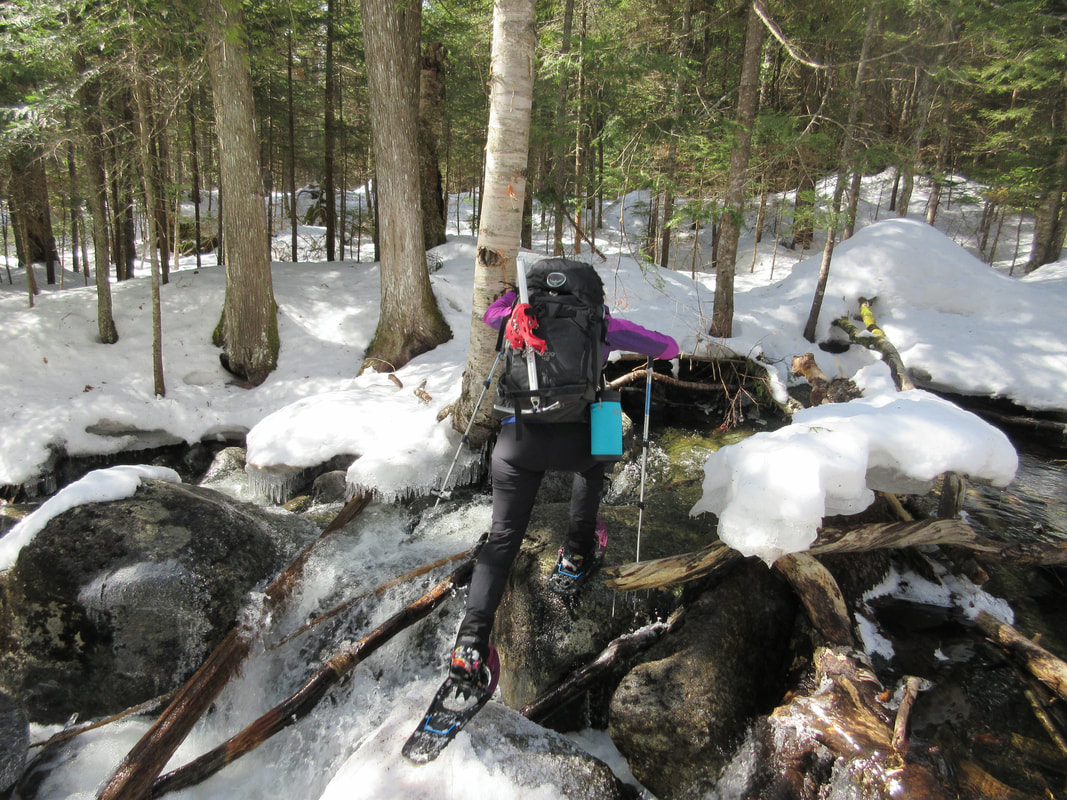
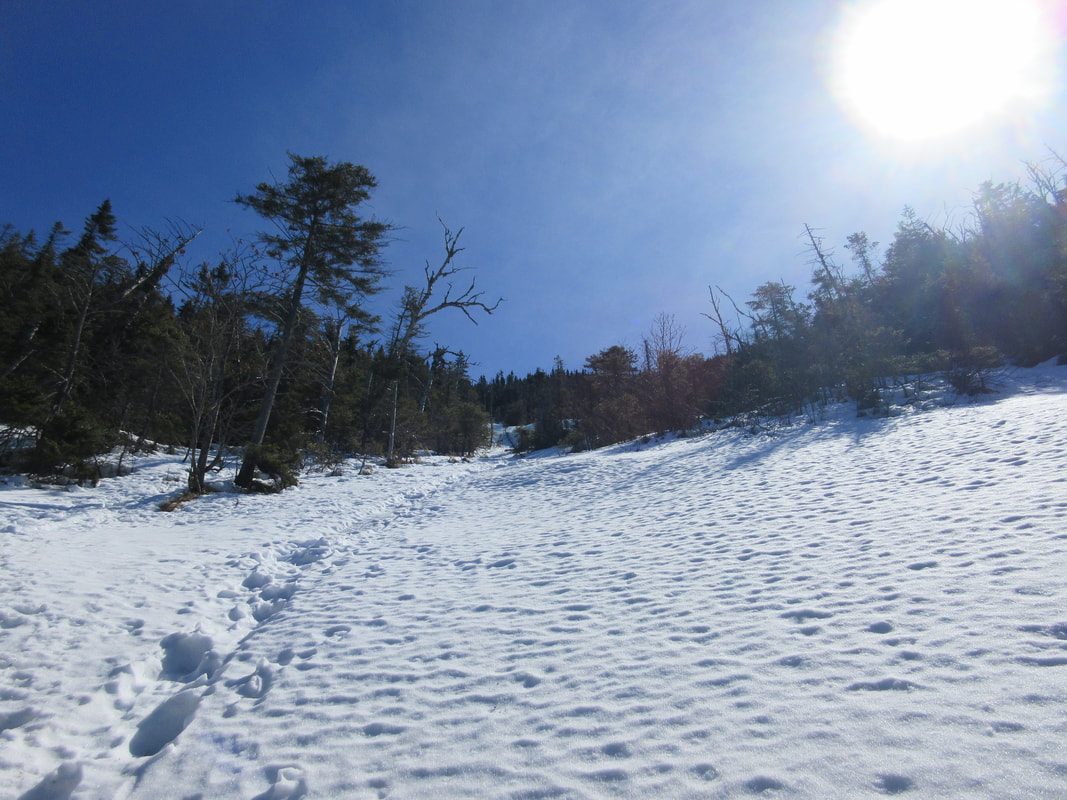
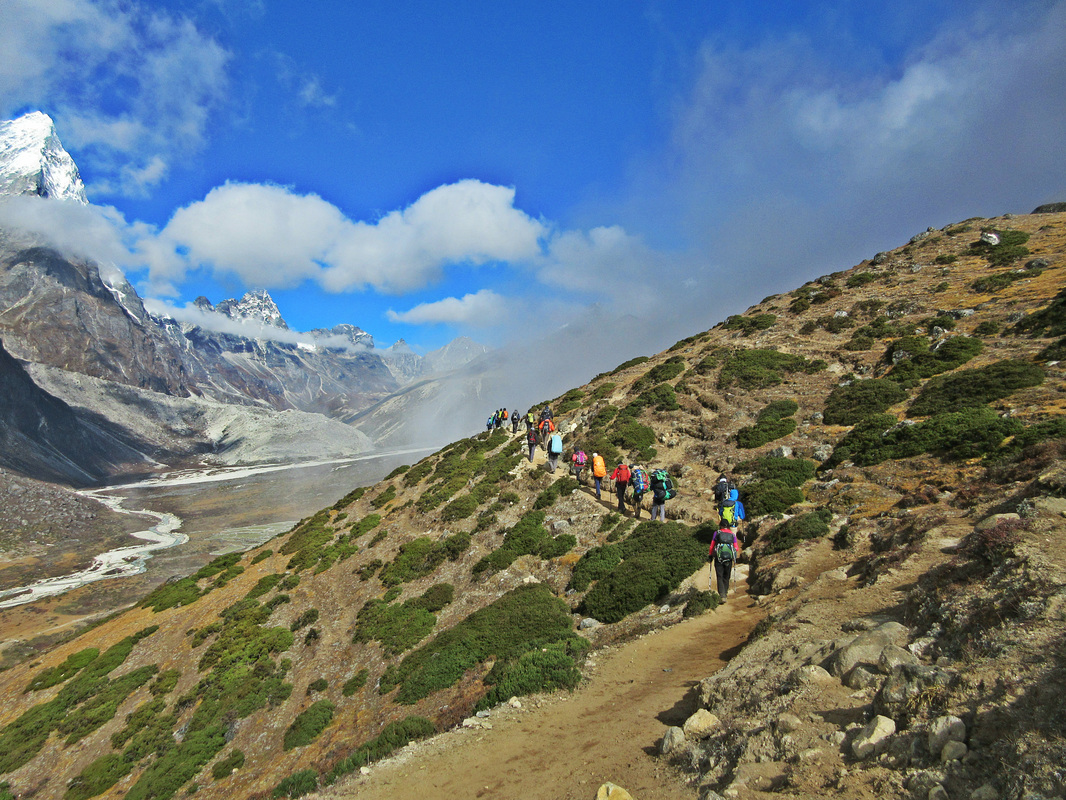
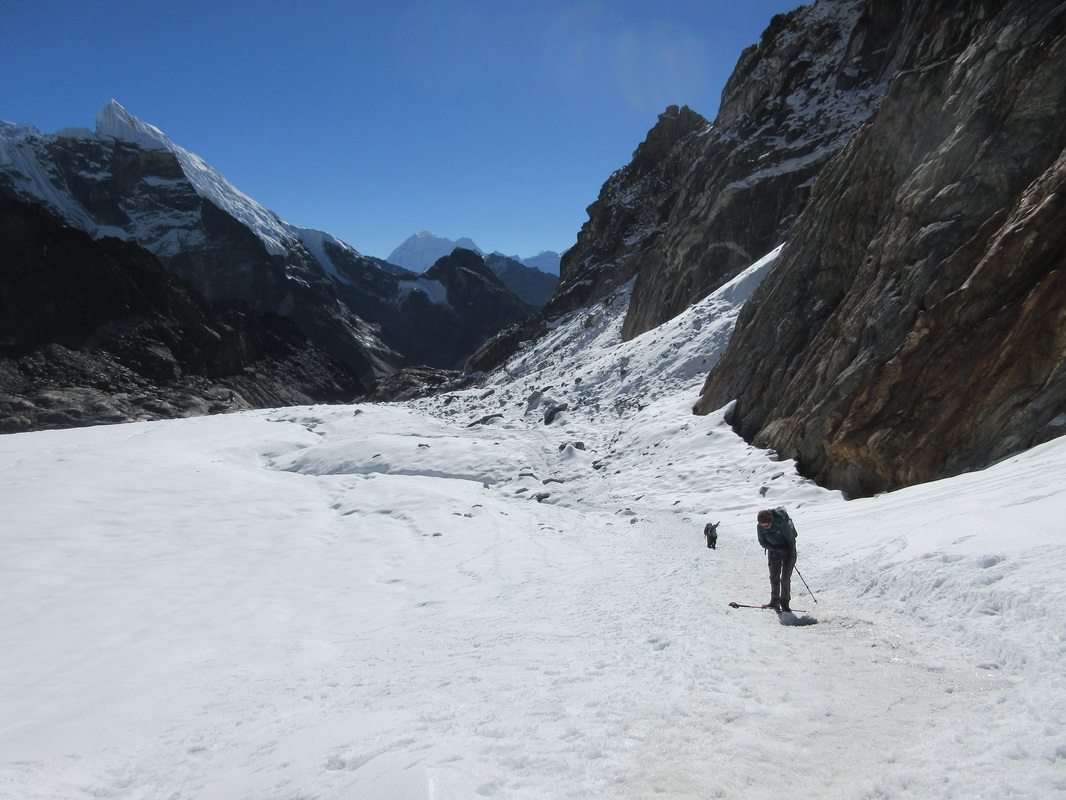
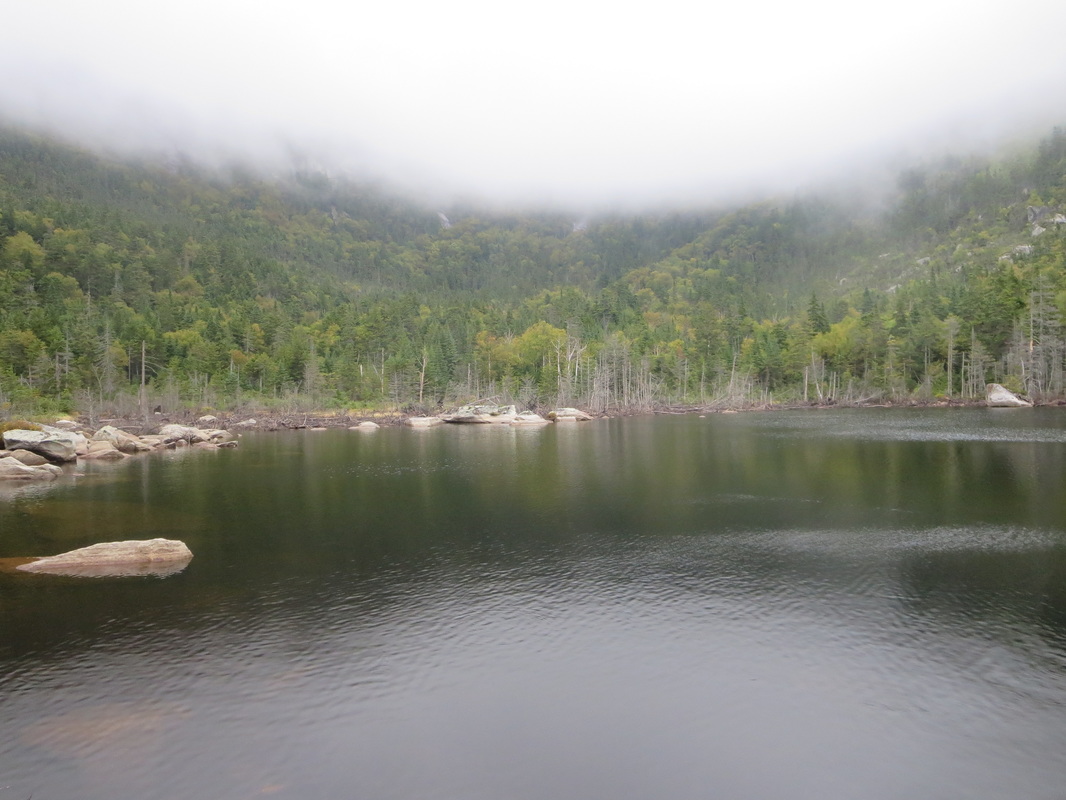
We started the day late around 10 AM at the South Meadow Parking lot and skied into Marcy dam via the truck trail with our snowshoes on our packs. I love these combo days and my goal is to make all my Winter 46ers as interesting as possible. The skiing was really good- it had just dumped 10-12" of fresh snow two days before. We managed to ski past Marcy Dam and up a little bit more across a creek towards Phelps before we transitioned to snowshoes. Being on snowshoes felt a bit weird as I had spent most of the winter cross country skiing. Off we went to the Phelps turn off and started the inclined portion of the hike to the summit. I was in the lead and told Deb I was going to keep a steady pace on the ascent (not blazing fast but not lollygagging either). Turned out we passed two other parties and reached the summit first on that day! It was a bit of an ego boost for us having not hiked a mountain in 2 years! We still got it!
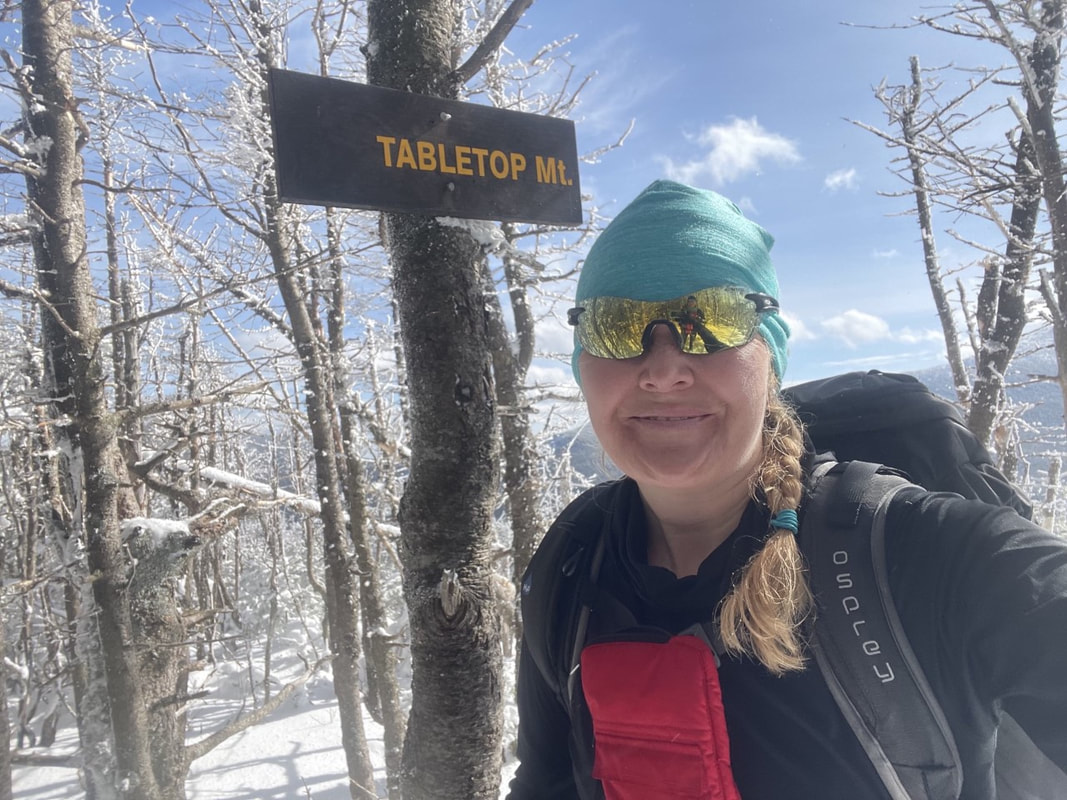
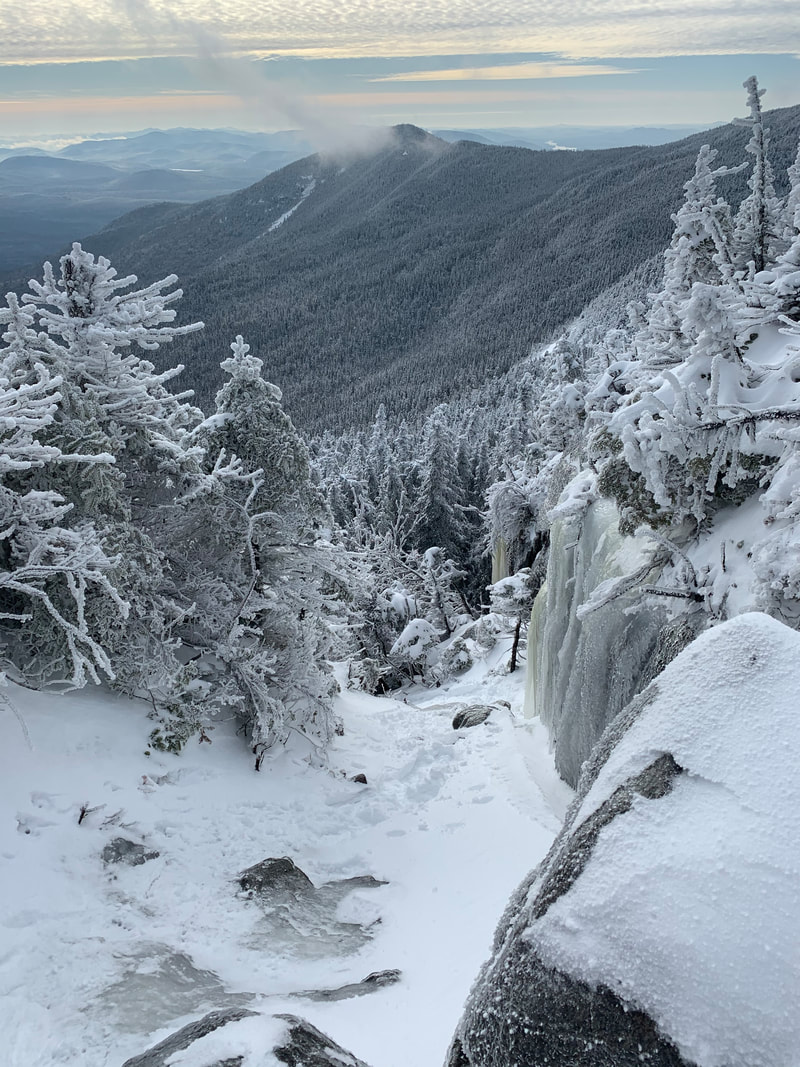
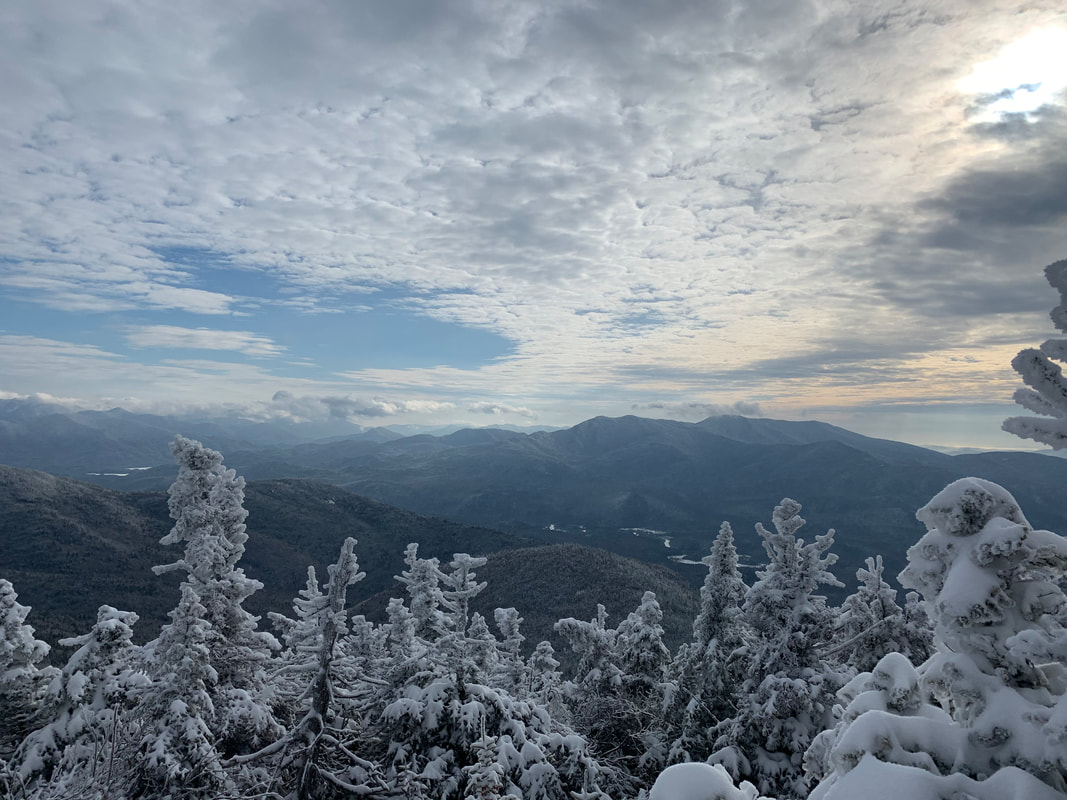
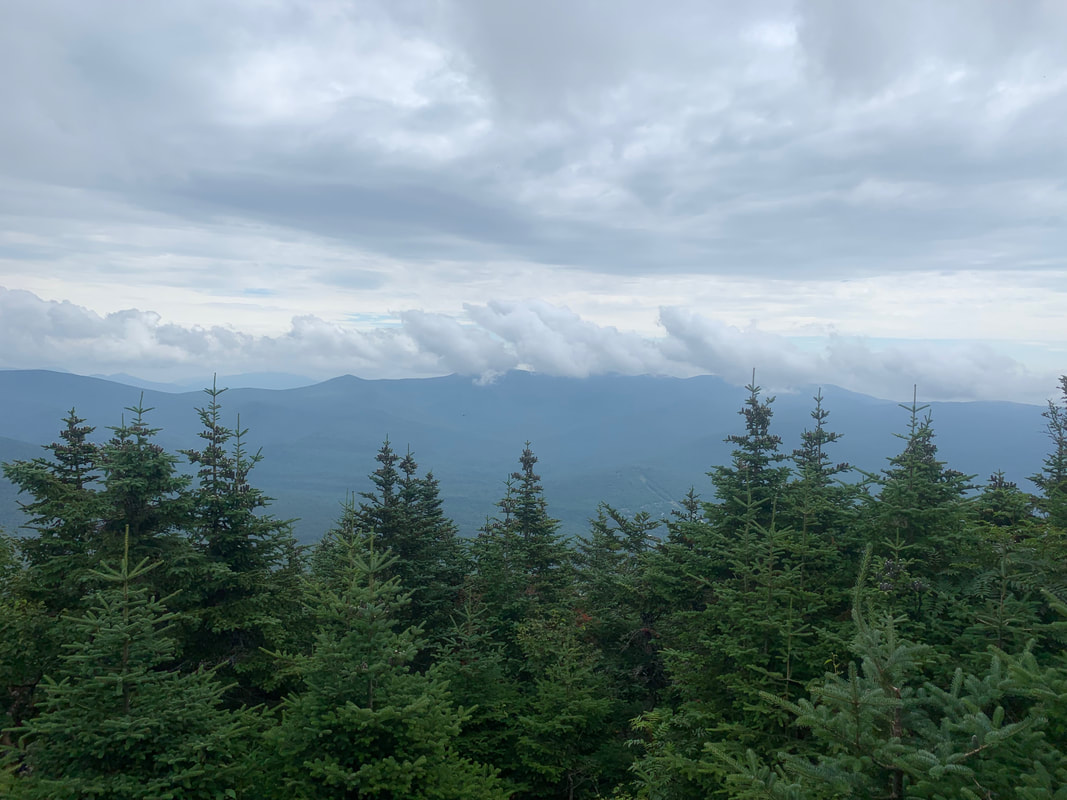
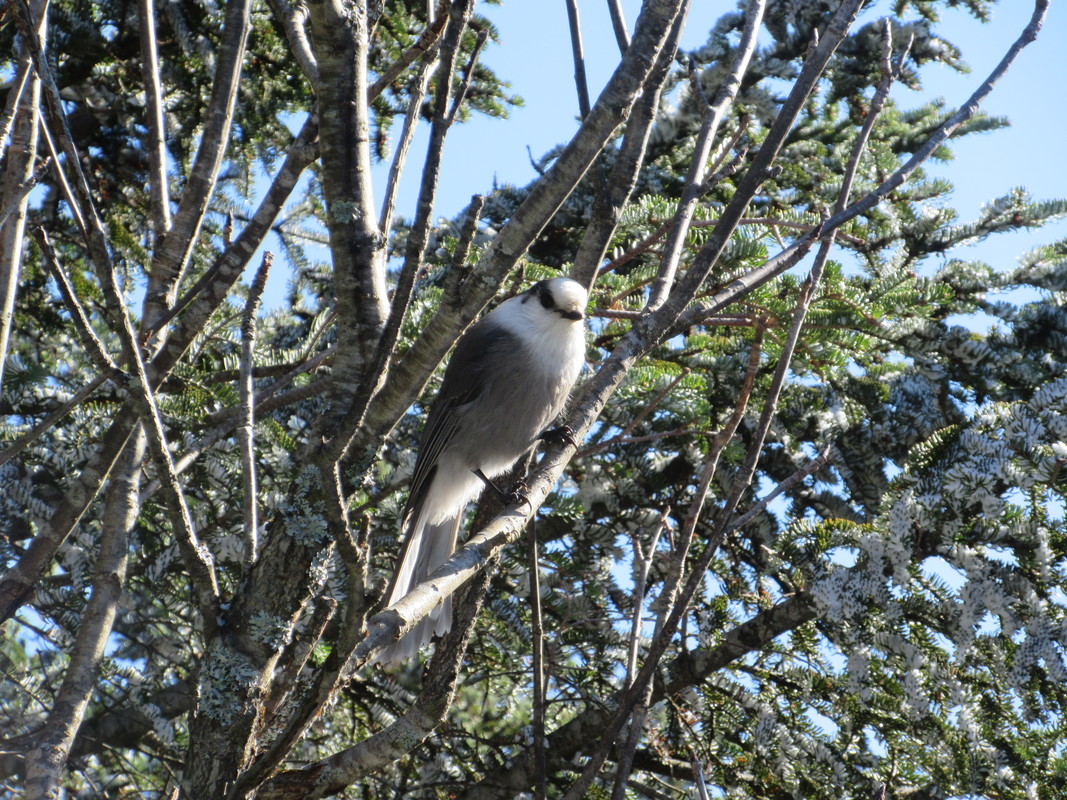
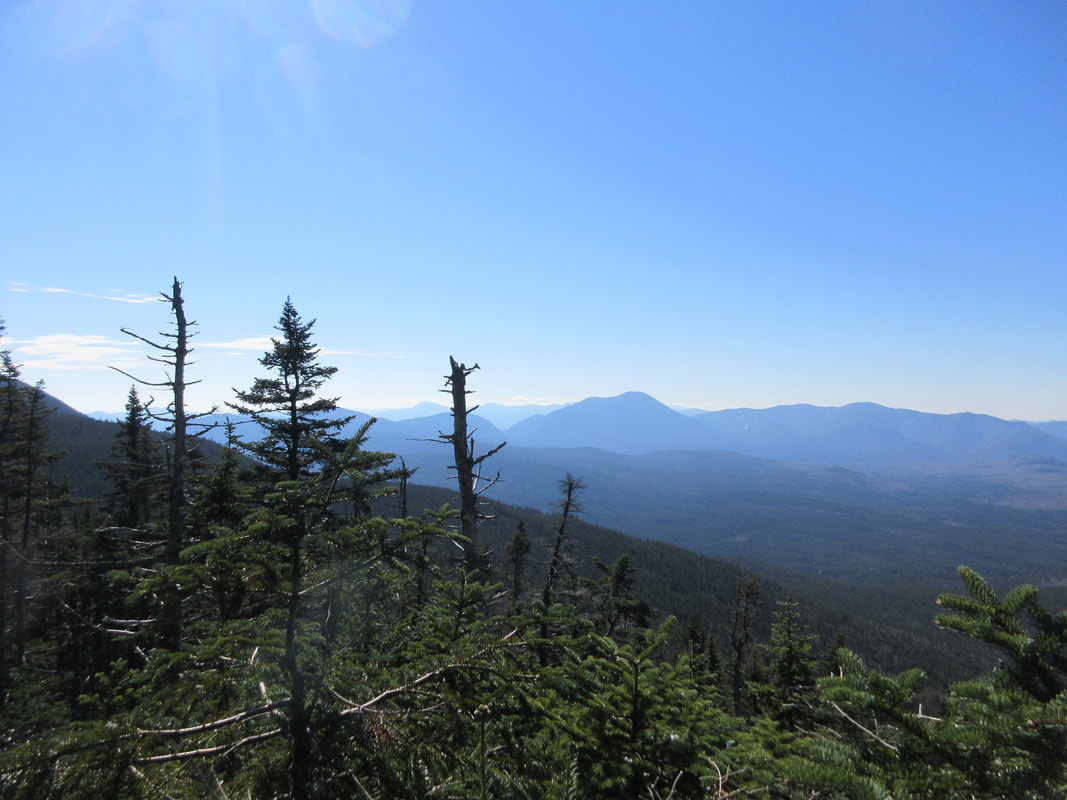
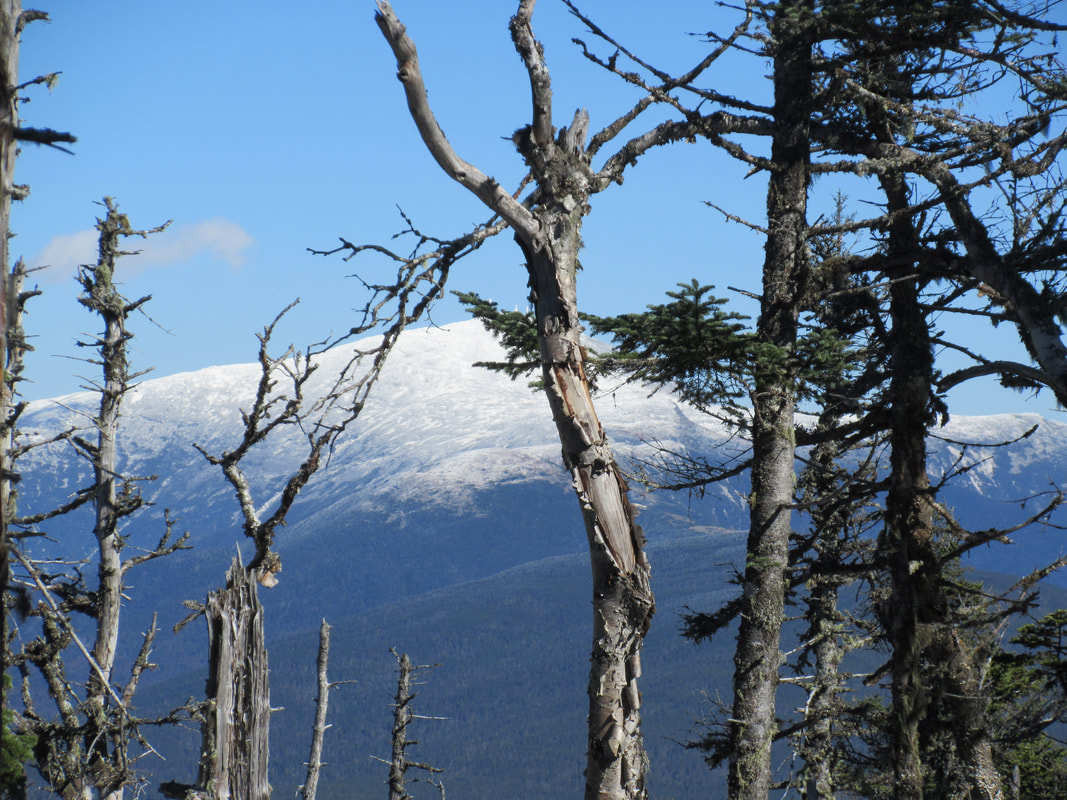
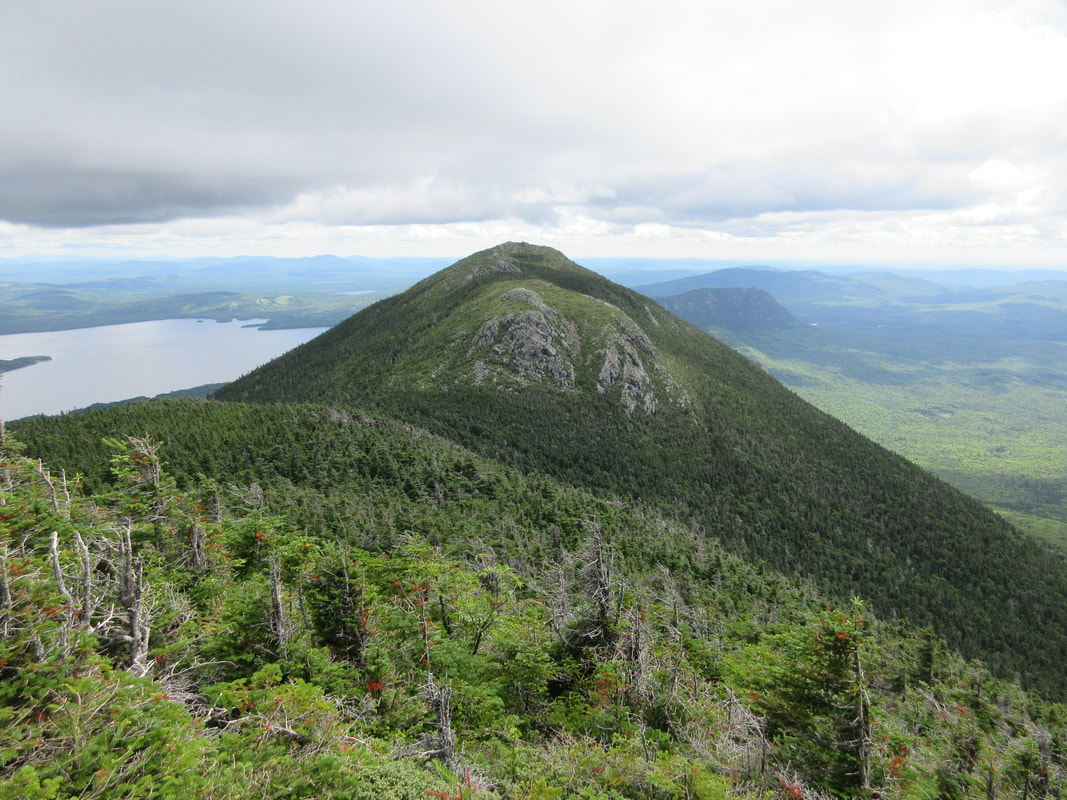
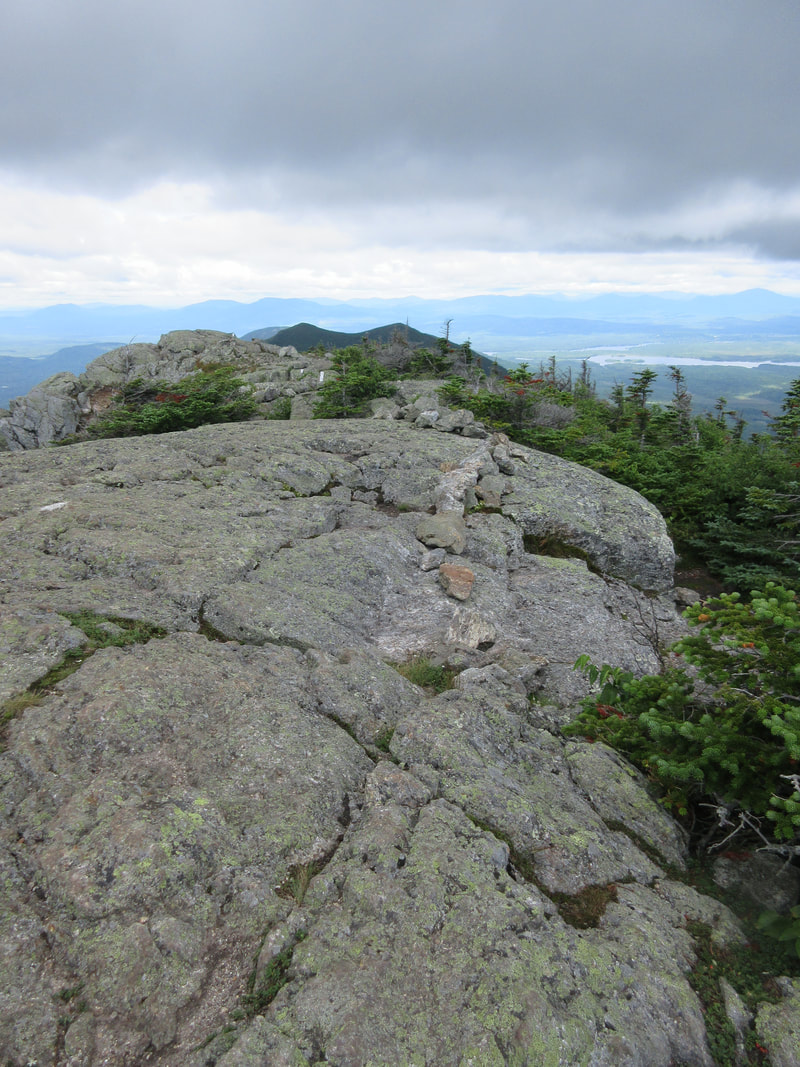
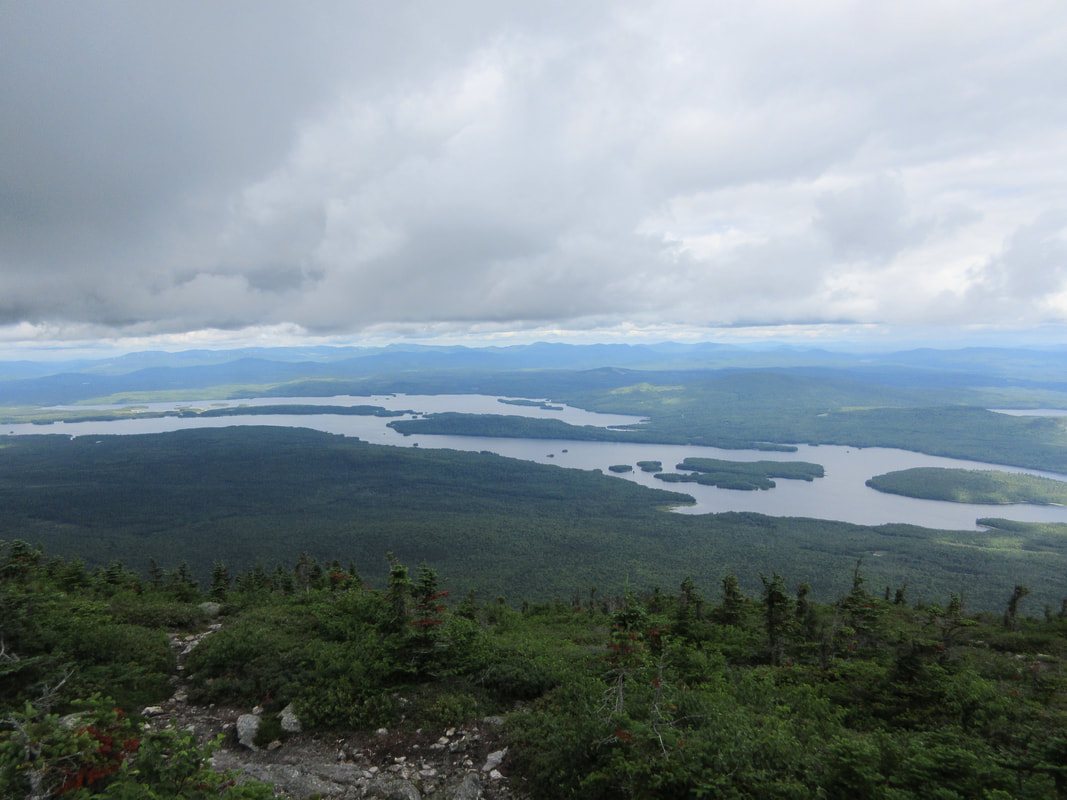
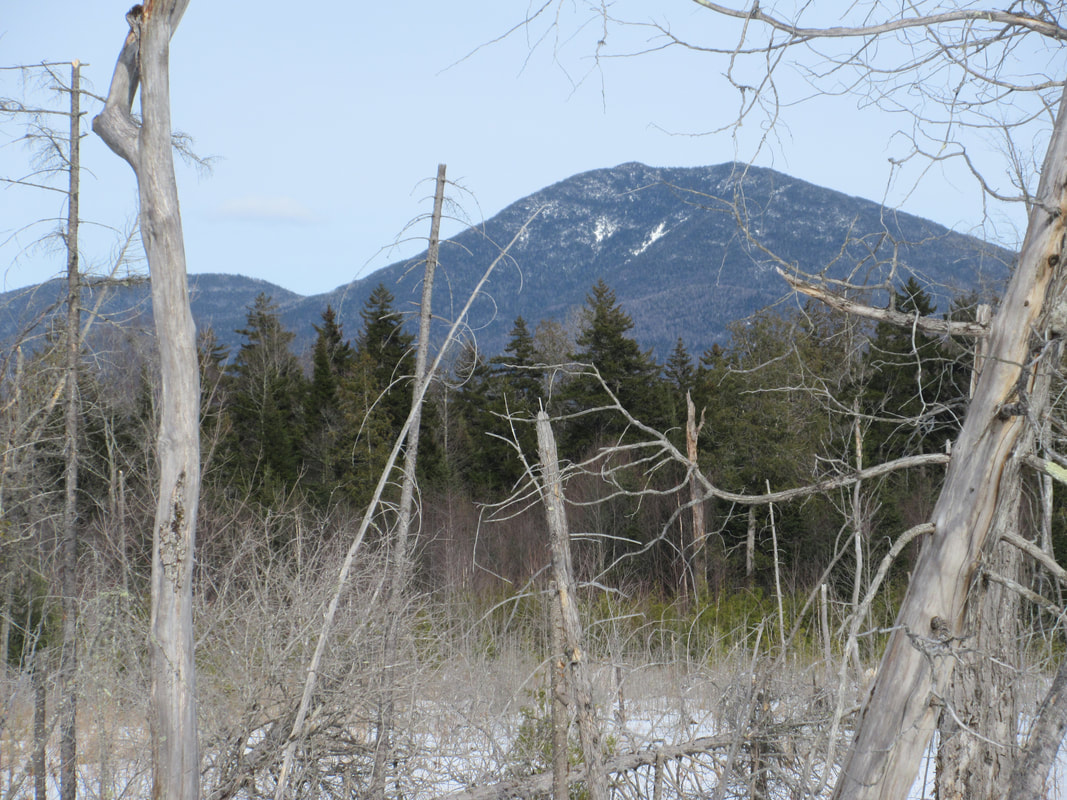
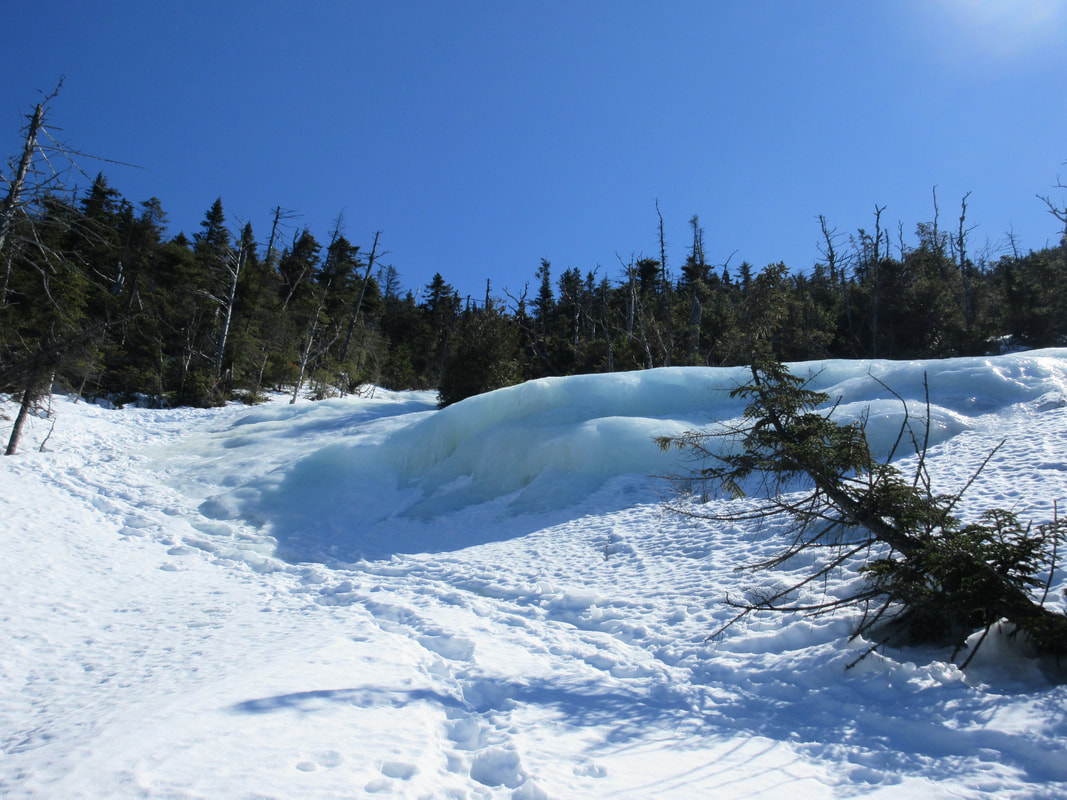
We took a break on the summit with some food and drink and had some photos taken by some other summiters. We didn't linger too long as we had to descend and then continue over to Tabletop. The descent went well despite being not sure how my knee would handle it after having a knee surgery during my 2 year hiatus. The slog up to the Tabletop turnoff is a part I had forgotten about. You do ascend quite a lot in this section. I was reminiscing with Deb about a AT ski descent I did off Marcy down the ski trail parallel the hiking trail and it is quite steep. We saw a group of AT skiers heading up Marcy earlier which would have been a great day to do it with all the fresh snow. When we finally got to the Tabletop turnoff we couldn't remember how far it was to the top. Deb thought it was 30-40 mins or so. I think it ended up being 45 so not too far off! I remembered the Tabletop summit from my first round as being unremarkable but I found this time it does have a really nice view from it despite the dead standing trees.
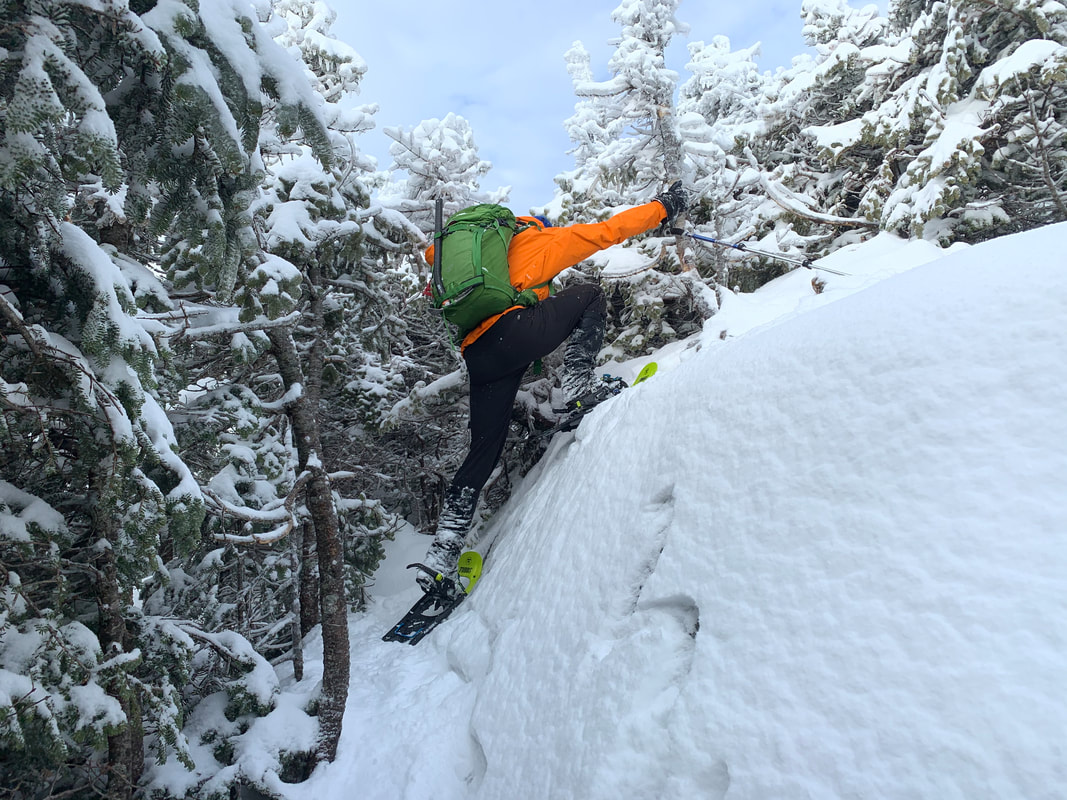
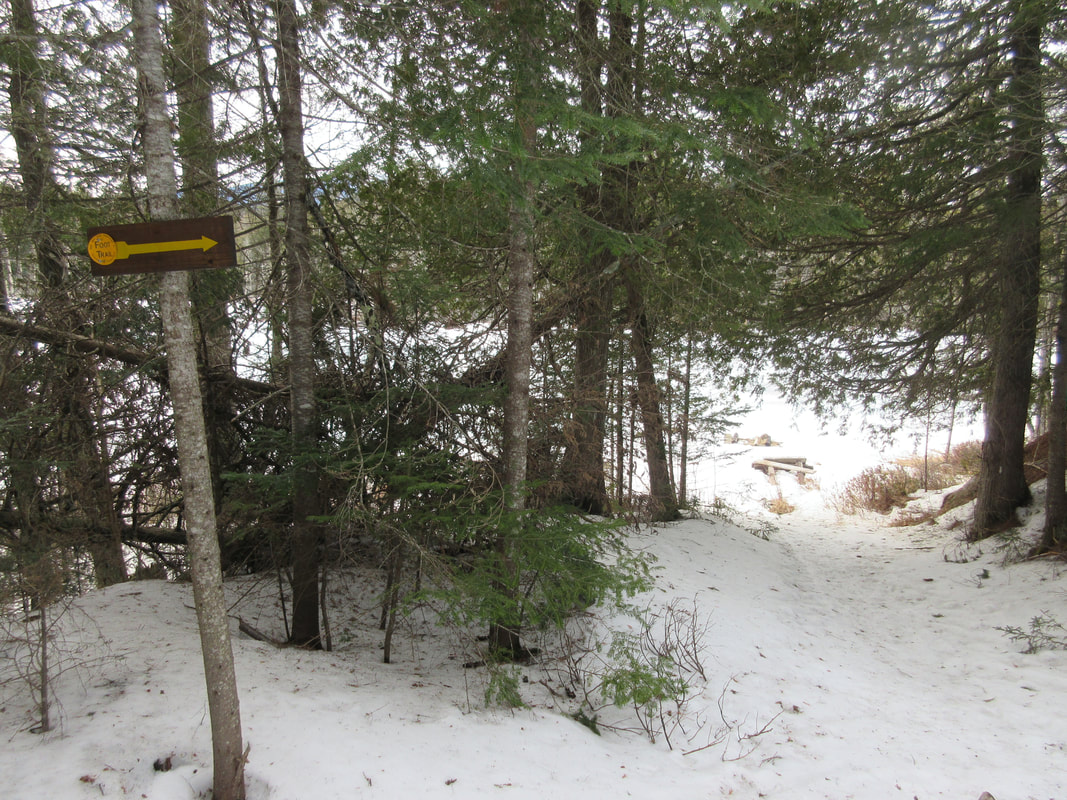
Our descent went pretty fast but by now the toll of the ascents had worn out our legs and we marched out and down to our ski stash. We transitioned back on skis and found that now being late afternoon, the snow was freezing up again and things started to get icy. The ski trail out from Marcy Dam was incredibly fast....we were averaging 22km/hr not even poling! There was one part of the ski trail that I was concerned about and made a remark to Deb on the way in. A steep descent ends a one foot ledge drop off that would be consequential at speed. Knowing it was coming, I used the metal edges on my backcountry skis to dig into the snow as best I could and snowplowed my way towards the ledge with alarm bells ringing loudly in my brain. Could I stop before the ledge? With all the extra weight on my back (winter daypack and snowshoes) I came to a screaming halt 2meters before the ledge with my legs still in a wide plow formation. My upper body position was so far forward that it catapulted me into a faceplant into the snow! Luckily I did not go over the edge and besides having a mouthful of snow, I was no worse for the wear. Deb had one wipeout too in a different location, so it was definitely fast skiing!
We zoomed out the rest of the way on skis and finished our first day in the 'dacks and a natural high from the adventure we just had. Long overdue! 2 more winters in the bag!
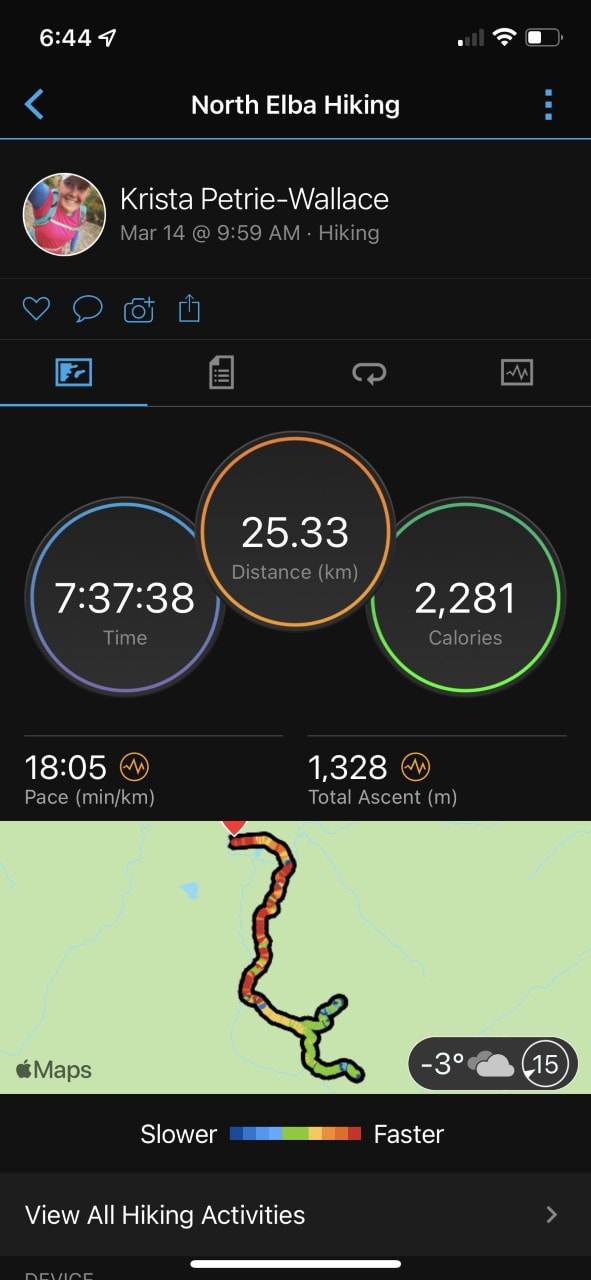
Stats:
Time: 7h 37mins
Distance: 25.3km
Ascent: 1323m (this could be off as my watch wasn't working well)
Finally!! After a long two year hiatus, I finally crossed the border and headed straight to the Adirondacks! We crossed over on Sunday March 13th, a day later than planned but a large snowstorm was warning us that blizzard conditions were going to be imminent and driving would be 'impossible'. When we finally arrived in Lake Placid and then in Keene in felt like being back to our home away from home. I have spent loads of time in the Adirondacks over the past 15 years and it definitely felt good to be back.
One hoop us Canadians had to jump through in March of 2022 was to have a negative Covid test before re-entering Canada. So we found a free one you could get done at Walgreens in Lake Placid and had our appointments booked in advance for the earliest slots on Monday morning around 9:30AM. The drive-thru test was a breeze - they did Deb and I together. Our two other trip mates had to wait a whole extra hour so we went ahead and started our day off on South Meadow road.
I needed Phelps and Tabletop for my Winter 46er list. We thought those two would fit the bill nicely as a re-introduction to the Adirondacks after our 2 year hiatus. We had tried our best to keep our legs in mountain shape by strength training, walking up and down our local ski hill and doing numerous hikes and backpacking trips in Ontario. The hills just aren't as long, so nothing would fully prepare us for our return trip to the 'dacks.
We started the day late around 10 AM at the South Meadow Parking lot and skied into Marcy dam via the truck trail with our snowshoes on our packs. I love these combo days and my goal is to make all my Winter 46ers as interesting as possible. The skiing was really good- it had just dumped 10-12" of fresh snow two days before. We managed to ski past Marcy Dam and up a little bit more across a creek towards Phelps before we transitioned to snowshoes. Being on snowshoes felt a bit weird as I had spent most of the winter cross country skiing. Off we went to the Phelps turn off and started the inclined portion of the hike to the summit. I was in the lead and told Deb I was going to keep a steady pace on the ascent (not blazing fast but not lollygagging either). Turned out we passed two other parties and reached the summit first on that day! It was a bit of an ego boost for us having not hiked a mountain in 2 years! We still got it!
We took a break on the summit with some food and drink and had some photos taken by some other summiters. We didn't linger too long as we had to descend and then continue over to Tabletop. The descent went well despite being not sure how my knee would handle it after having a knee surgery during my 2 year hiatus. The slog up to the Tabletop turnoff is a part I had forgotten about. You do ascend quite a lot in this section. I was reminiscing with Deb about a AT ski descent I did off Marcy down the ski trail parallel the hiking trail and it is quite steep. We saw a group of AT skiers heading up Marcy earlier which would have been a great day to do it with all the fresh snow. When we finally got to the Tabletop turnoff we couldn't remember how far it was to the top. Deb thought it was 30-40 mins or so. I think it ended up being 45 so not too far off! I remembered the Tabletop summit from my first round as being unremarkable but I found this time it does have a really nice view from it despite the dead standing trees.
Our descent went pretty fast but by now the toll of the ascents had worn out our legs and we marched out and down to our ski stash. We transitioned back on skis and found that now being late afternoon, the snow was freezing up again and things started to get icy. The ski trail out from Marcy Dam was incredibly fast....we were averaging 22km/hr not even poling! There was one part of the ski trail that I was concerned about and made a remark to Deb on the way in. A steep descent ends a one foot ledge drop off that would be consequential at speed. Knowing it was coming, I used the metal edges on my backcountry skis to dig into the snow as best I could and snowplowed my way towards the ledge with alarm bells ringing loudly in my brain. Could I stop before the ledge? With all the extra weight on my back (winter daypack and snowshoes) I came to a screaming halt 2meters before the ledge with my legs still in a wide plow formation. My upper body position was so far forward that it catapulted me into a faceplant into the snow! Luckily I did not go over the edge and besides having a mouthful of snow, I was no worse for the wear. Deb had one wipeout too in a different location, so it was definitely fast skiing!
We zoomed out the rest of the way on skis and finished our first day in the 'dacks and a natural high from the adventure we just had. Long overdue! 2 more winters in the bag!
Stats:
Time: 7h 37mins
Distance: 25.3km
Ascent: 1323m (this could be off as my watch wasn't working well)


 RSS Feed