
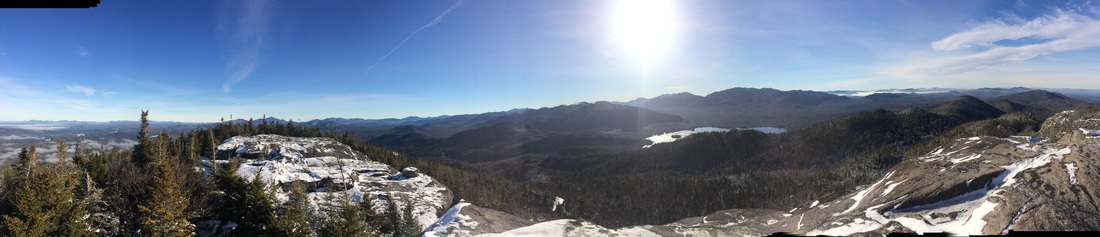
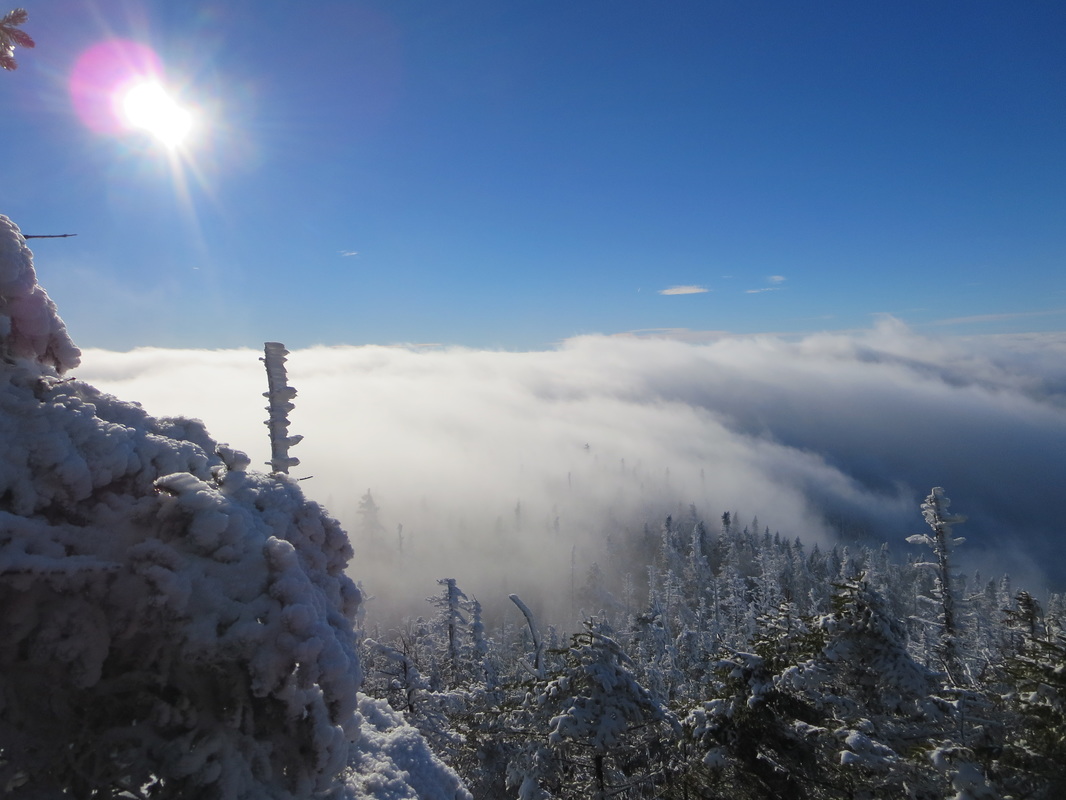
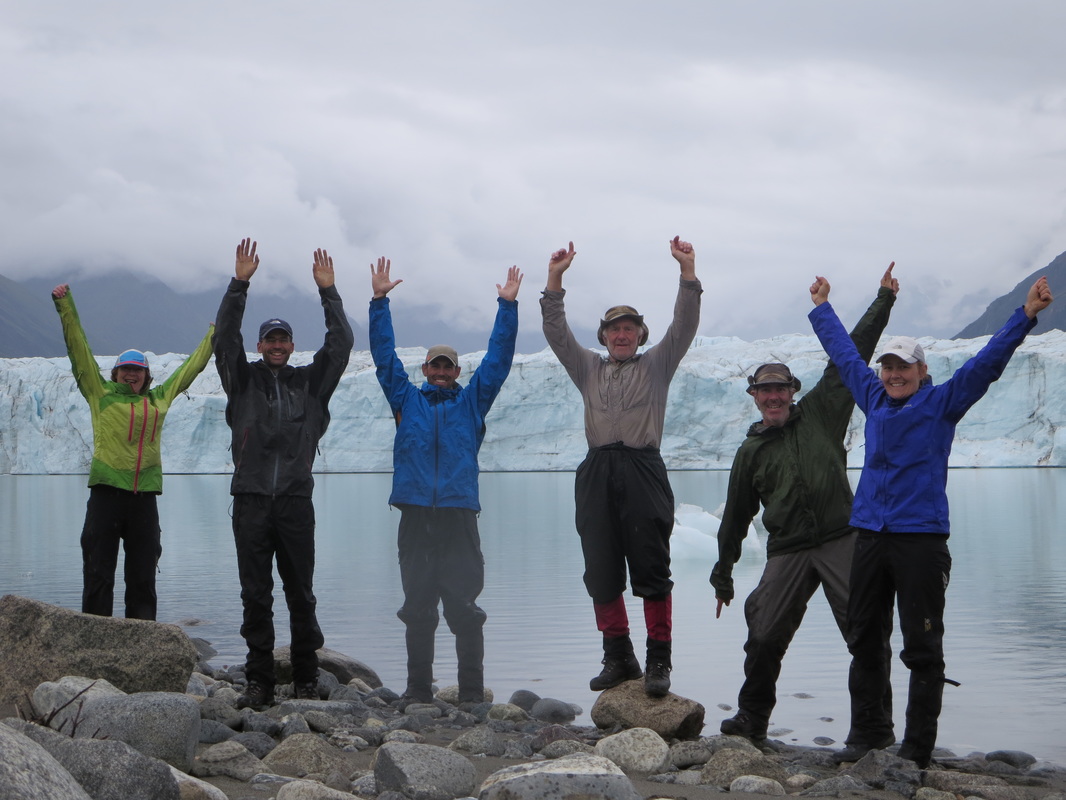
Summit panorama of Ampersand Mtn.
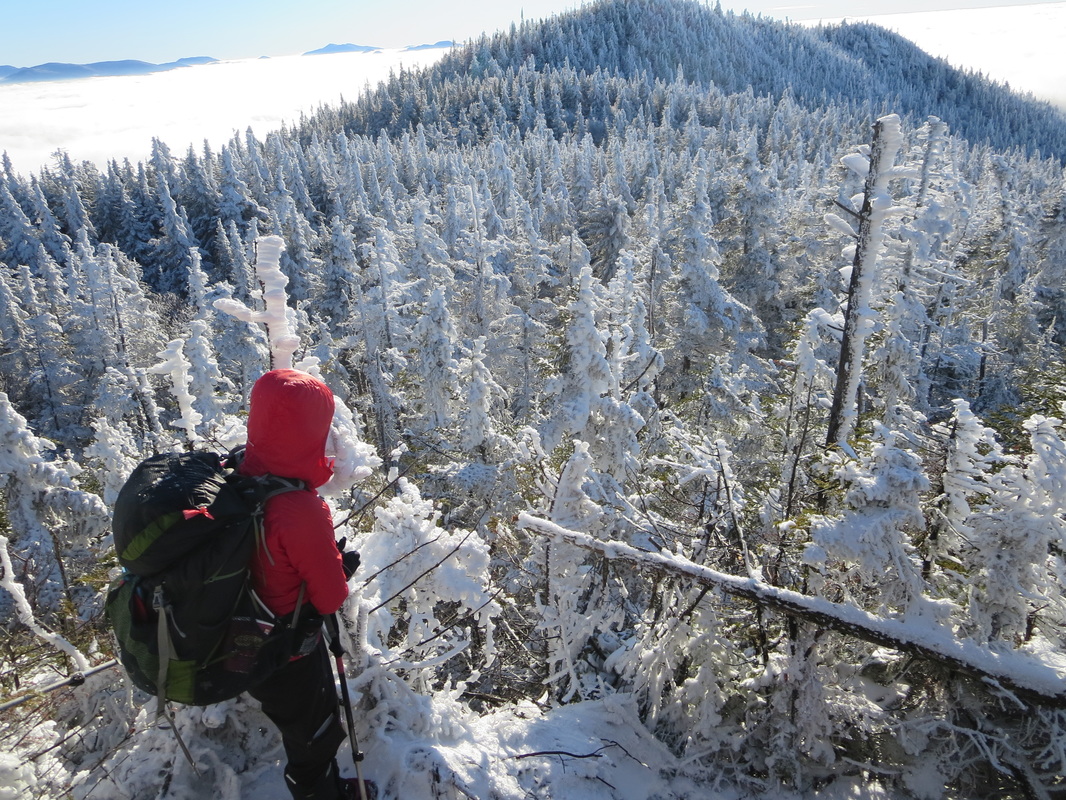
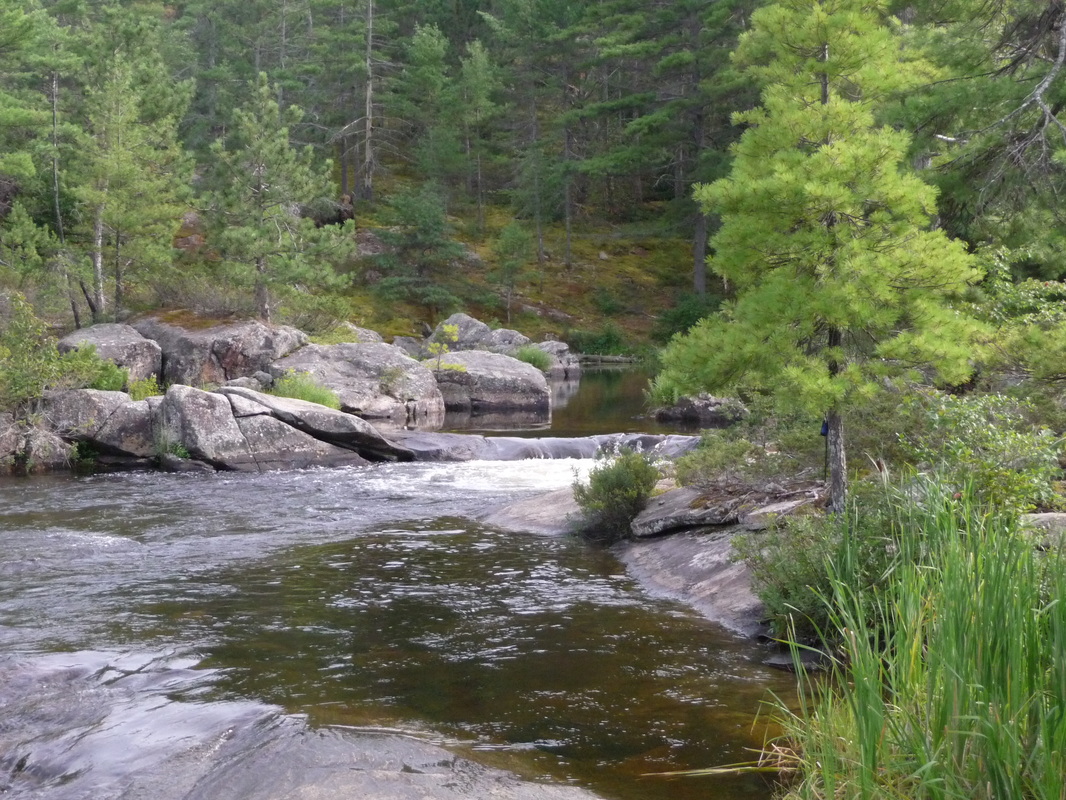
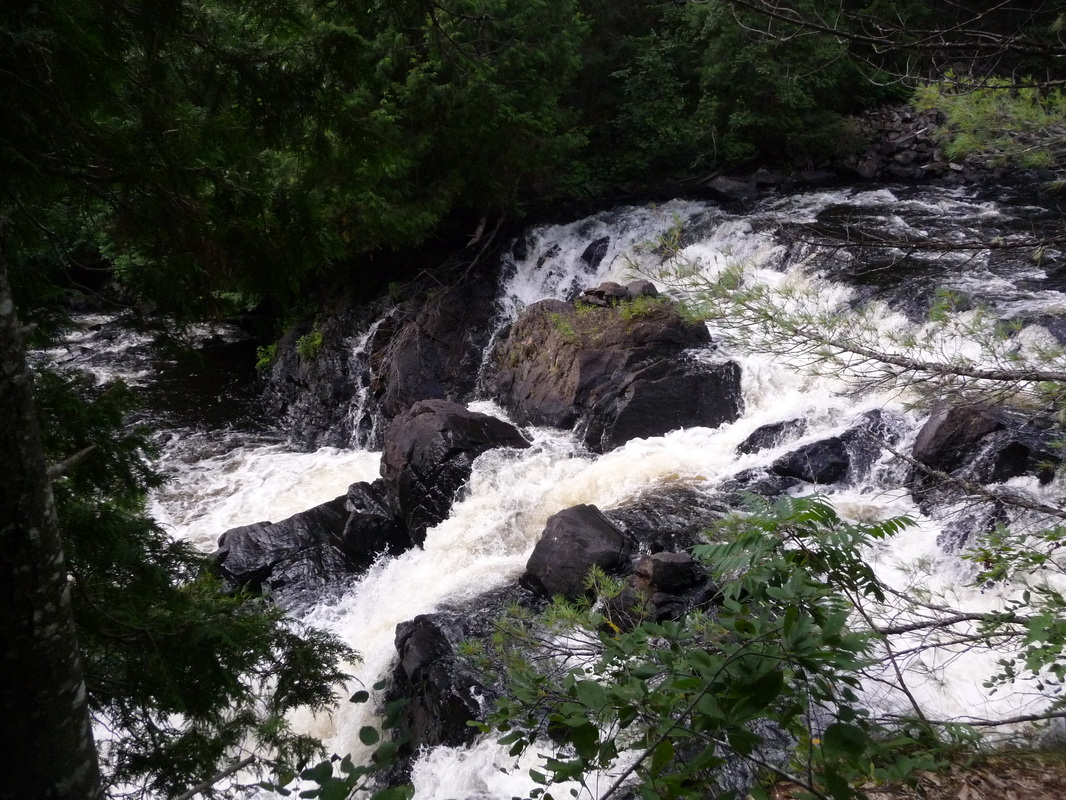
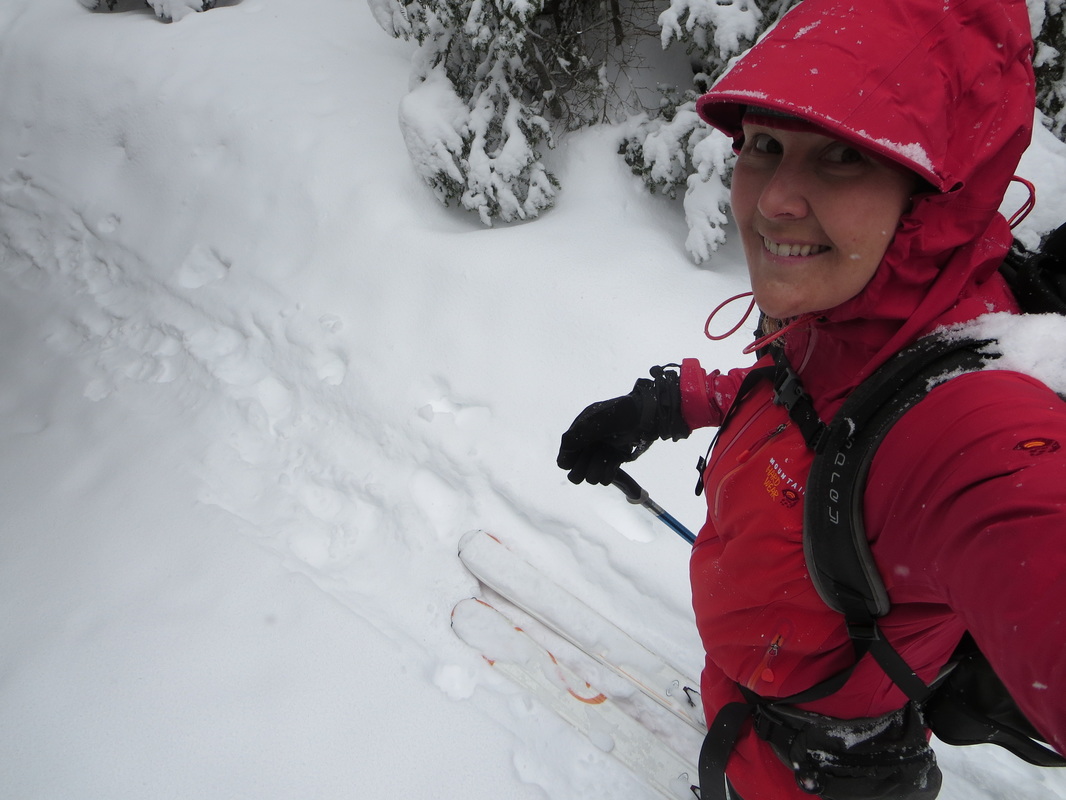
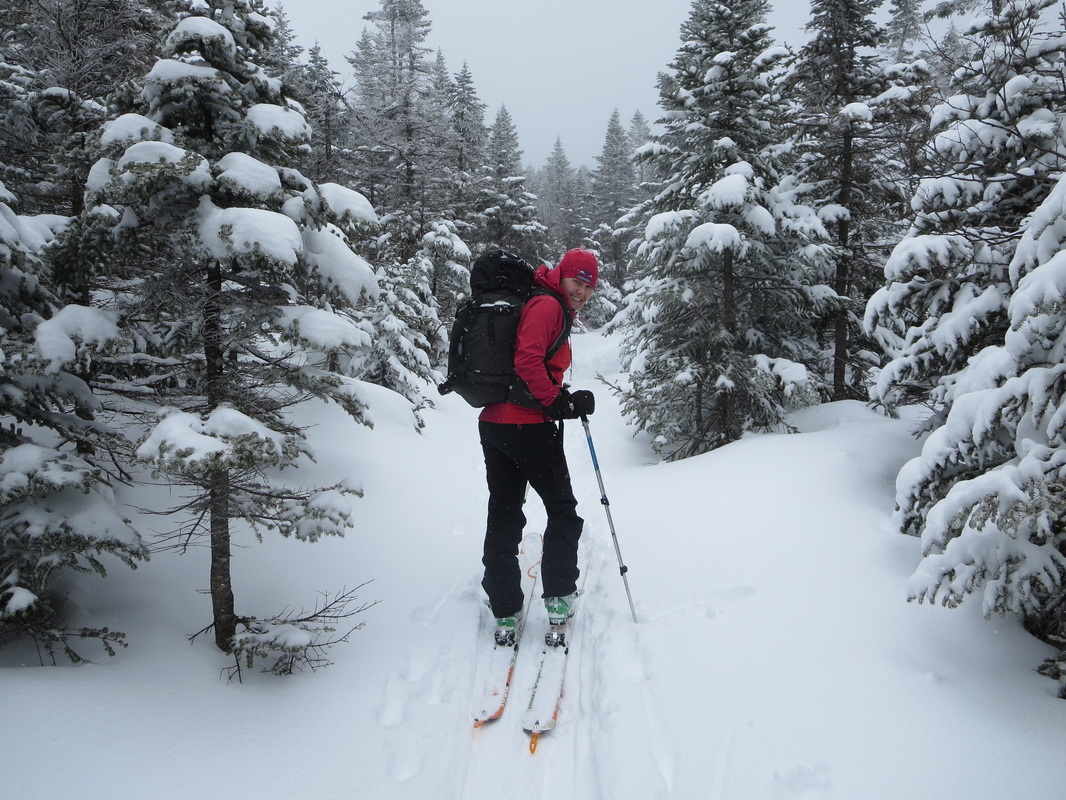
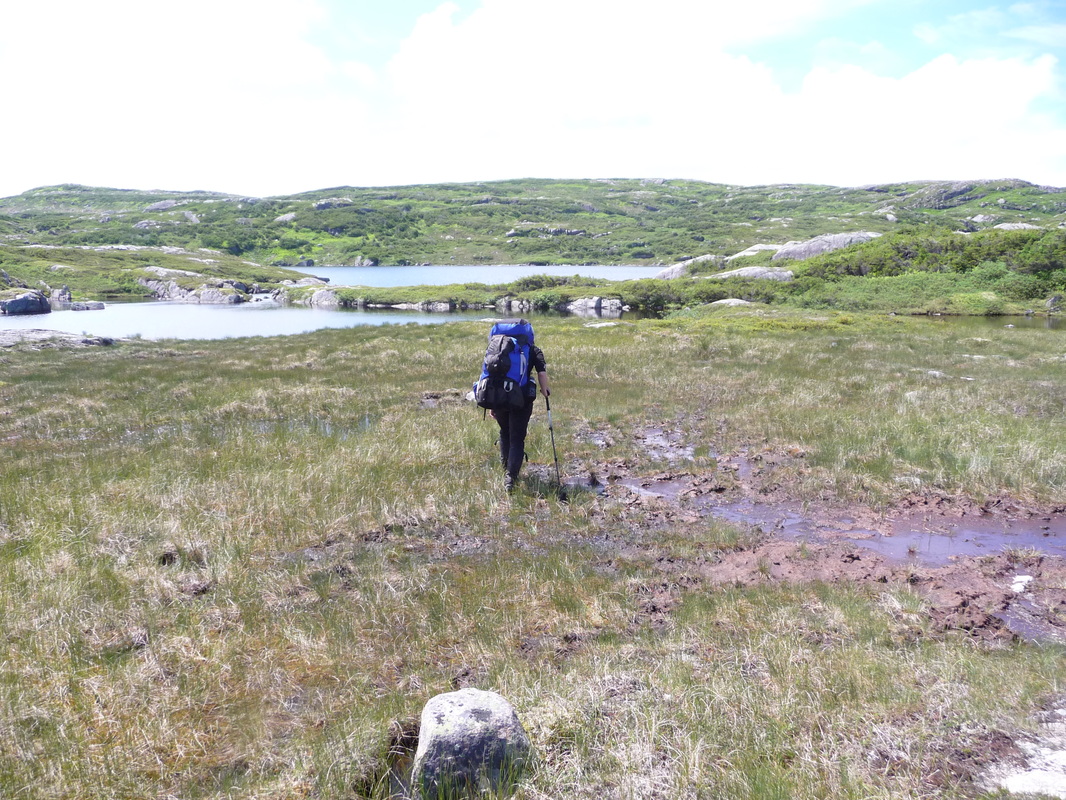
Ampersand Mountain sits on the western side of the High Peaks Wilderness near Saranac Lake. A lesser peak of 3352 ft in elevation, Ampersand is one of the Saranac 6ers. On an early Sunday December 6th 2015, we started our hike on Ampersand with temperatures below freezing. My first impression of this hike is that it must be a popular one, due to the width and well trod trail. We concentrated hard on a few wet slippery boardwalks, and crunched over frozen leaves and stiff mud. Overnight lows dipped to -5 celsius, which had made the ground hard and covered with frost. After crossing one wide stream, the terrain began to rise gradually and began a steady ascent. Snow and ice began to creep into our steps and the gradient of the the climb increased. We put on the microspikes and I was glad we did, as many icy spots would have been impossible to ascend without them. A good short steep section to get the heart rate up followed.
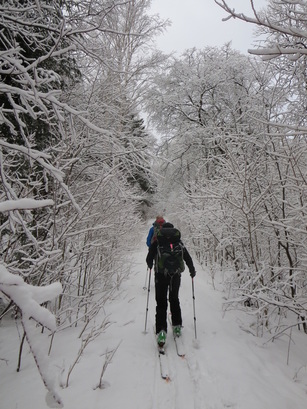
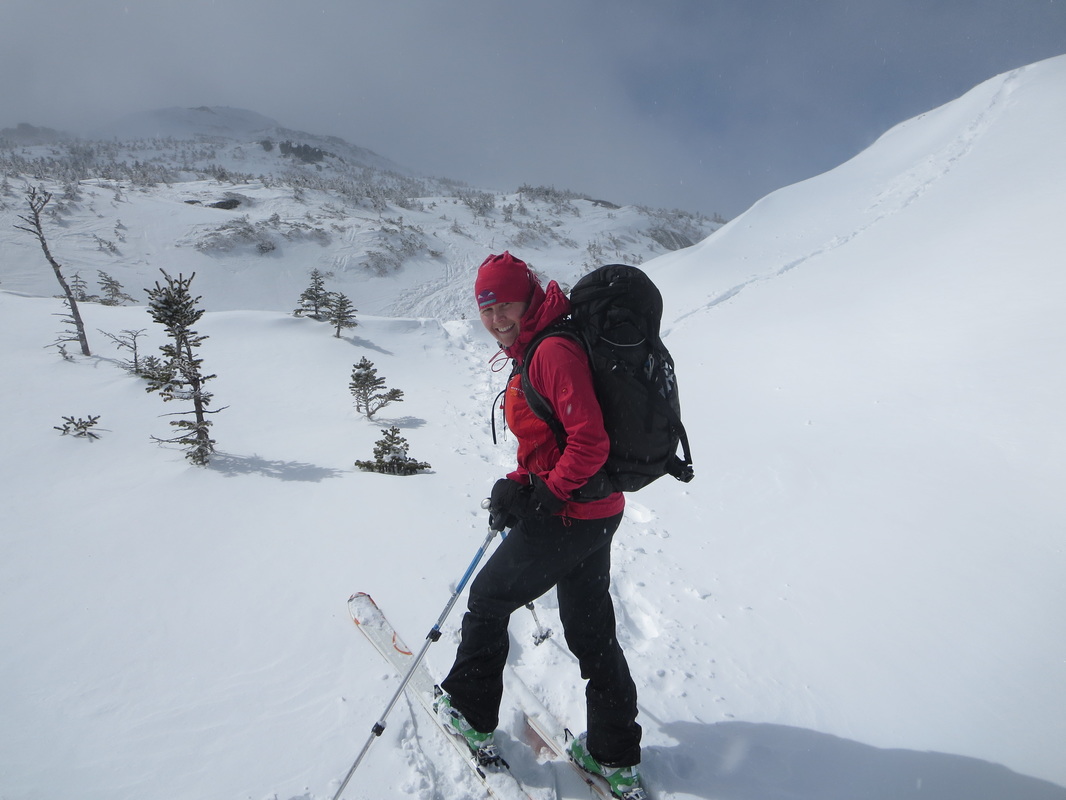
One of the many reasons I love Adirondack hiking are the steep ascents. It seems that all mountain trails seemed to have been created with the most direct route possible to the summit. When routefinding on unmarked trails, if there is any doubt as to which direction to go, one may almost always count on the path going straight up the steepest terrain. The challenge of these steep gradients can and will tests one's fitness and perseverance on any day. The heat produced by your body in colder weather is a feeling I embrace and is I reason I keep returning to the Adirondacks time and time again.
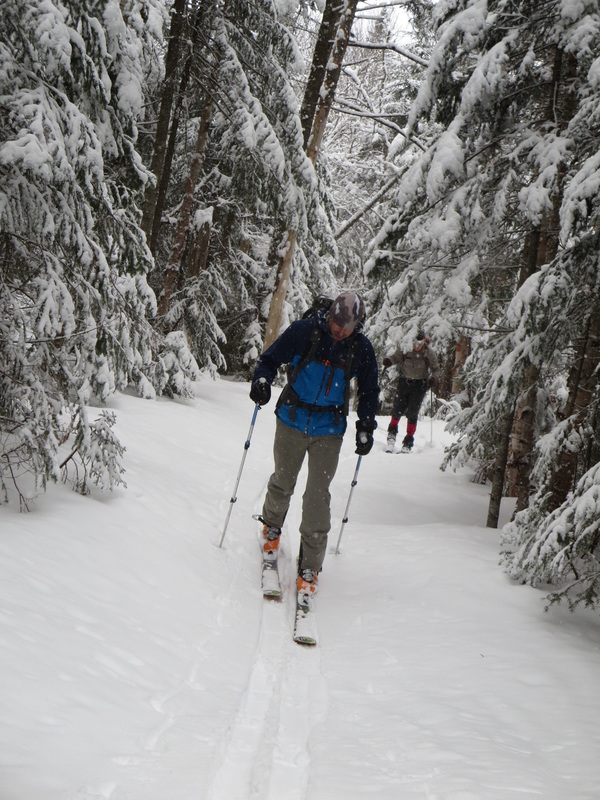
One of the many reasons I love Adirondack hiking are the steep ascents. It seems that all mountain trails seemed to have been created with the most direct route possible to the summit. When routefinding on unmarked trails, if there is any doubt as to which direction to go, one may almost always count on the path going straight up the steepest terrain. The challenge of these steep gradients can and will tests one's fitness and perseverance on any day. The heat produced by your body in colder weather is a feeling I embrace and is I reason I keep returning to the Adirondacks time and time again.


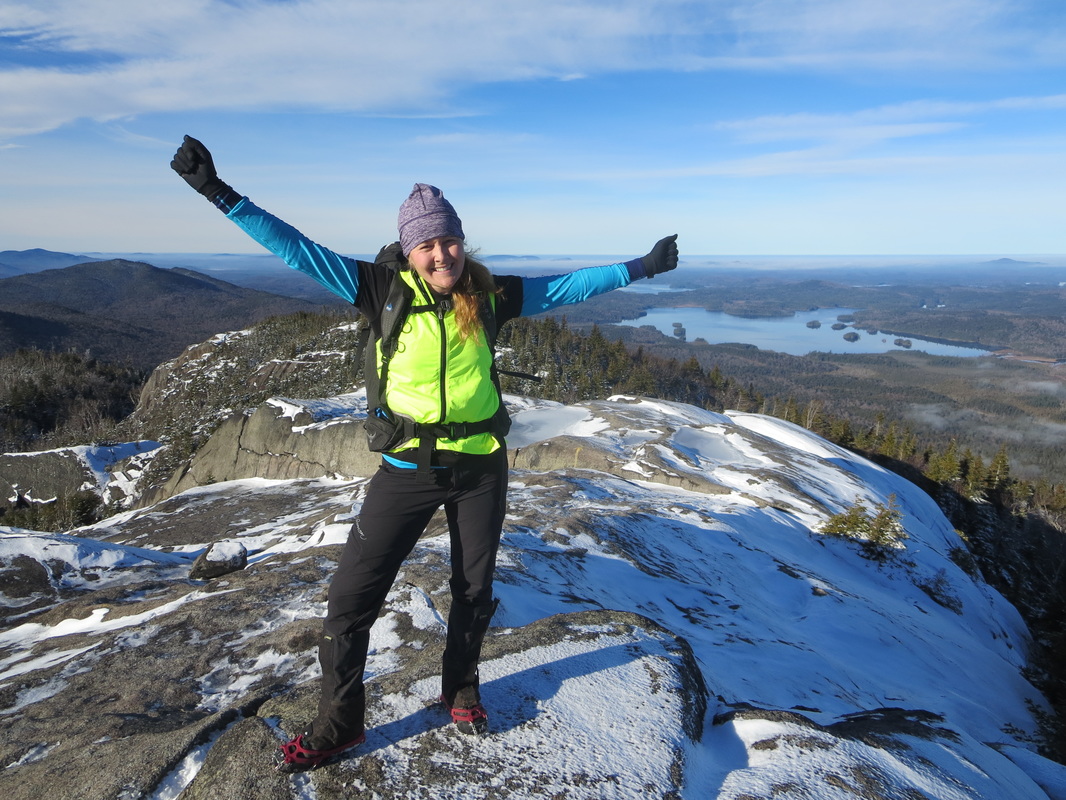
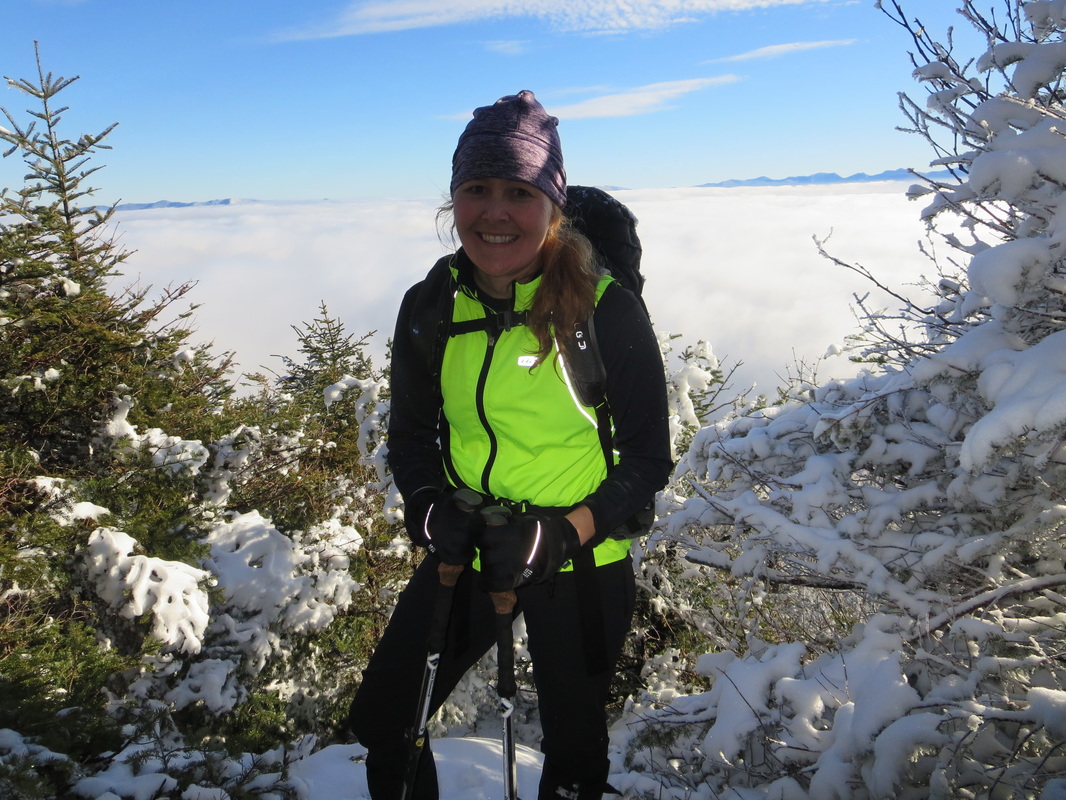
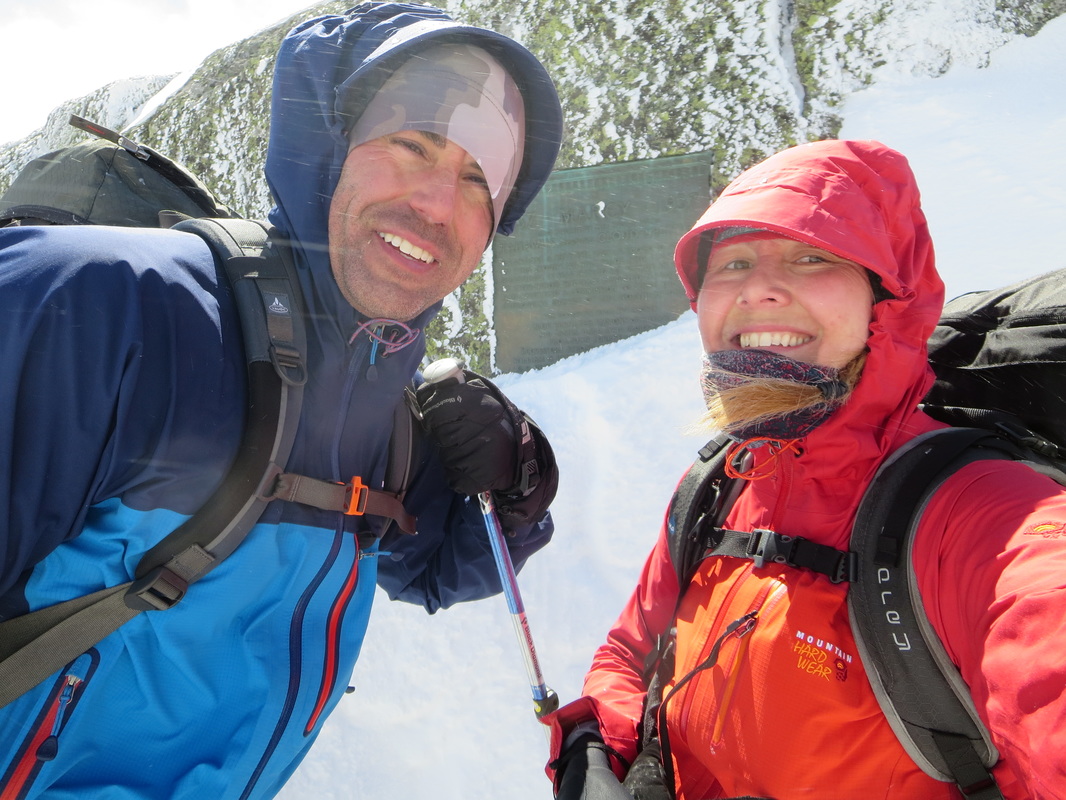
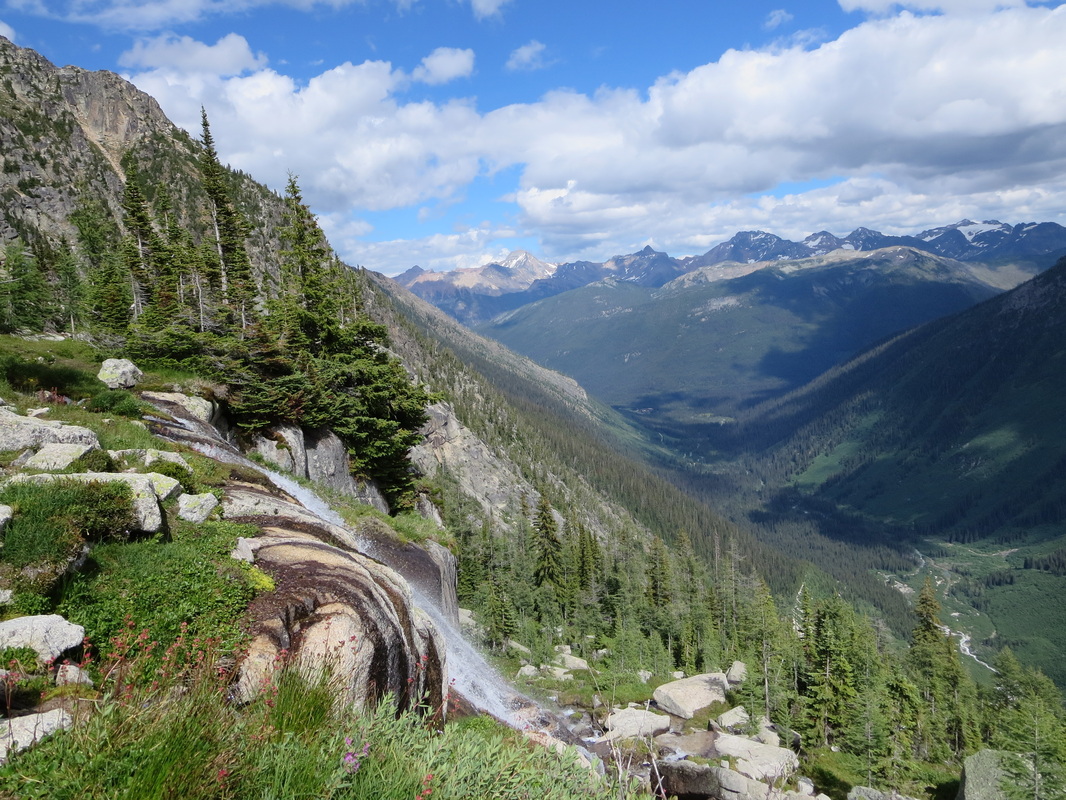
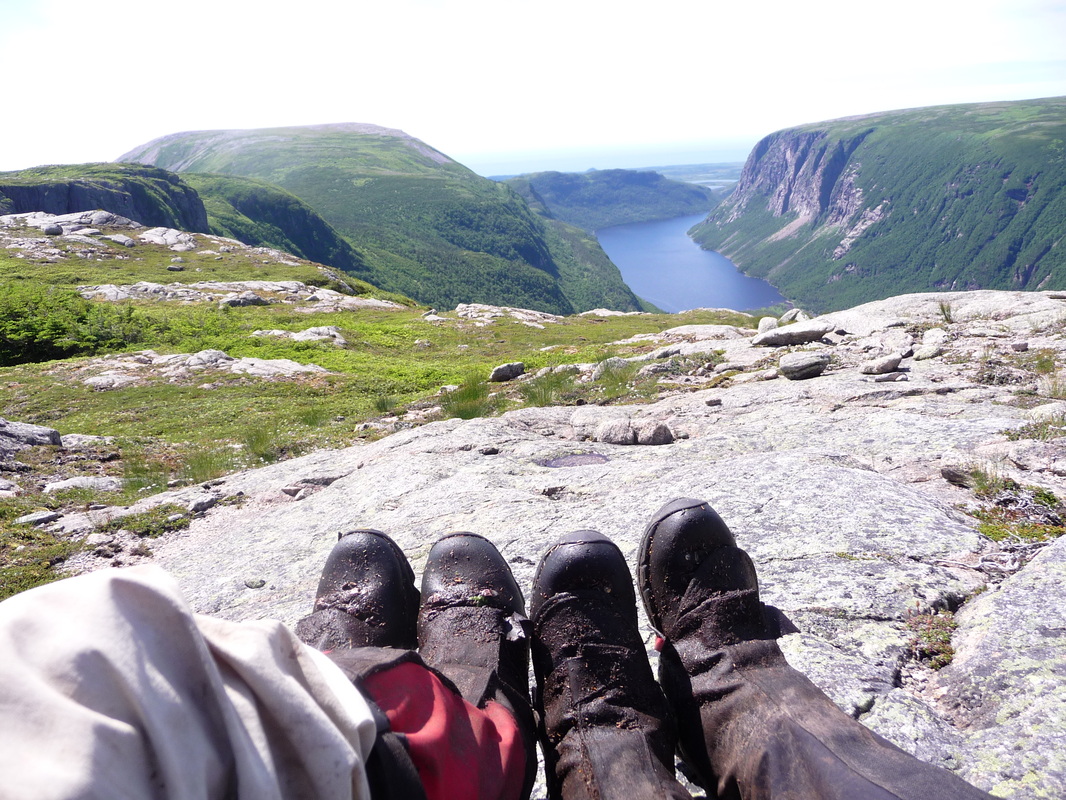
Nearing the summit, the trail flattens out, then passes by large boulders on the right with large gaps and crevasses between them that would be fun to explore in warmer weather. Climbing up onto the exposed rock the summit views come into sight. It was 1 hour and 24 mins after we left the parking lot and we made the 3400' summit. The 360 degree views from the summit are outstanding, and I am not surprised that this hike is popular in the summer. The summit, being exposed was windy but the sun's warmth offset the cool winds we were able to comfortably enjoy the views taking numerous photos. A great view of Ampersand Lake and the Sewards can be seen from this peak. We retraced our steps to the register, and finished the 1976ft/602m ascent and 8.4km/5.21 hike in 3hours.
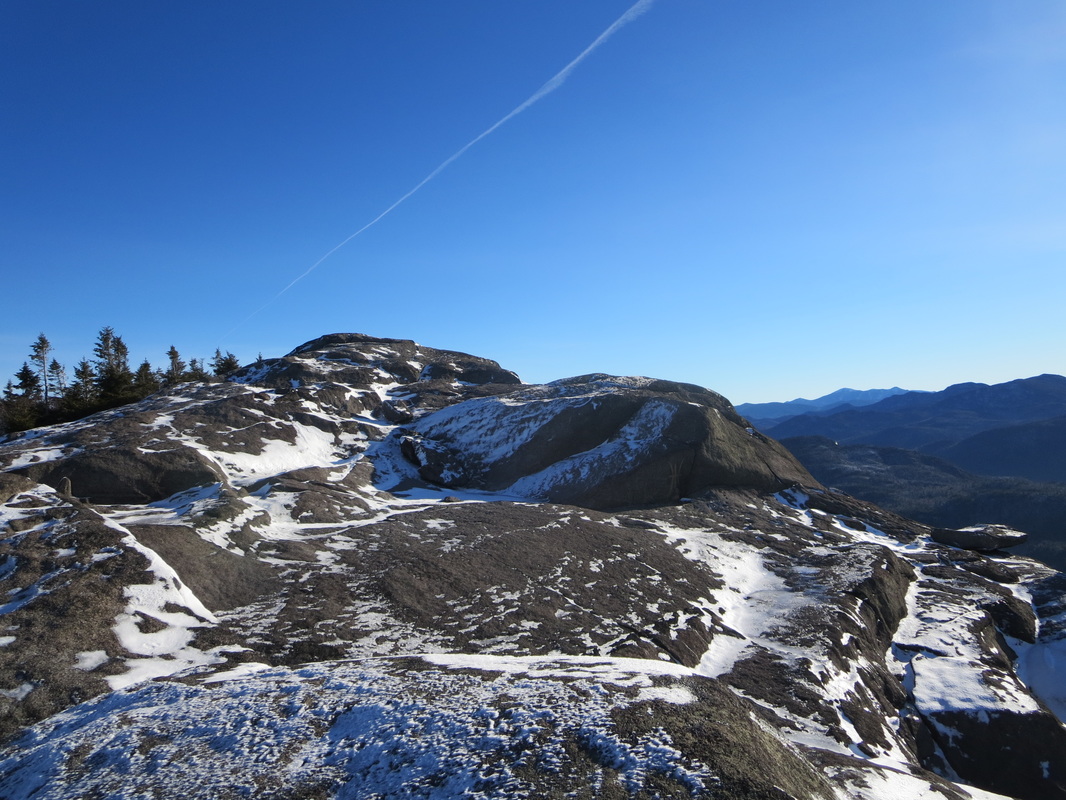
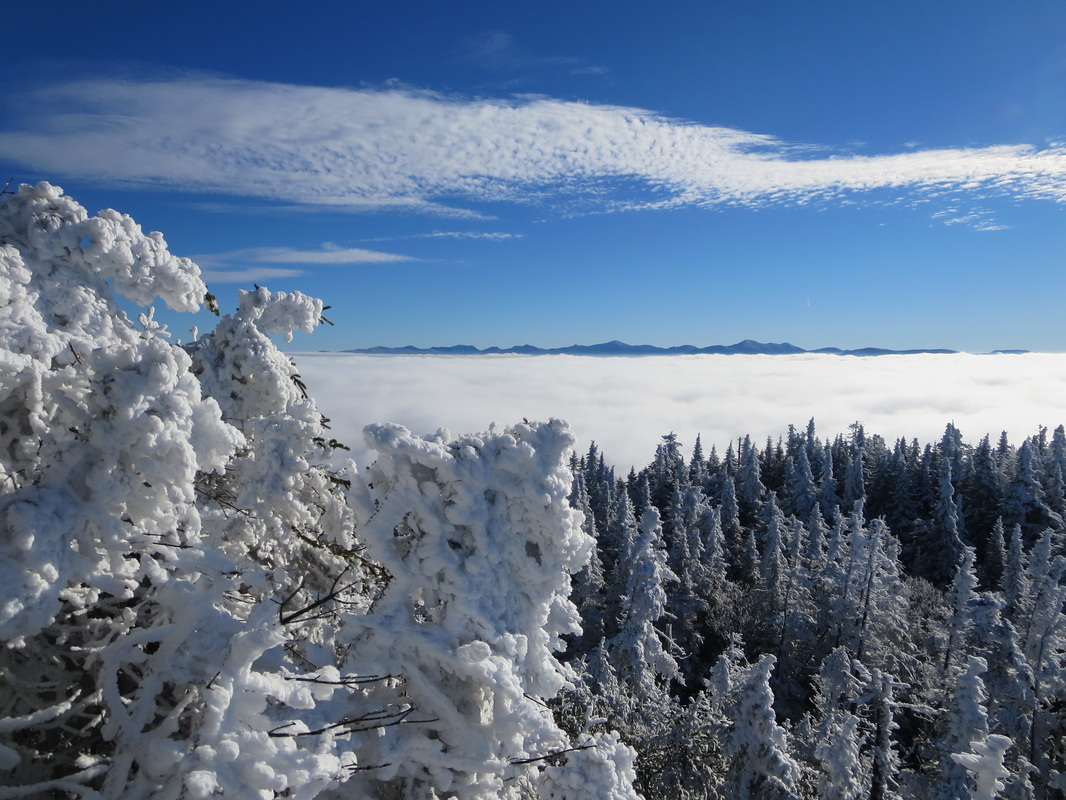
Exposed rocky summit on Ampersand Mtn.


 RSS Feed