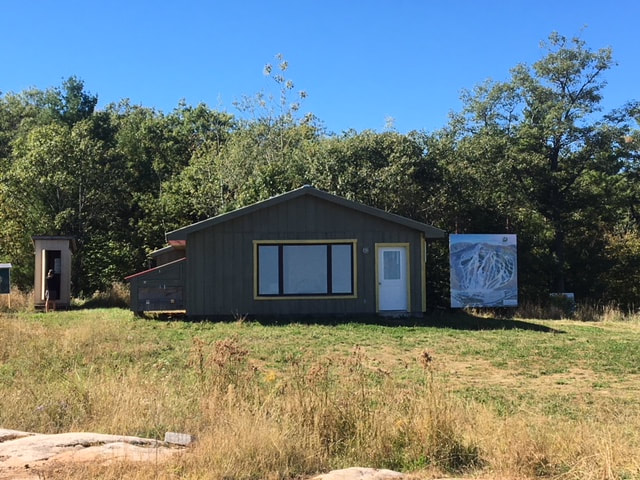
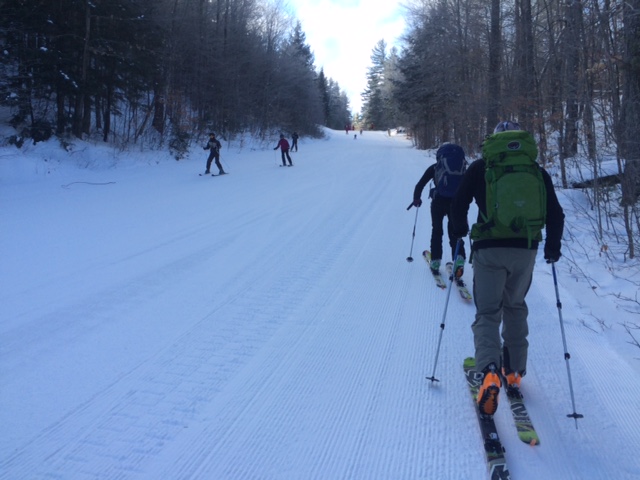
Hiking at Calabogie is one of the best places to hike in Ontario's Highlands. These trails are found behind the Calabogie Peaks ski hill on the thousands of acres of crown land that surround the area. The well-marked network of trails provides options for hikers of all types and can be used year round. Several junctions have trail map signs and trees have been painted or marked with signage. I have described four of my favourite hikes on the trails that focus on four different themes: social, elevation, distance, and traverse. I have included links to .gpx files for GPS use and a link to the trail map and a link on hiking gear.
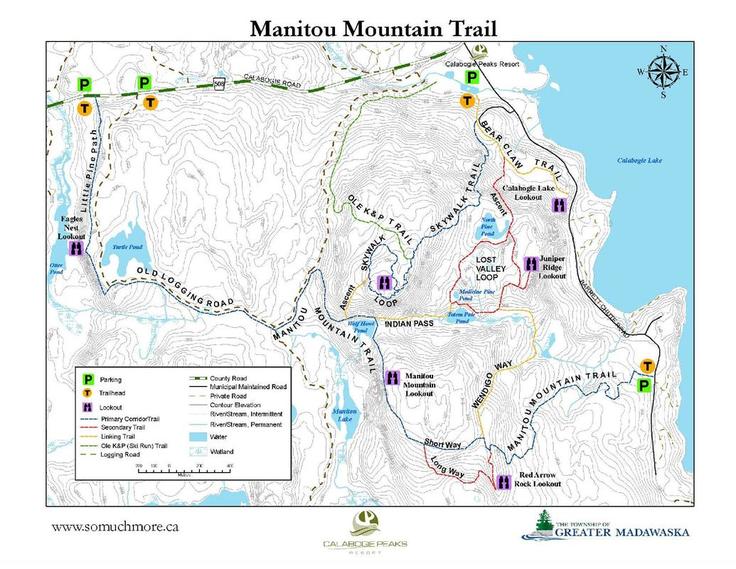
Printable Manitou Mountain Trail Map link
Printable Four Season Hiking Gear List for Day Trips link
Hike #1: Social Hike Loop (1 lookout)
Distance: 7.5km
Elevation gain: 750ft
Time: ~ 2 hours
Difficulty: Easy to Moderate
.gpx file
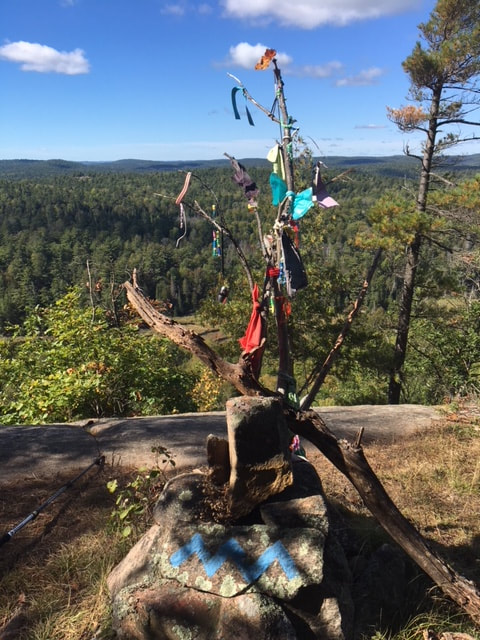
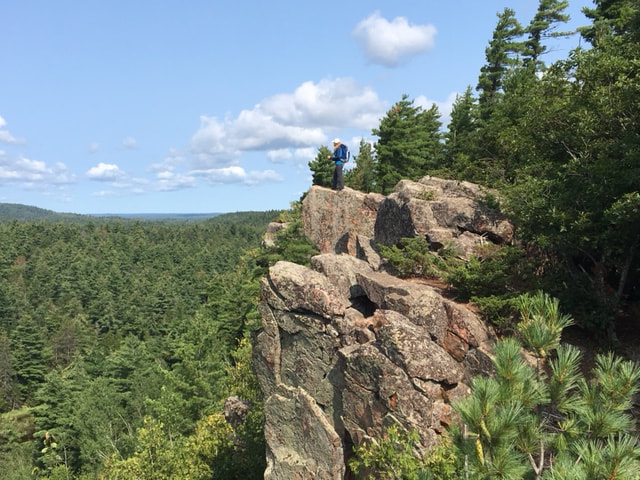
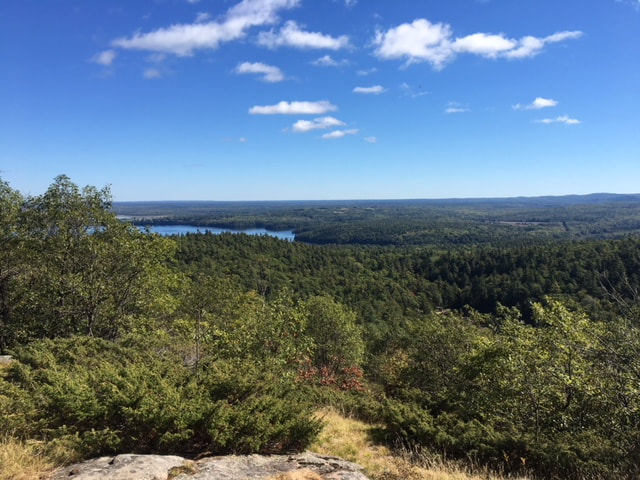
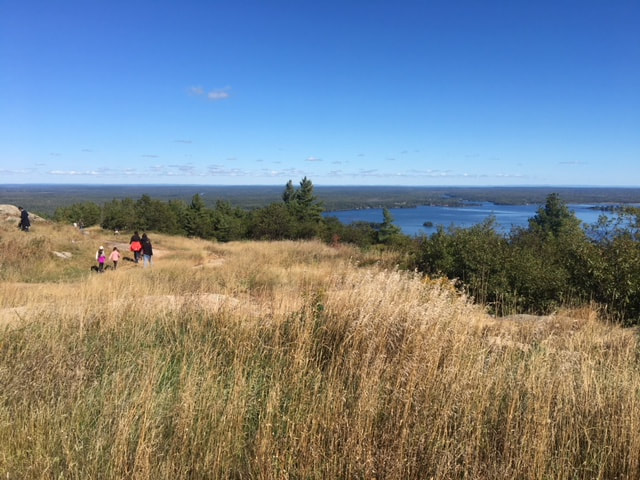
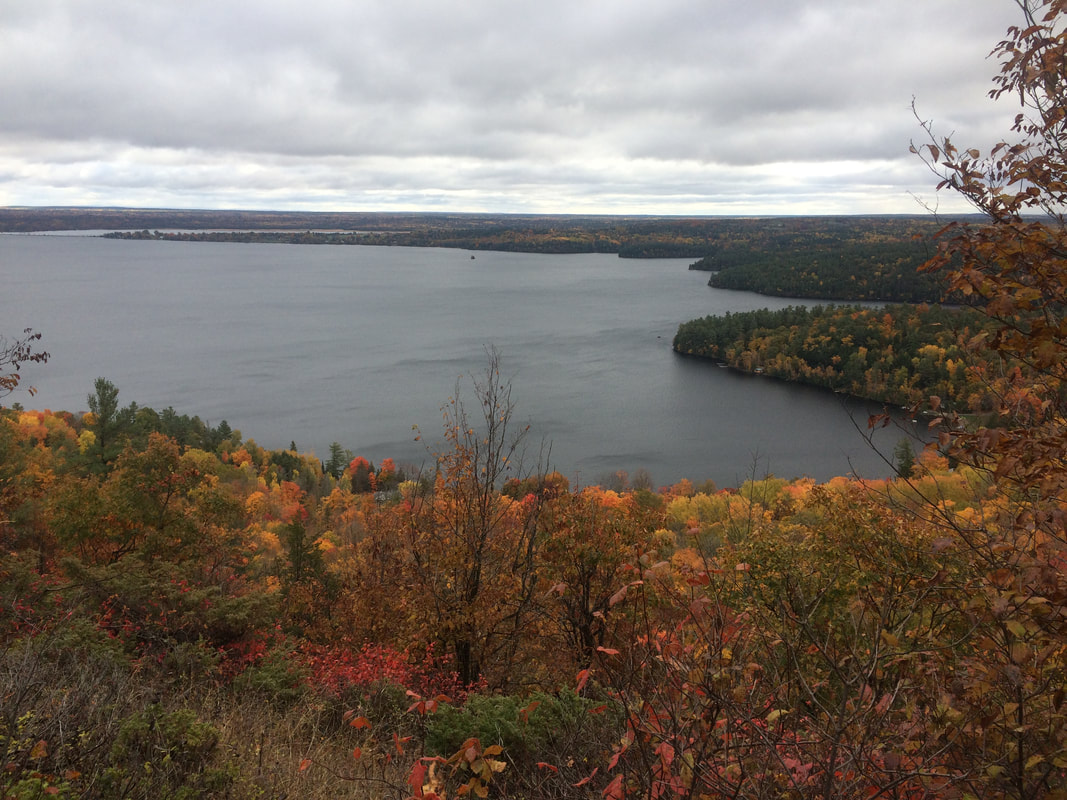
Description: Park at the base of the ski hill near the main ski lodge. Start your hike up the Ole K & P ski run (run on the far right if looking up hill from the lodge) up the gravel road. About 400m up the hill, look for a large Manitou Mountain sign facing you, signalling your exit onto the trail on the right. This trail is wide and can allow for people to walk side by side the entire loop (hence the 'social' part of the hike name). Soon after you are on the trail you will hit two intersections on the logging road and you will need to veer left both times. Continue on and up the logging road joining the blue Manitou Traverse trail markers. At the next major intersection of the logging roads (where the word Manitou is on the trail map above), turn right and continue following the blue trail markers. Continue along the logging road until you see the Eagles Nest signs and climb the short but steep dirt path to the beautiful lookout. Once you've seen the view, return down to the logging road and turn left and walk the towards Calabogie Road. Just as you see the road and parking area (don't go all the way to the road) keep on the logging road by veering right and complete the loop soon after by staying straight on the logging road and re-joining the ski hill run. The last part of the logging road is not drawn on the current Manitou Trail Map. Alternatively, you could go straight to the road and walk back down to the ski hill.
Printable Manitou Mountain Trail Map link
Printable Four Season Hiking Gear List for Day Trips link
Hike #1: Social Hike Loop (1 lookout)
Distance: 7.5km
Elevation gain: 750ft
Time: ~ 2 hours
Difficulty: Easy to Moderate
.gpx file
Description: Park at the base of the ski hill near the main ski lodge. Start your hike up the Ole K & P ski run (run on the far right if looking up hill from the lodge) up the gravel road. About 400m up the hill, look for a large Manitou Mountain sign facing you, signalling your exit onto the trail on the right. This trail is wide and can allow for people to walk side by side the entire loop (hence the 'social' part of the hike name). Soon after you are on the trail you will hit two intersections on the logging road and you will need to veer left both times. Continue on and up the logging road joining the blue Manitou Traverse trail markers. At the next major intersection of the logging roads (where the word Manitou is on the trail map above), turn right and continue following the blue trail markers. Continue along the logging road until you see the Eagles Nest signs and climb the short but steep dirt path to the beautiful lookout. Once you've seen the view, return down to the logging road and turn left and walk the towards Calabogie Road. Just as you see the road and parking area (don't go all the way to the road) keep on the logging road by veering right and complete the loop soon after by staying straight on the logging road and re-joining the ski hill run. The last part of the logging road is not drawn on the current Manitou Trail Map. Alternatively, you could go straight to the road and walk back down to the ski hill.
Hike #2: Elevation Gain Loop (4 lookouts)
Distance: 7.8km
Elevation Gain: 1411 ft
Time: ~ 3 hours
Difficulty: Moderate to Hard
.gpx file
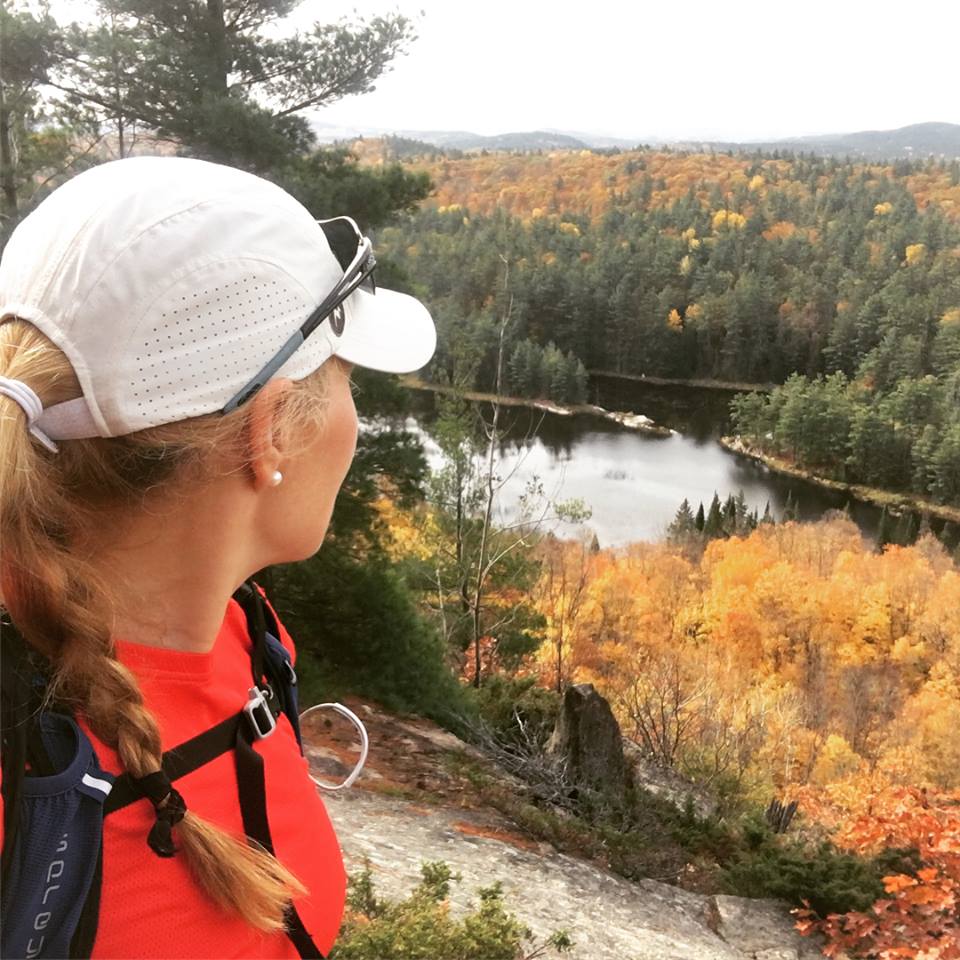
Description: Instead of turning into the ski hill parking off Barrett Chute Road, continue to the next lane names Mary Joanne that leads up to a set of condos. Park at the obvious dead end turn around point. Leave the end of the turnaround on a newly made dirt logging path to join the red Bear Claw trail. Note that in 2017 there is active logging in this area (not normally an issue on weekends). Once on the Bear Claw trail (red trail markers) you will make a short and steep 400ft ascent. (Note: Don't attempt this trail in winter unless you have traction devices). At the top of the hill you hit a junction in the Lost Valley Loop and need to turn left (if you hit a small lake you have gone too far). Follow this trail and soon after you will hit another junction and need to turn left (easy to miss Fall 2017 with a fallen tree laying over the junction) that heads up a short steep out-and-back trail to the Juniper Ridge Lookout (#1). Returning to the main trail, bear left on red on trail that trends downward to a junction with a Manitou Trail Map. Here, take the Wendigo trail and follow the blazes that for a short time will be on a double-track cart path. At one point the trail will abruptly turn right and cross a water fall stream instead of going further along the double-track path. Follow the Wendigo Trail blazes as the trail trends up a hill to the intersection with the blue Manitou Trail. Here, turn left and follow blue for a minute or two until another trail junction with the Red Arrow trail (Manitou Trail sign found here). Turn right and follow red to the Red Arrow Lookout (#2). The trail leaving this lookout goes down to the left and trends downward into a valley before bottoming out and trending back upward again up a ravine to the junction with the blue Manitou trail. Here turn left and hit up the Manitou Lookout (#3) before joining the Indian Pass junction at Wolf Howl Pond. Turn left here and stay on blue but before you know it you will hit a junction with with the a steep connector ascent trail (marked in orange) to head up to the Skywalk trail at the top of the ski hill. Turn right onto this steep dirt trail. Huffing and puffing at the top, turn right onto the Skywalk loop taking in lookout (#4) before arriving to the top of the ski hill. I like to use the Top Hut and outhouse for lunch (open year round), and then descend back to my car using the Black Donald Ski run (on the far right as you look down the hill). Note: Logging activity has been present in the area as they are cutting new ski runs (Skywalk hiking trail no longer exists). Turn right towards the condos on Mary Joanne Lane before hitting the bottom of the ski run where the main lodges and hotels are.
Distance: 7.8km
Elevation Gain: 1411 ft
Time: ~ 3 hours
Difficulty: Moderate to Hard
.gpx file
Description: Instead of turning into the ski hill parking off Barrett Chute Road, continue to the next lane names Mary Joanne that leads up to a set of condos. Park at the obvious dead end turn around point. Leave the end of the turnaround on a newly made dirt logging path to join the red Bear Claw trail. Note that in 2017 there is active logging in this area (not normally an issue on weekends). Once on the Bear Claw trail (red trail markers) you will make a short and steep 400ft ascent. (Note: Don't attempt this trail in winter unless you have traction devices). At the top of the hill you hit a junction in the Lost Valley Loop and need to turn left (if you hit a small lake you have gone too far). Follow this trail and soon after you will hit another junction and need to turn left (easy to miss Fall 2017 with a fallen tree laying over the junction) that heads up a short steep out-and-back trail to the Juniper Ridge Lookout (#1). Returning to the main trail, bear left on red on trail that trends downward to a junction with a Manitou Trail Map. Here, take the Wendigo trail and follow the blazes that for a short time will be on a double-track cart path. At one point the trail will abruptly turn right and cross a water fall stream instead of going further along the double-track path. Follow the Wendigo Trail blazes as the trail trends up a hill to the intersection with the blue Manitou Trail. Here, turn left and follow blue for a minute or two until another trail junction with the Red Arrow trail (Manitou Trail sign found here). Turn right and follow red to the Red Arrow Lookout (#2). The trail leaving this lookout goes down to the left and trends downward into a valley before bottoming out and trending back upward again up a ravine to the junction with the blue Manitou trail. Here turn left and hit up the Manitou Lookout (#3) before joining the Indian Pass junction at Wolf Howl Pond. Turn left here and stay on blue but before you know it you will hit a junction with with the a steep connector ascent trail (marked in orange) to head up to the Skywalk trail at the top of the ski hill. Turn right onto this steep dirt trail. Huffing and puffing at the top, turn right onto the Skywalk loop taking in lookout (#4) before arriving to the top of the ski hill. I like to use the Top Hut and outhouse for lunch (open year round), and then descend back to my car using the Black Donald Ski run (on the far right as you look down the hill). Note: Logging activity has been present in the area as they are cutting new ski runs (Skywalk hiking trail no longer exists). Turn right towards the condos on Mary Joanne Lane before hitting the bottom of the ski run where the main lodges and hotels are.
Hike #3: Distance Loop (4 lookouts)
Distance: 13km
Elevation Gain: 1650ft
Time: ~ 4 hours
Difficulty: Hard
.gpx file
Description:
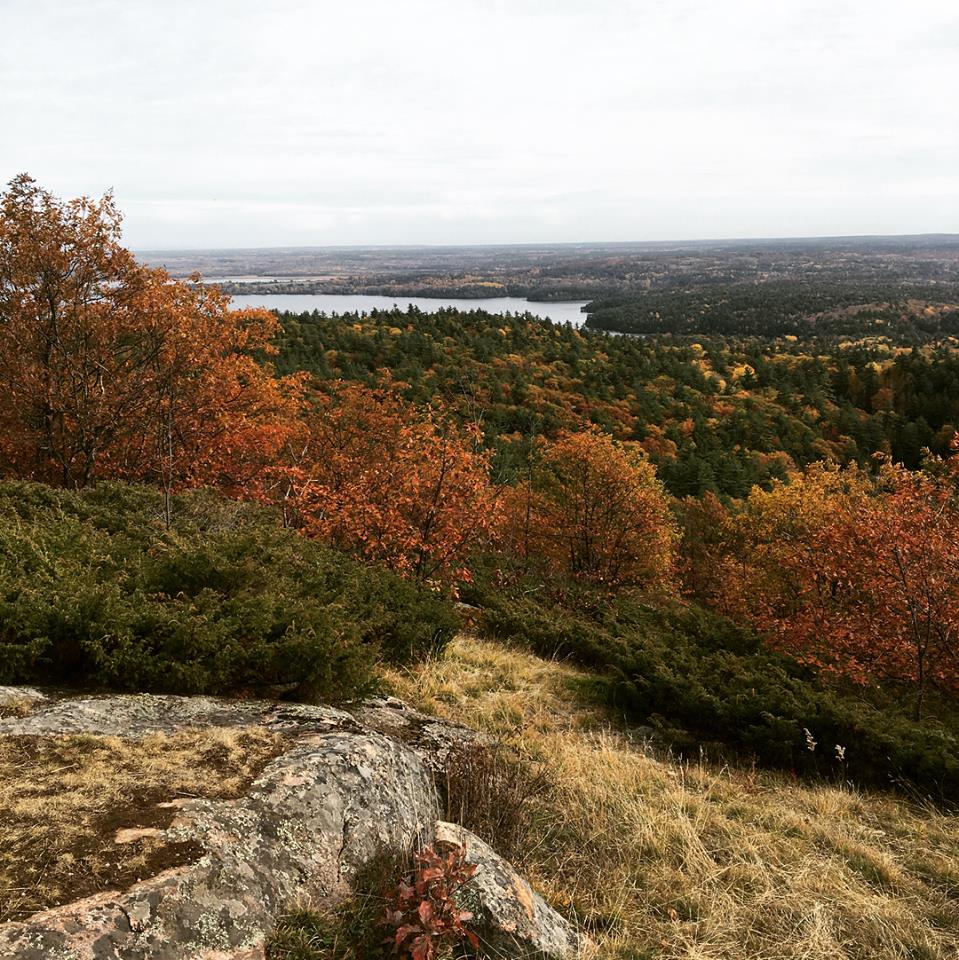
Ready for a challenge? I love this loop for it's distance, elevation gain, and the fact that it you never have to re-trace any part of the trail. Park at the ski hill and head up the Ole K & P ski run (far right if you're looking up the ski hill) up the gravel path. About 400m in look for the hiking trail sign post on the right facing you that exits the ski run and enters the forest. Follow this path which soon comes to an intersection which you will need to go straight. Follow the logging road (this section is not drawn on the map) to the where you will meet an large intersection. Going right here will take you to the road, but left will take you to Eagle's Nest lookout (#1) in about 1.5km. After visiting Eagle's nest, return to the logging road and turn right. Not long after you will pick the blue tree markers that you will follow on the logging road and eventually turn right back into the forest. Continue following blue past Wolf Howl Pond and turning right before ascending to the Manitou Mountain Lookout (#2). Leaving the lookout, not too far later is an easy-to-miss T-intersection that takes you down into a valley and up again to the Red Arrow Lookout (#3). Turn right onto red here. After visiting Red Arrow, continue straight on red to the blue junction. Turn left here and a couple of minutes later pay attention to turn right onto the orange Wendigo Way trail that will trend downward, across a river, and up to a junction with the Lost Valley Loop. Turn right onto the Lost Valley loop and right again soon after to head up to the short steep roped fourth and final lookout of the day Juniper Ridge (#4). Retrace a few steps from the lookout back to the Lost Valley loop and turn right here. At the next red intersection turn right and descend a steep path (Bear Claw trail) where you may find your way on trail (bear left) back to the bottom third of the Black Donald Ski run and descend to your car.
Distance: 13km
Elevation Gain: 1650ft
Time: ~ 4 hours
Difficulty: Hard
.gpx file
Description:
Ready for a challenge? I love this loop for it's distance, elevation gain, and the fact that it you never have to re-trace any part of the trail. Park at the ski hill and head up the Ole K & P ski run (far right if you're looking up the ski hill) up the gravel path. About 400m in look for the hiking trail sign post on the right facing you that exits the ski run and enters the forest. Follow this path which soon comes to an intersection which you will need to go straight. Follow the logging road (this section is not drawn on the map) to the where you will meet an large intersection. Going right here will take you to the road, but left will take you to Eagle's Nest lookout (#1) in about 1.5km. After visiting Eagle's nest, return to the logging road and turn right. Not long after you will pick the blue tree markers that you will follow on the logging road and eventually turn right back into the forest. Continue following blue past Wolf Howl Pond and turning right before ascending to the Manitou Mountain Lookout (#2). Leaving the lookout, not too far later is an easy-to-miss T-intersection that takes you down into a valley and up again to the Red Arrow Lookout (#3). Turn right onto red here. After visiting Red Arrow, continue straight on red to the blue junction. Turn left here and a couple of minutes later pay attention to turn right onto the orange Wendigo Way trail that will trend downward, across a river, and up to a junction with the Lost Valley Loop. Turn right onto the Lost Valley loop and right again soon after to head up to the short steep roped fourth and final lookout of the day Juniper Ridge (#4). Retrace a few steps from the lookout back to the Lost Valley loop and turn right here. At the next red intersection turn right and descend a steep path (Bear Claw trail) where you may find your way on trail (bear left) back to the bottom third of the Black Donald Ski run and descend to your car.
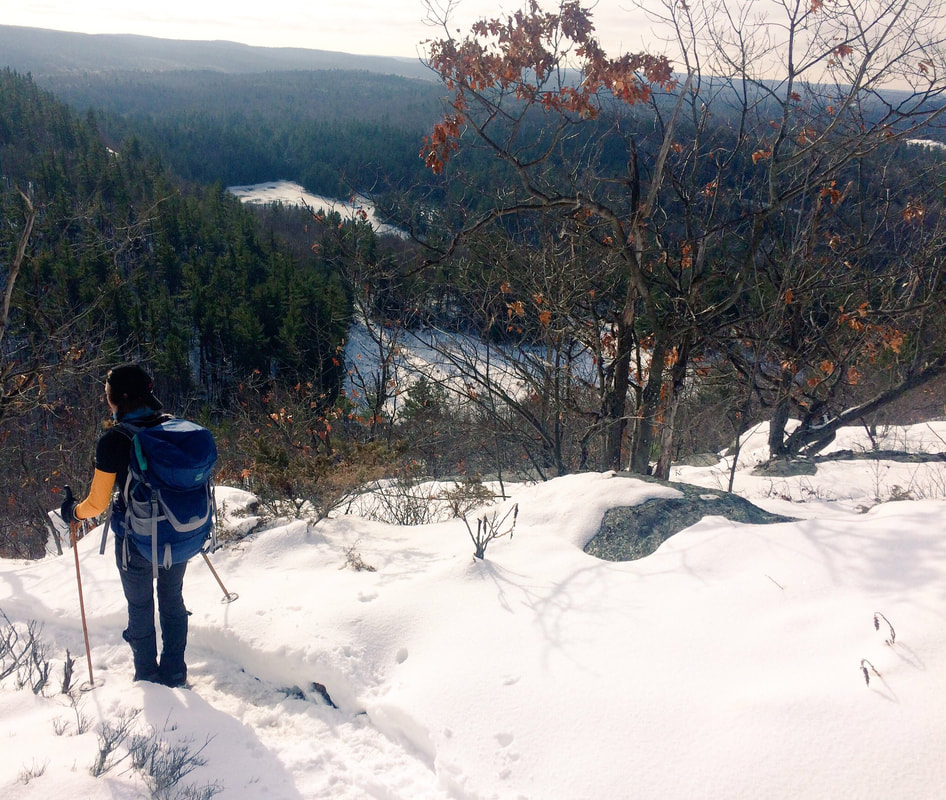
Hike #4: Manitou Traverse (2-3 lookouts)
Distance: 9km
Elevation Gain:
Time: ~ 3 hours
Difficulty: Moderate
.gpx file
Description:
Follow Blue tree markers this entire hike.
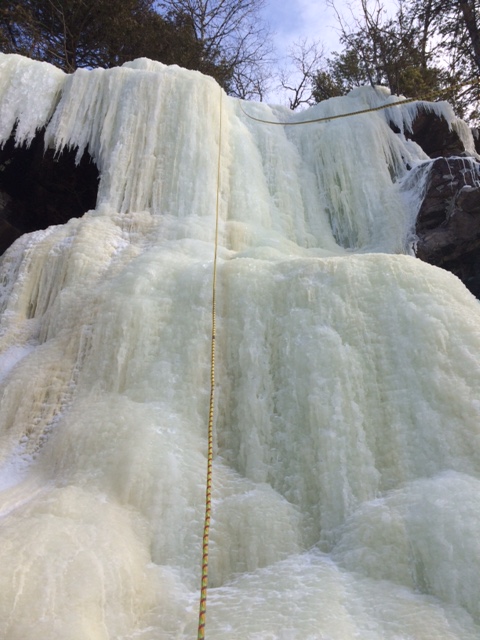
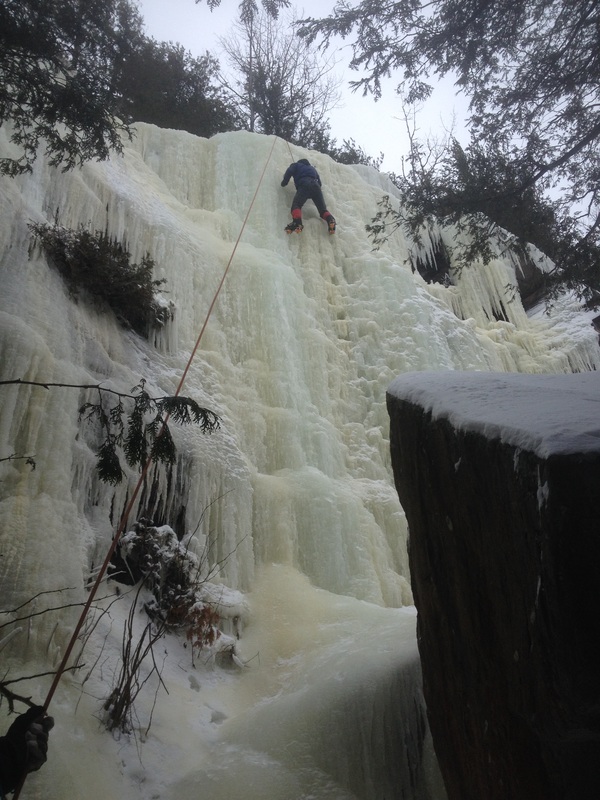
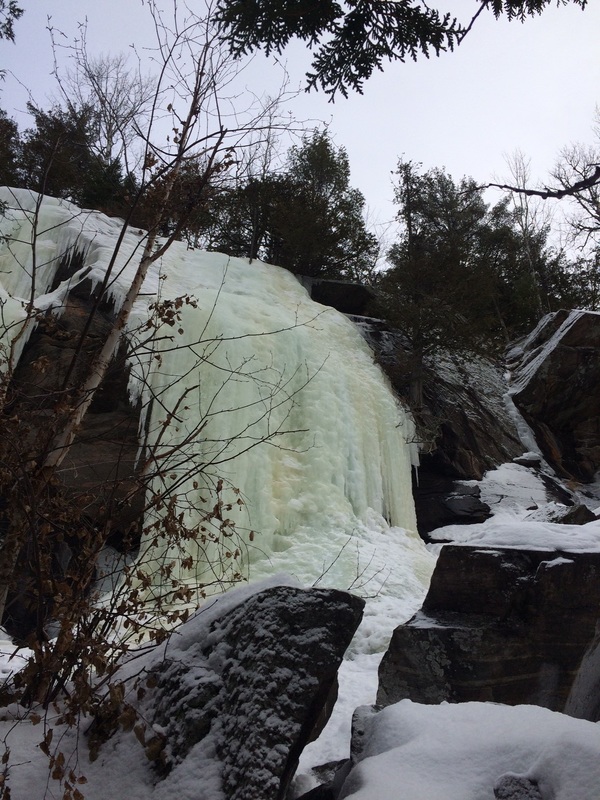
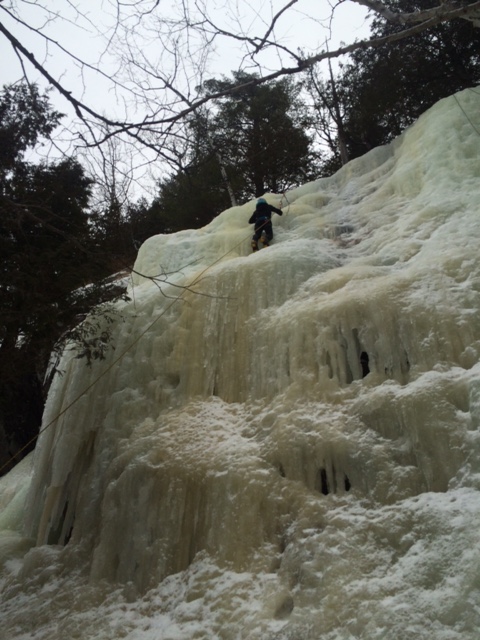
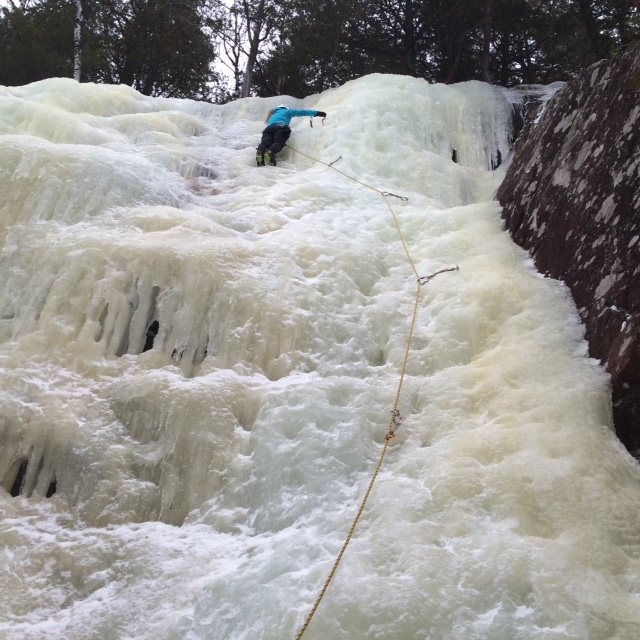
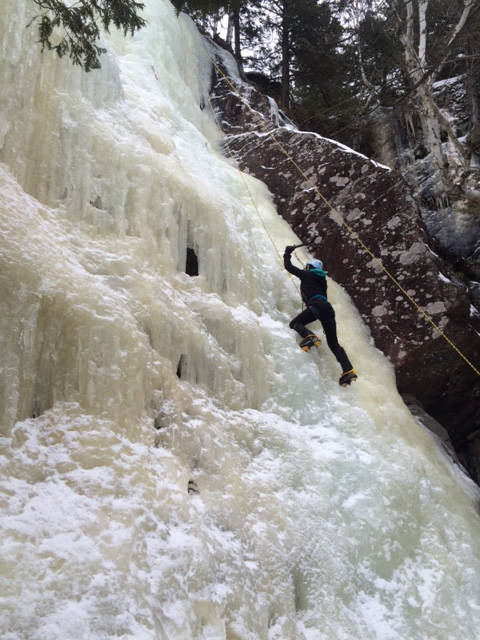
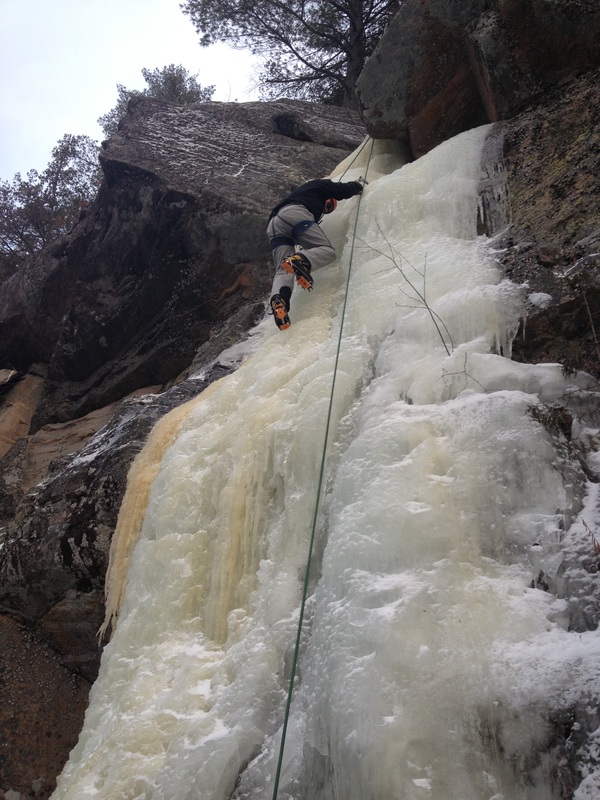
Park on 6573 Calabogie Road at and the blue sign post indicating the Manitou Mountain Trail. Park a second car at 342 Barrett Chute Road in order to complete the traverse. Beginning with a steep uphill, stay left at the first junction (other trail leads to the rock climbing and ice climbing cliffs). Follow the blue markings on the trees along the top of the cliffs (sometimes right on the edge) all the way to the popular Eagle's Nest lookout spot. From here, do not descend down to the road rather look right and re-gain the blue blazes. Follow the trail until it eventually meets up with the logging road for over a kilometer before joining the trail again. Trending up wards, the trail rolls over some hardwood terrain before passing by Wolf Howl Pond. At the end of the pond, the trail turns right and heads up to the beautiful Manitou Lookout. This is approximately the half-way point of the trail and I often stop here for a break (and to enjoy the view). From here on you are past the halfway point and the trail generally trends downward. From the Wendigo junction, there is only 3km to descend back to the Barrett Chute Road. The trail heads down through some drainages and over a couple of ridges before dropping again and crossing a bridge. Nearing the end, the trail crosses over an ATV path (continue straight) and walk up one last time before a final downhill to the road and return to your shuttle vehicle. Note: If you have time and wanted a bit more of a challenge, the Red Arrow Lookout extension is a great addition to this hike.
Have questions? Contact me using the form below for more information.
Distance: 9km
Elevation Gain:
Time: ~ 3 hours
Difficulty: Moderate
.gpx file
Description:
Follow Blue tree markers this entire hike.
Park on 6573 Calabogie Road at and the blue sign post indicating the Manitou Mountain Trail. Park a second car at 342 Barrett Chute Road in order to complete the traverse. Beginning with a steep uphill, stay left at the first junction (other trail leads to the rock climbing and ice climbing cliffs). Follow the blue markings on the trees along the top of the cliffs (sometimes right on the edge) all the way to the popular Eagle's Nest lookout spot. From here, do not descend down to the road rather look right and re-gain the blue blazes. Follow the trail until it eventually meets up with the logging road for over a kilometer before joining the trail again. Trending up wards, the trail rolls over some hardwood terrain before passing by Wolf Howl Pond. At the end of the pond, the trail turns right and heads up to the beautiful Manitou Lookout. This is approximately the half-way point of the trail and I often stop here for a break (and to enjoy the view). From here on you are past the halfway point and the trail generally trends downward. From the Wendigo junction, there is only 3km to descend back to the Barrett Chute Road. The trail heads down through some drainages and over a couple of ridges before dropping again and crossing a bridge. Nearing the end, the trail crosses over an ATV path (continue straight) and walk up one last time before a final downhill to the road and return to your shuttle vehicle. Note: If you have time and wanted a bit more of a challenge, the Red Arrow Lookout extension is a great addition to this hike.
Have questions? Contact me using the form below for more information.


 RSS Feed